By the end of this guide you will have at least one finished chenille stem flower, made with nothing but stems and scissors. Each flower takes about three to six minutes once you know the twist, so a small bouquet can be finished in under half an hour. This is a beginner-friendly craft. Nothing here needs glue, heat, or steady precision, since a petal that comes out wrong can just be untwisted and reshaped.
Quick answer: Cut a chenille stem into equal petal pieces, twist each into a loop, gather the loops around a center, then wrap a green stem underneath as the stalk. The result is a finished flower in a few minutes with no glue needed.
What You Need Before You Start
| Item | Notes |
|---|---|
| Chenille stems, flower colors | Standard |
| Green chenille stems, for stalks | Standard |
| Scissors | Standard |
| Pencil or thin dowel, for curling petals | Varies |
| Small beads, for centers | Varies |
| Hot glue, for reinforcing | Caution |
Time to make one flower, by style
Twisted Loop
3 min
Spiral Rose
6 min
Daisy Style
4 min
Step 1: Cut Your Petal Pieces
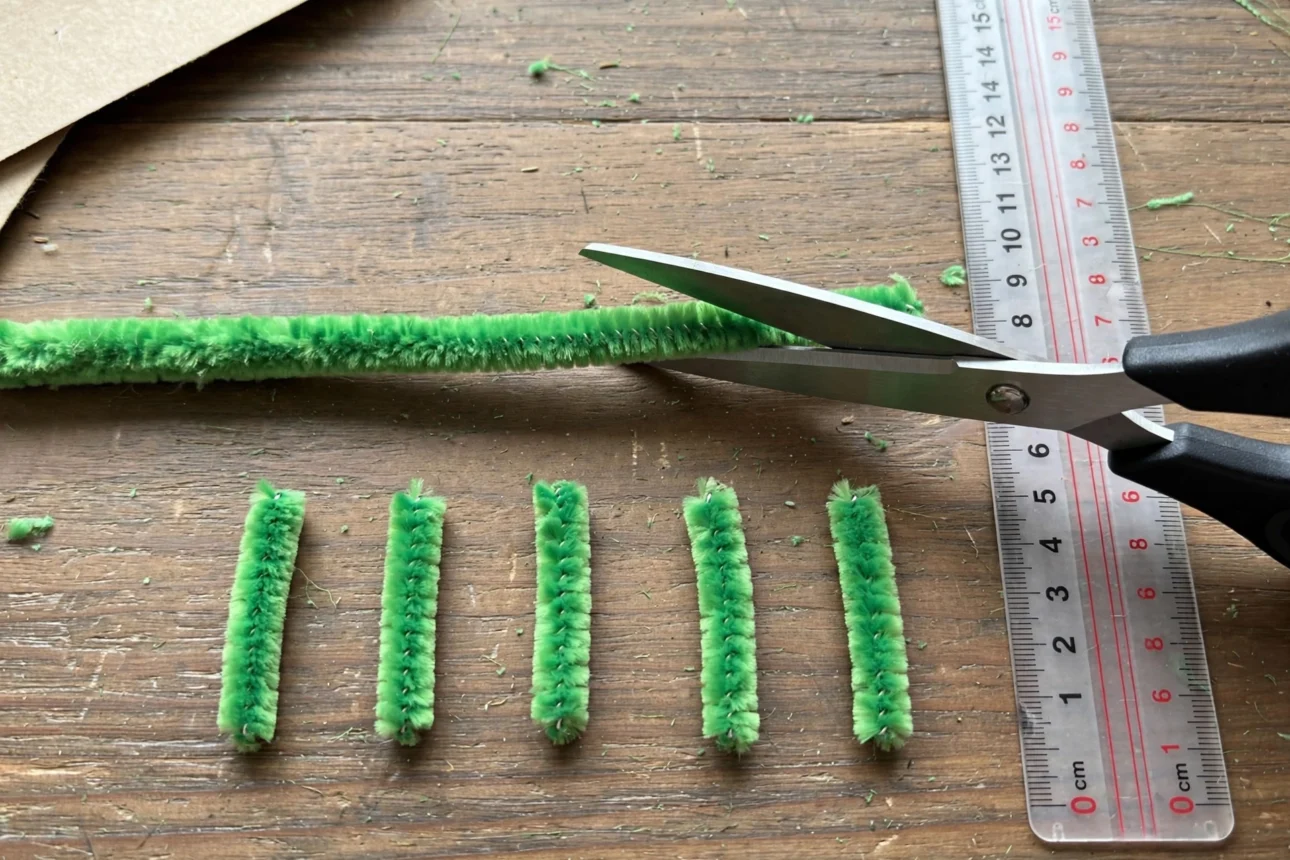
Cut one chenille stem into four to six equal pieces to start your first flower. Lay the stem flat and snip it into sections roughly two to three inches long, measuring the first cut against the rest so every petal ends up close to the same size. Each of these small pieces becomes one petal, so the total count you cut decides how full the finished flower looks. Uneven petal lengths are the most common reason a finished flower looks lopsided, so it is worth taking the extra few seconds to line up each cut against the first piece rather than eyeballing it freehand. If you want a fuller bloom later, you can always cut a second stem and add more petals once the first batch is twisted.
Step 2: Twist Each Petal into a Loop
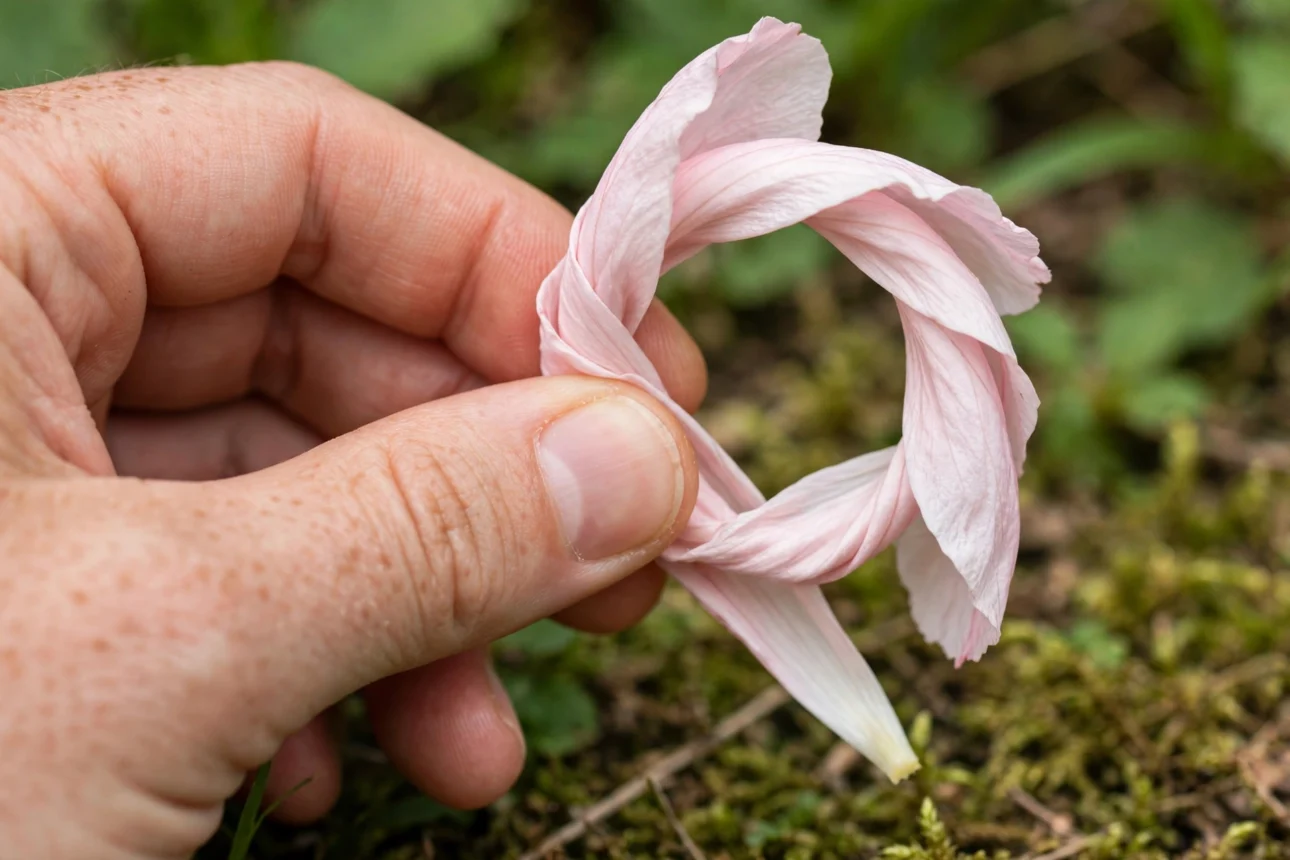
Bend each petal piece into a loop or teardrop shape and twist the two ends together at the base to close it. Hold one piece between your fingers, curve it into a rounded shape, and cross the two ends over each other two or three full turns so the loop cannot spring back open. The tighter this base twist is, the sturdier the finished petal will be, so do not stop at just one turn even if the loop looks closed already. A common mistake here is leaving the twist loose, which lets the petal untwist and go flat the first time the flower is picked up or bumped. Repeat this same twist on every petal piece from Step 1 before moving on, so all your petals are ready to assemble at once.
Step 3: Gather the Petals into a Bundle
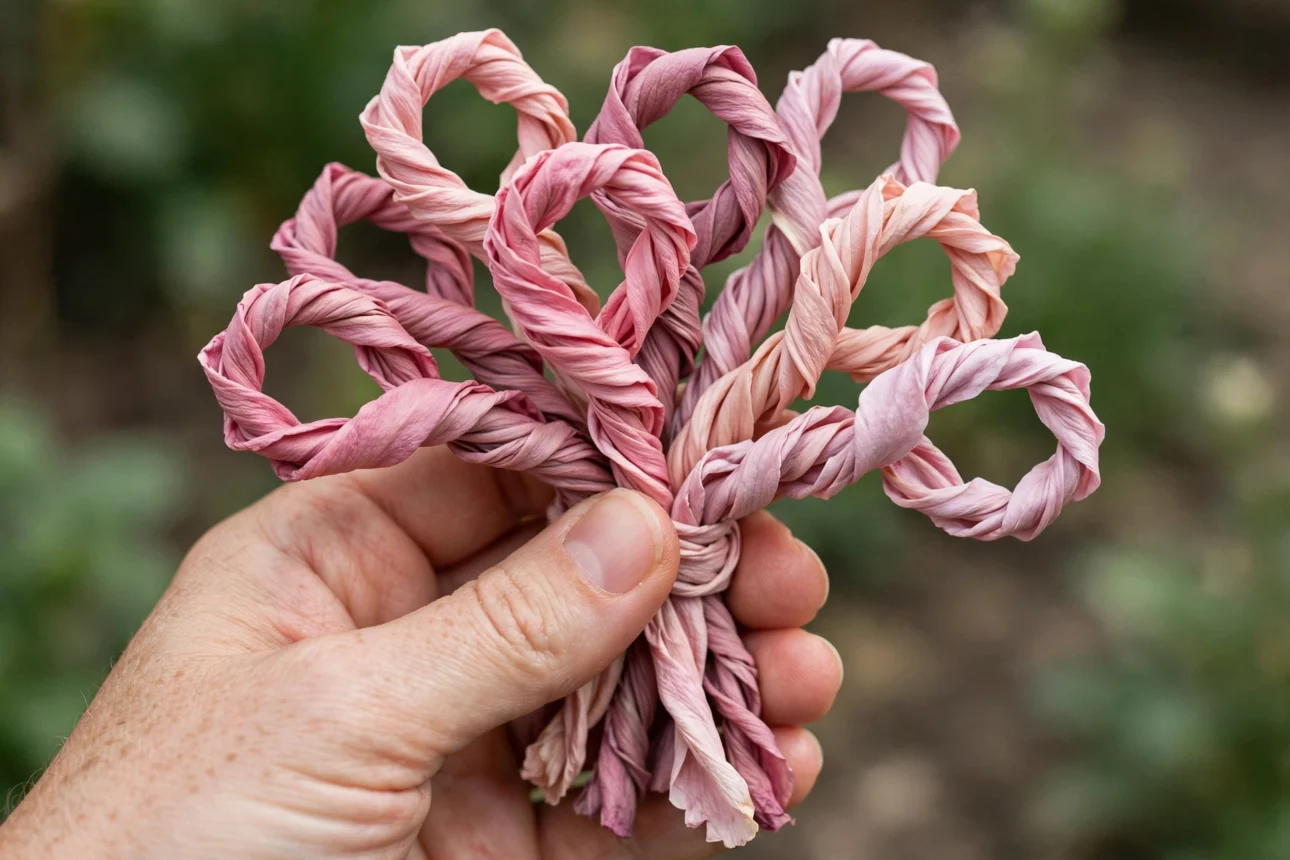
Hold all your twisted petal bases together in one hand, side by side, the way the center of a real flower would sit. Line the twisted ends up evenly so none of them sit noticeably higher or lower than the rest, since an uneven bundle is what makes a flower look tilted once it is finished. Fan the loops out slightly as you hold them so they do not overlap flat against each other. This step is really just a holding position, since nothing is locked in place yet, so take a second look at the arrangement and rotate any petal that is bunched too close to its neighbor before moving on to securing the stalk in the next step.
Step 4: Wrap On the Stalk
Take a full-length green chenille stem and wrap it tightly around the base of your petal bundle three or four times to secure it. Start wrapping right at the point where the petal bases meet, keeping the wraps close together rather than spaced apart, then let the rest of the green stem hang down to become the flower’s stalk. This wrap is what actually holds the whole flower together, so if it feels loose, go back over the same spot two or three more times before trusting it to hold. A stalk that shifts under light pressure almost always means the first wrap was too loose, and re-wrapping takes only a few seconds to fix.
Step 5: Add a Center Detail
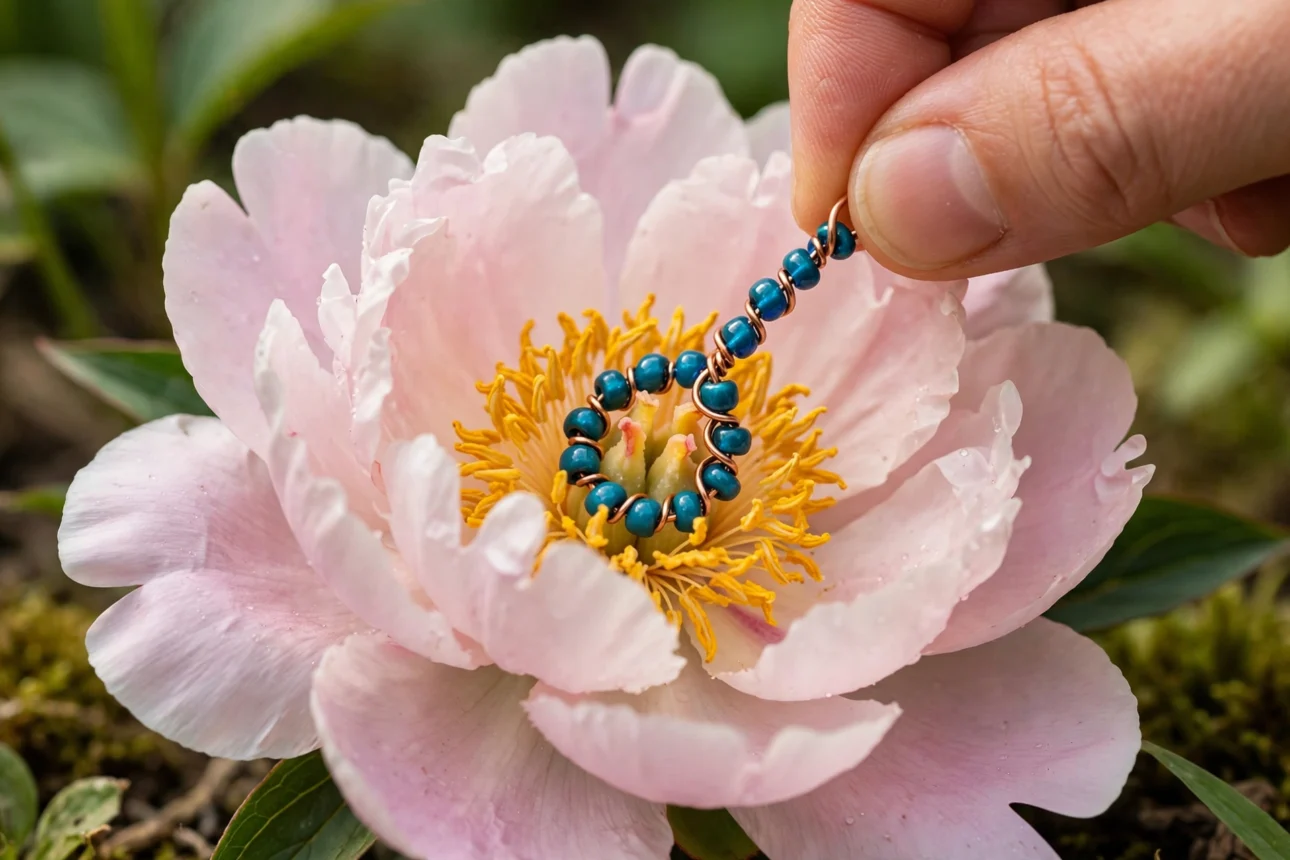
Twist a small loop of a contrasting color chenille stem into the middle of your petals, or thread a bead onto a short wire piece and tuck it into the center. Cut a two-inch piece in a color that stands out against the petals, fold it into a tight little loop, and twist it directly into the gap at the center of the bundle so it sits above the petal bases. If using a bead instead, slide the bead to the middle of a short wire piece, fold the wire in half so the bead sits at the top, then twist the two wire ends into the center the same way. This step is optional but makes a real difference visually, since a bare center often looks unfinished next to the shaped petals around it.
Step 6: Curl the Petal Tips
Wrap the tip of each petal loop around a pencil or thin dowel for a second to give it a soft curve instead of a flat, straight edge. Press the petal against the pencil, roll it gently around the curve, then release it and let the fiber hold that shape. A flower with curled tips reads as far more natural than one with stiff, straight-edged loops, and the difference takes only a couple of extra seconds per petal. If a curl straightens back out on its own, roll it around the pencil a second time and hold it in place for a moment longer before releasing.
Step 7: Add Texture to the Stalk
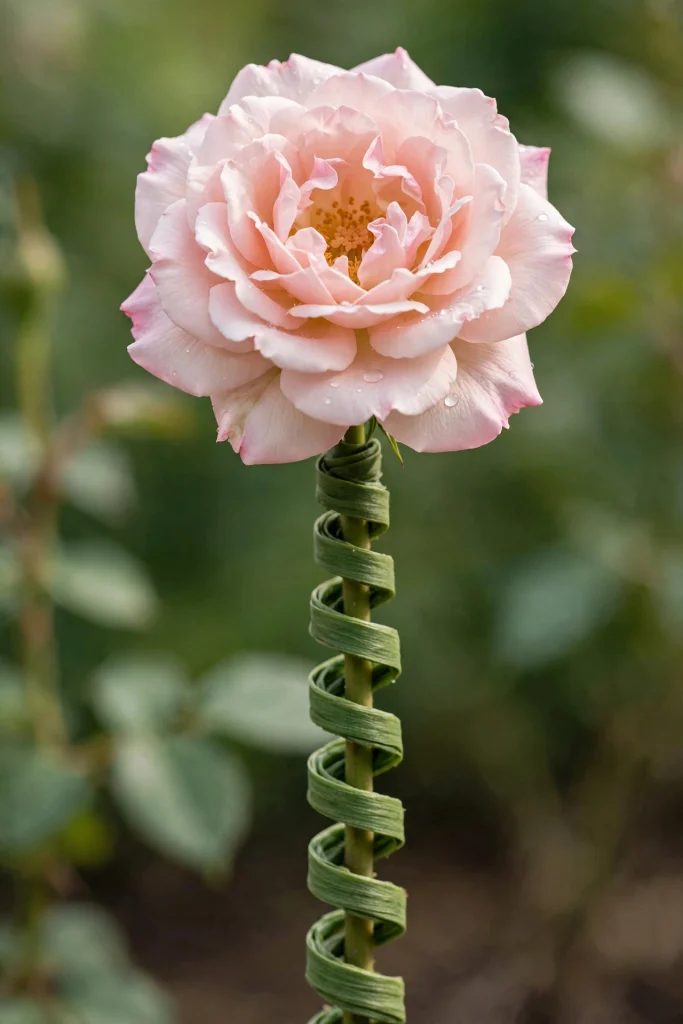
Wrap a second green chenille stem in a spiral down the length of the main stalk to mimic the fuzzy texture of a real stem. Twist one end of a new green stem near the base of the flower head, then wind it downward around the stalk at a slight angle, similar to how tape spirals down a bat handle, until you reach the bottom. Twist the loose end to secure it once you get there and trim any excess. This step is optional, but it hides the plain bare wire look of a single stalk and gives the flower a more finished, three-dimensional appearance when it is displayed close up.
Step 8: Group Your Flowers into a Bouquet
Twist several finished flower stalks together near the base to build a small bouquet, or push each stalk into a jar of sand, dried beans, or floral foam so the flowers stand upright. Hold three to five finished flowers side by side and wrap the exposed stalk sections around each other a few times, staggering the flower heads slightly so they do not all sit at the exact same height. If you are displaying them in a container instead, trim the stalks to slightly different lengths before pushing them in, which gives the arrangement a fuller look than stalks that are all cut identically. Because nothing here is glued, you can always pull the bouquet apart and rearrange the flowers later if you want a different look.
FAQ
What if my petal loops keep coming undone?
The base twist is probably too loose. Untwist it fully and redo it with three full turns instead of one, pressing the twist flat against itself as you go.
How long does one flower take to make?
A basic twisted loop flower takes about three minutes once you know the steps. A spiral rose or a flower with added texture on the stalk can take five to six minutes.
Can I skip the center detail and texture steps?
Yes, Steps 5 and 7 are optional finishing touches. The flower is fully functional after Step 4, they just add a more polished look.
Do I need special tools to curl the petal tips?
No, any pencil, marker, or thin dowel works fine. A finger can even be used in a pinch, though a pencil gives a tighter, more even curl.
Conclusion
You now have a full flower built from just a few chenille stems, cut, twisted, gathered, and wrapped into a stalk, with optional touches to make it look more finished. The whole process leans on one repeated motion, twisting a petal shut, so once the first flower is done the rest go much faster. From here, try making a small batch of five or six flowers in different colors and group them into a bouquet using Step 8, or experiment with a spiral rose shape once the basic loop method feels comfortable. Since nothing is glued down, there is no wrong way to adjust a flower after the fact if a shape does not turn out the way you pictured it.
References
- Fuzzy Pipe, “Pipe Cleaners or Chenille Stems? History of Both Terms Explained”
- Rebornpipes, “History of Pipe Cleaners”
- Pipe Cleaner Animals, “What Are Pipe Cleaners?”
Image Suggestions
- A chenille stem being cut into equal petal pieces with a ruler alongside
- A hand twisting one petal piece into a closed loop shape
- Several twisted petal loops gathered into a bundle in one hand
- A green stem being wrapped tightly around the petal base to form the stalk
- A bead or contrasting loop being twisted into the flower’s center
- A petal tip being curled around a pencil
- A finished flower with a spiral-wrapped green stalk
- A small finished bouquet of flowers grouped together in a jar

Sarah Anderson . J
I’m the mom behind Wise Mom Blogger, where everyday creativity meets real-life motherhood. I share easy DIY crafts, cozy knitting and crochet projects, beginner-friendly sewing ideas, and family-tested recipes—plus quick baking hacks that make homemade feel doable on busy days.