Old frames sit in closets more often than they hang on walls. That is a shame, because a plain frame is one of the easiest things to turn into something special. You do not need fancy tools or a big budget. A little paint, some glue, or a handful of scraps from your craft bin can carry you a long way. This list walks through twelve picture frame crafts you can try this weekend, from quick beginner projects to a few that ask for a bit more patience. Pick one that matches the supplies you already have, or use the summary table below to plan ahead.
Quick Answer
The easiest picture frame crafts use things you likely already own, such as twine, washi tape, or leftover paint. A twine-wrapped frame or a washi tape frame can be finished in under thirty minutes, while mosaic or shadow box frames take longer and cost more in supplies.
| Craft Idea | Difficulty | Cost |
|---|---|---|
| Twine-Wrapped Frame | Easy | Low |
| Washi Tape Frame | Easy | Low |
| Mosaic Tile Frame | Hard | Varies |
| Seashell Beach Frame | Medium | Varies |
| Map Collage Frame | Medium | Low |
| Clothespin Frame | Easy | Low |
| Painted Ombre Frame | Medium | Low |
| Pressed Flower Frame | Medium | Low |
| Cork Board Combo Frame | Easy | Varies |
| Puzzle Piece Frame | Medium | Low |
| Fabric-Covered Frame | Easy | Low |
| Shadow Box Frame | Hard | Varies |
Roughly how long each project takes (in minutes)
1. Twine-Wrapped Frame
This is the frame to start with if you have never done a craft project before. Grab any plain wooden frame and a ball of jute or cotton twine. Add a dab of hot glue to the back corner, then wind the twine around the frame edge, pressing each loop close to the last one.
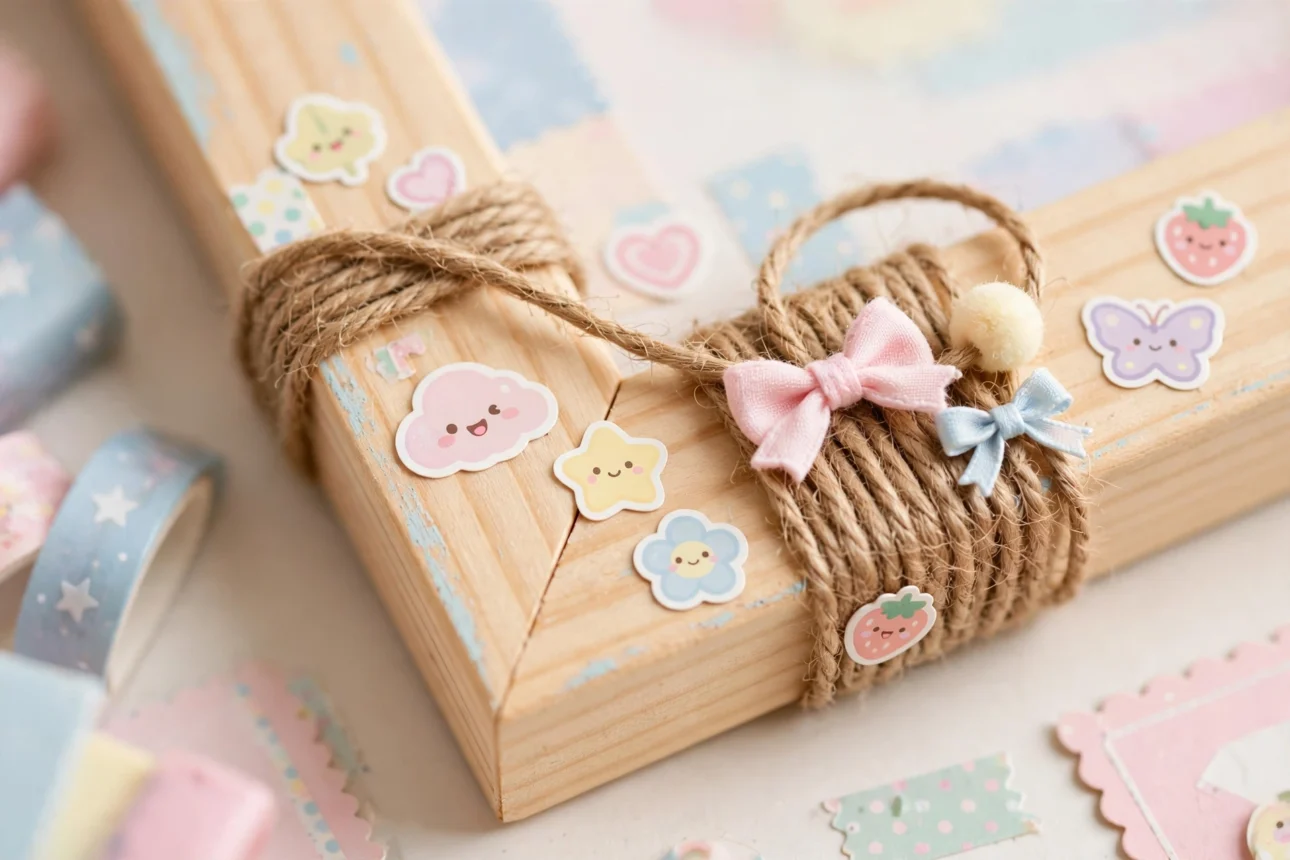
The rustic, woven texture works well for farmhouse decor, and it hides scratches or dents on an old frame. Swap the twine for colored yarn if you want something brighter for a kid’s room.
Quick tip: wrap in short sections and add a dot of glue every few loops so the twine does not slip while it dries.
Because twine hides seams and rough edges so well, this idea also works on frames with dents, chips, or old sticker residue that would be hard to sand smooth. It gives a beat-up frame a fresh, cohesive look without any woodwork.
2. Washi Tape Frame
Washi tape is paper tape that peels off cleanly, which makes it perfect for a frame you want to change often. Pick two or three patterns that go together, then lay strips across the frame in a straight line, a chevron pattern, or a simple grid.
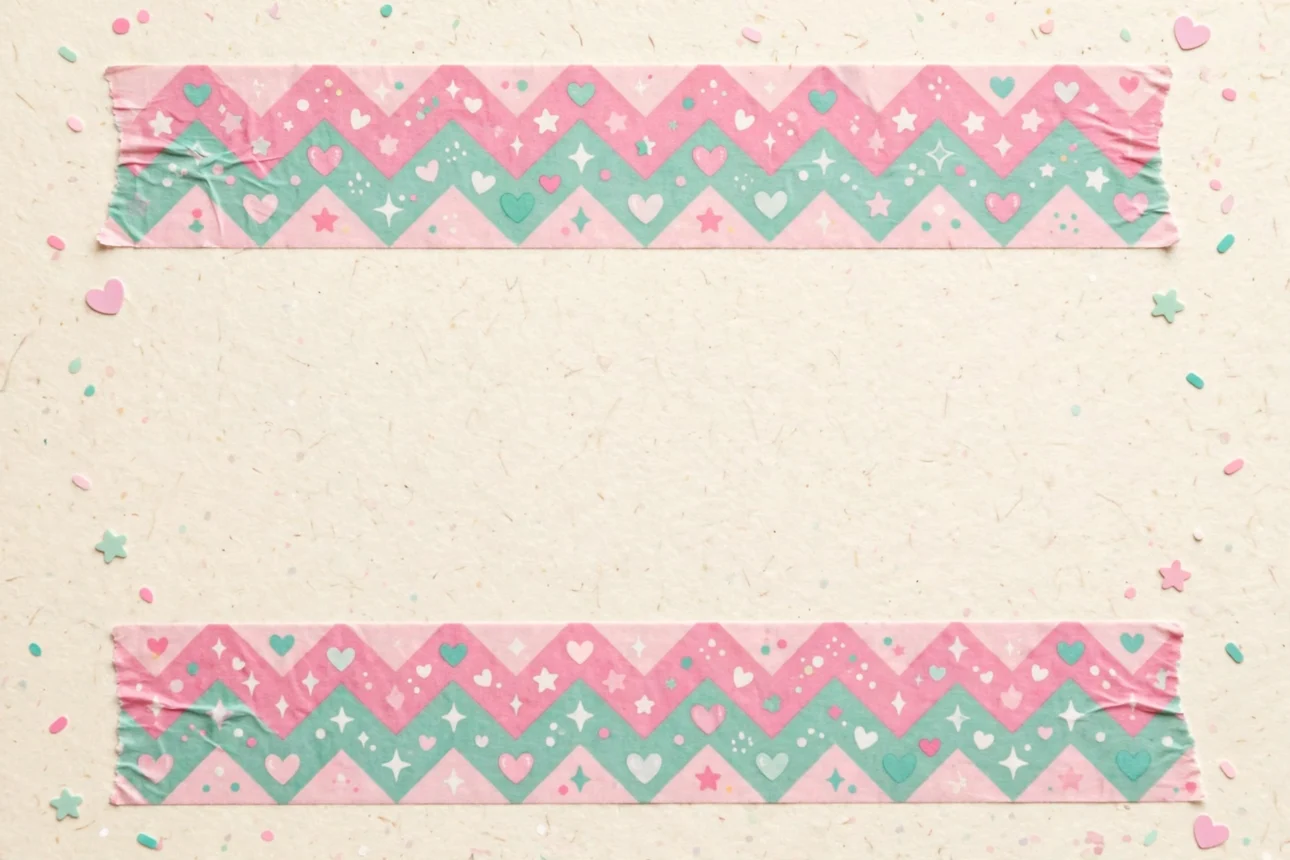
This project takes only a few minutes and needs no glue or paint. It is a great one for kids, dorm rooms, or anyone renting an apartment who wants to switch up decor without a mess.
Quick tip: trim the tape with sharp scissors instead of tearing it, so the edges stay crisp at the corners.
Because it peels away without leaving marks on painted wood, you can try several tape combinations on the same frame until one feels right, then keep whichever pattern you like best for as long as you want.
3. Mosaic Tile Frame
A mosaic frame turns a plain wooden blank into a small piece of art. Craft stores sell mosaic kits with pre-cut glass or ceramic tiles, or you can break up old plates and tiles yourself if you are careful with the sharp edges.
Arrange the pieces on the frame first before gluing anything down, since it is much easier to fix the layout on paper than after the tiles are stuck. Grout lines can be added at the end for a finished, tiled look.
Quick tip: leave a small, even gap between each tile so the grout has room to fill in properly.
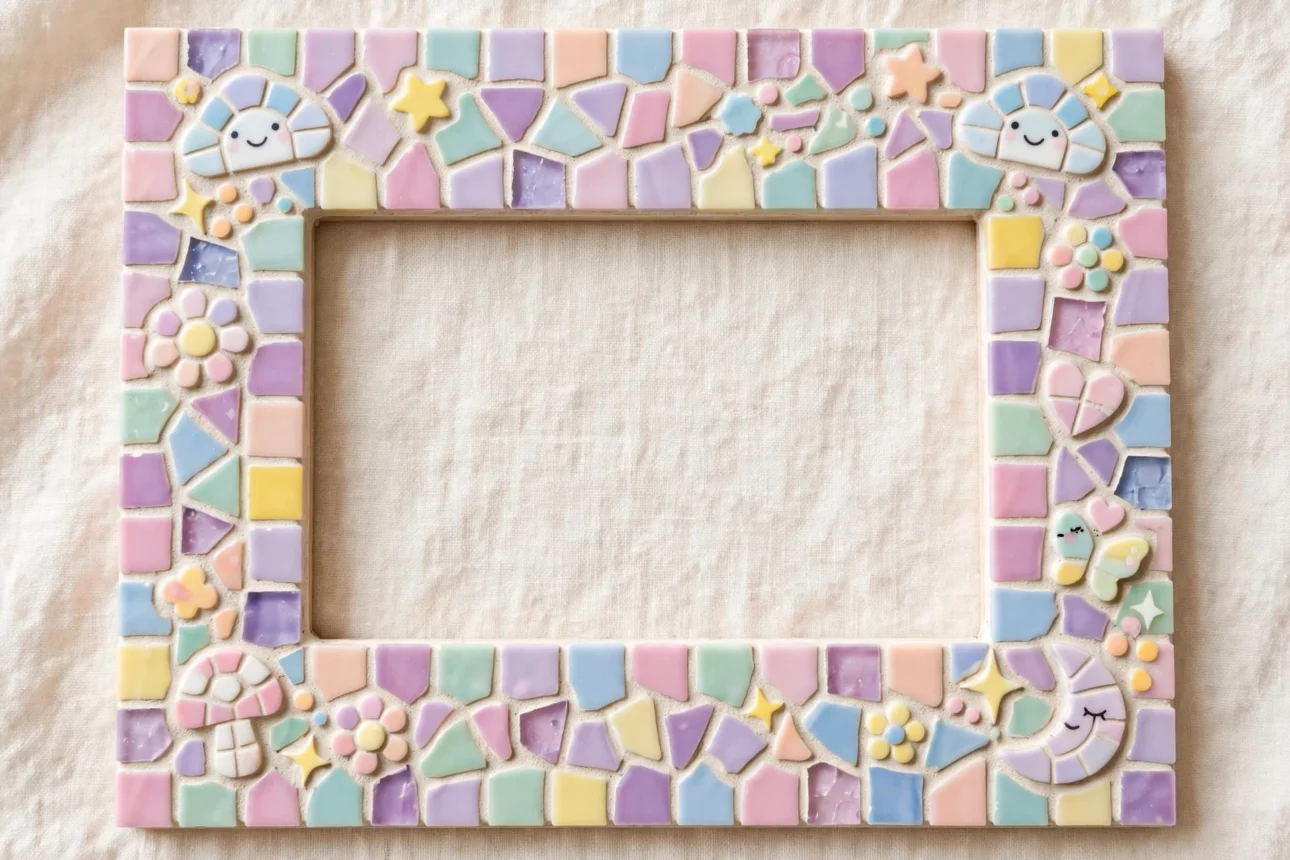
Wipe away excess grout with a damp sponge before it fully hardens, and buff the tiles with a soft cloth afterward so the glass or ceramic pieces catch the light nicely.
4. Seashell Beach Frame
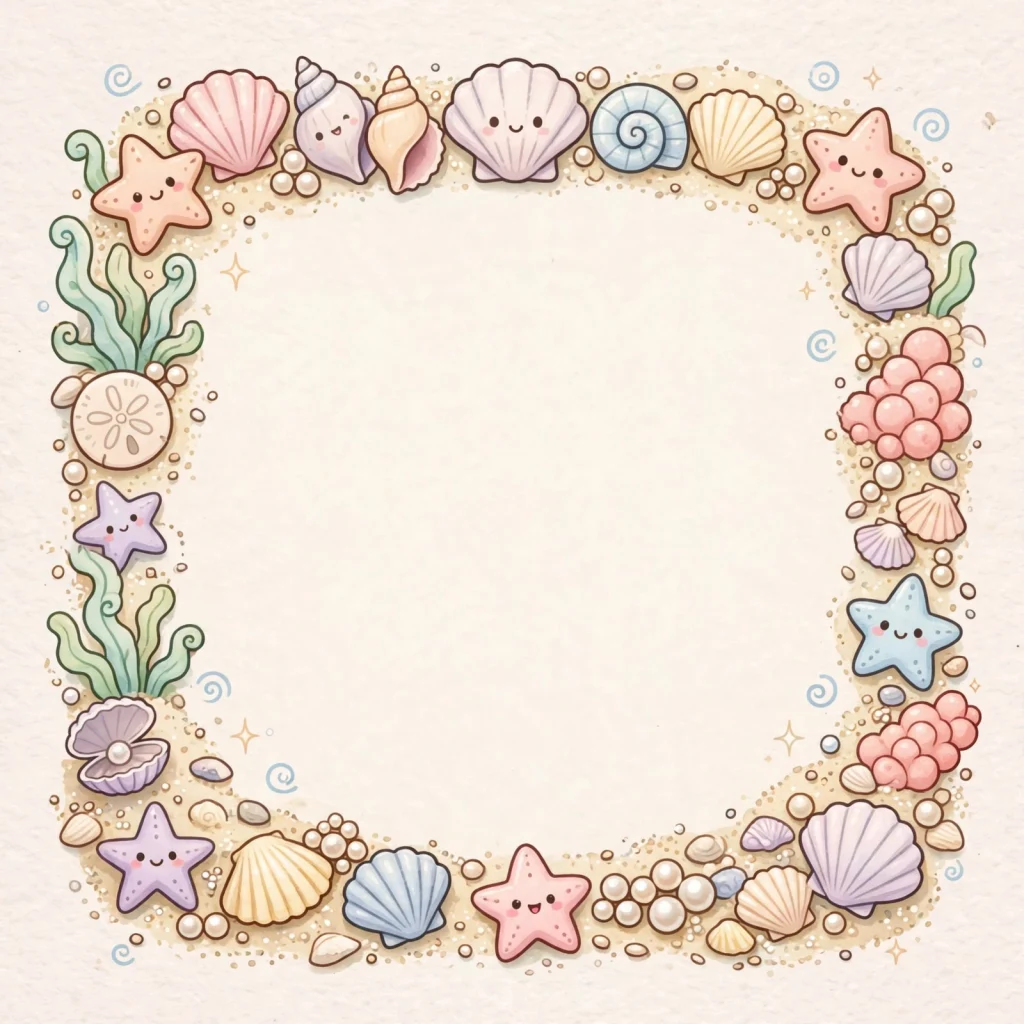
If you kept a bag of shells from a beach trip, this frame gives them a home. Sort the shells by size, glue the larger ones around the outer edge first, then fill gaps with smaller shells and a bit of sand for texture.
This craft pairs naturally with vacation photos, and a coat of clear sealant afterward keeps small shell fragments from chipping off over time.
Quick tip: use a hot glue gun rather than craft glue, since shells are heavier and need a stronger hold.
If you do not have real shells on hand, a craft store bag of mixed shells works just as well and often comes with starfish or coral pieces that add extra texture along the top edge.
5. Map Collage Frame
Old maps, atlas pages, or printed travel maps make a frame that tells a story on its own. Cut the map into strips or shapes, then cover the front of the frame using a thin layer of decoupage glue to seal each piece down.
This idea works well for framing photos from a specific trip, since you can use a map of that city or country as the border.
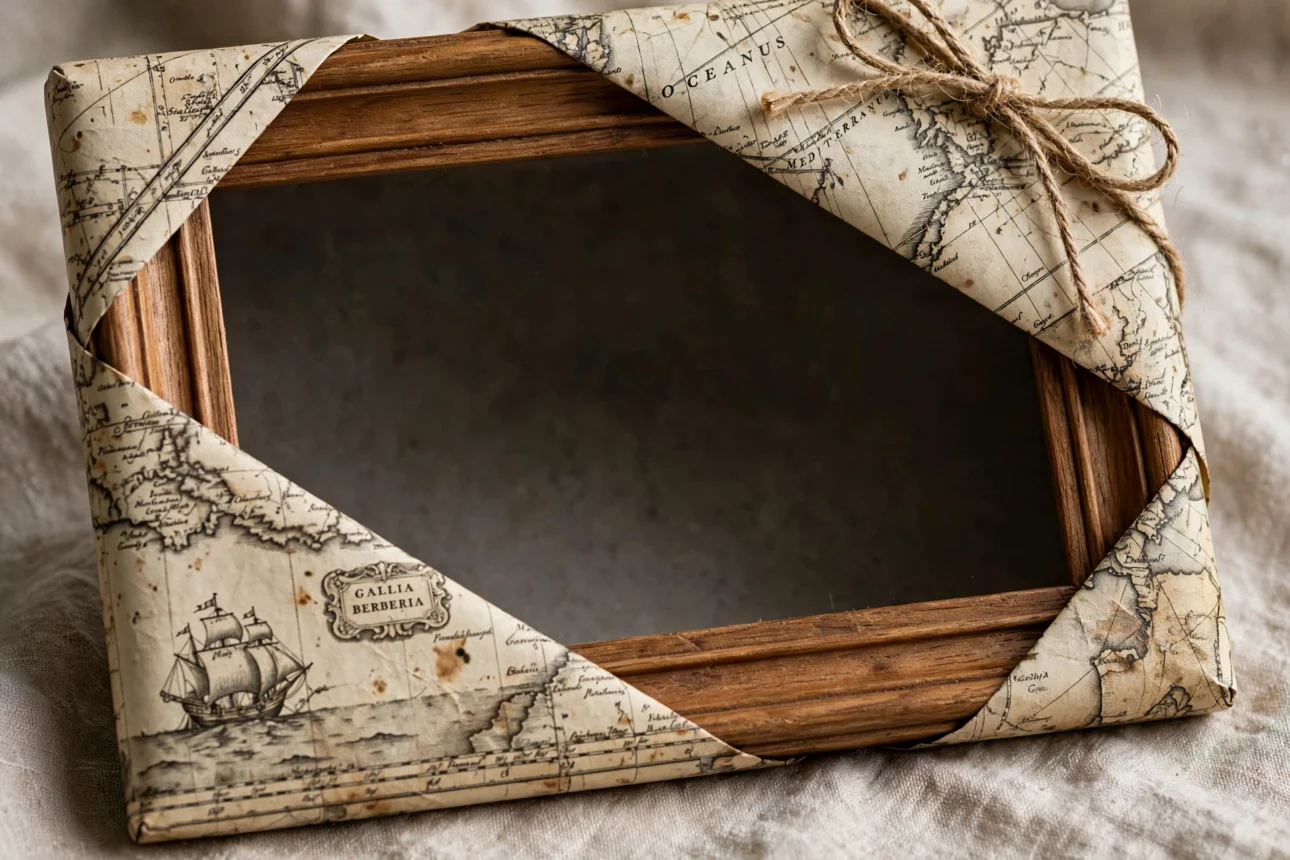
Quick tip: brush a final coat of decoupage glue over the whole surface once it is dry, to protect the paper and give it a slight shine.
You can also mix in ticket stubs, postcards, or a boarding pass from the same trip, layering them under the map pieces so a small edge of each peeks out.
6. Clothespin Frame
This is less a frame around a single photo and more a display board for many photos at once. Glue wooden clothespins in a row along a plain board or strip of wood, then clip photos, notes, or postcards into place.
Because the clips hold the photos rather than glue, you can swap pictures whenever you like, which makes this a good pick for a rotating gallery of memories.
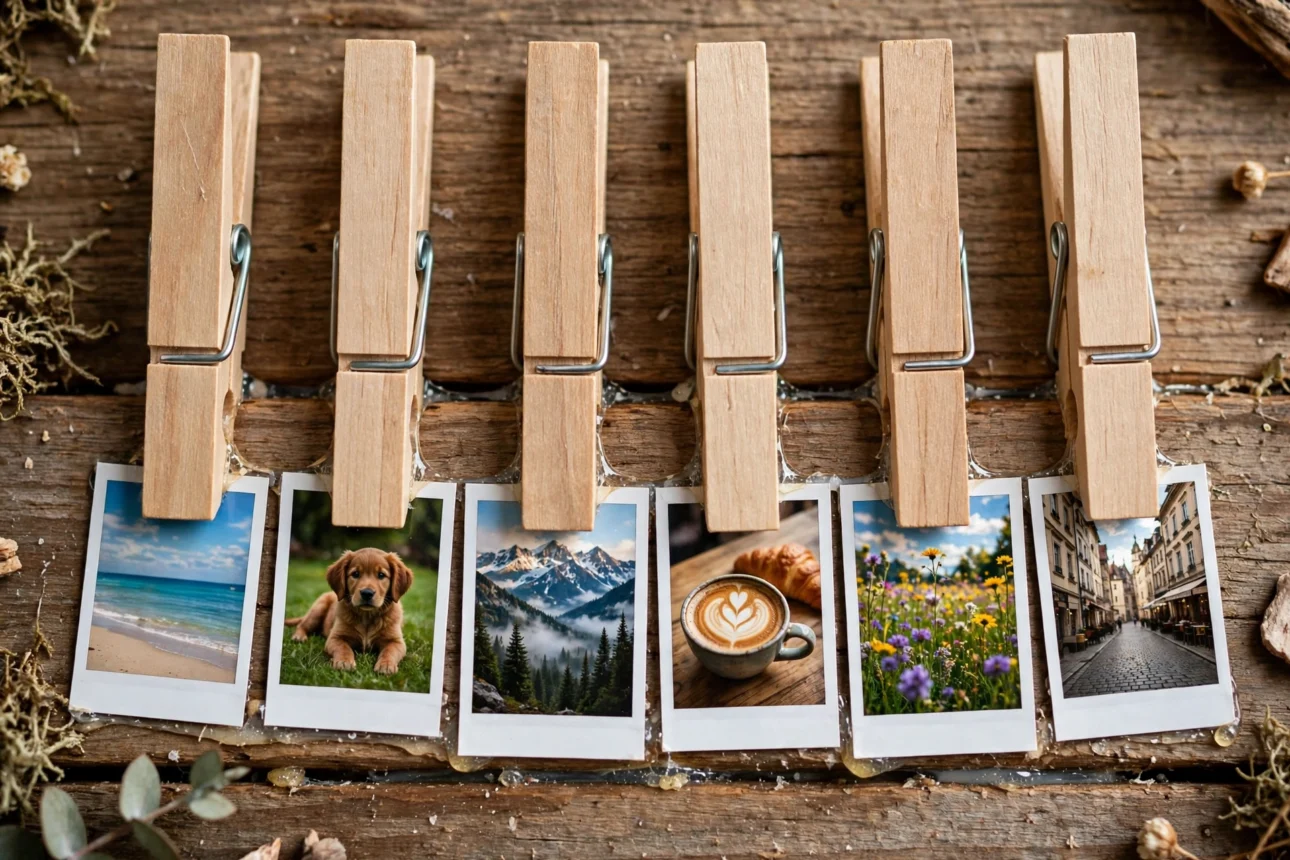
Quick tip: paint or stain the clothespins before gluing them down so the color matches your wall decor.
String or a strip of ribbon behind the clips gives the whole board more structure, and you can space clothespins closer together for a fuller wall of photos or farther apart for a cleaner, minimal look.
7. Painted Ombre Frame
An ombre frame moves from a light shade to a dark shade of the same color across the frame. Mix your paint into three or four cups, lightening each one with a little white, then paint the frame in bands and gently blend where the bands meet.
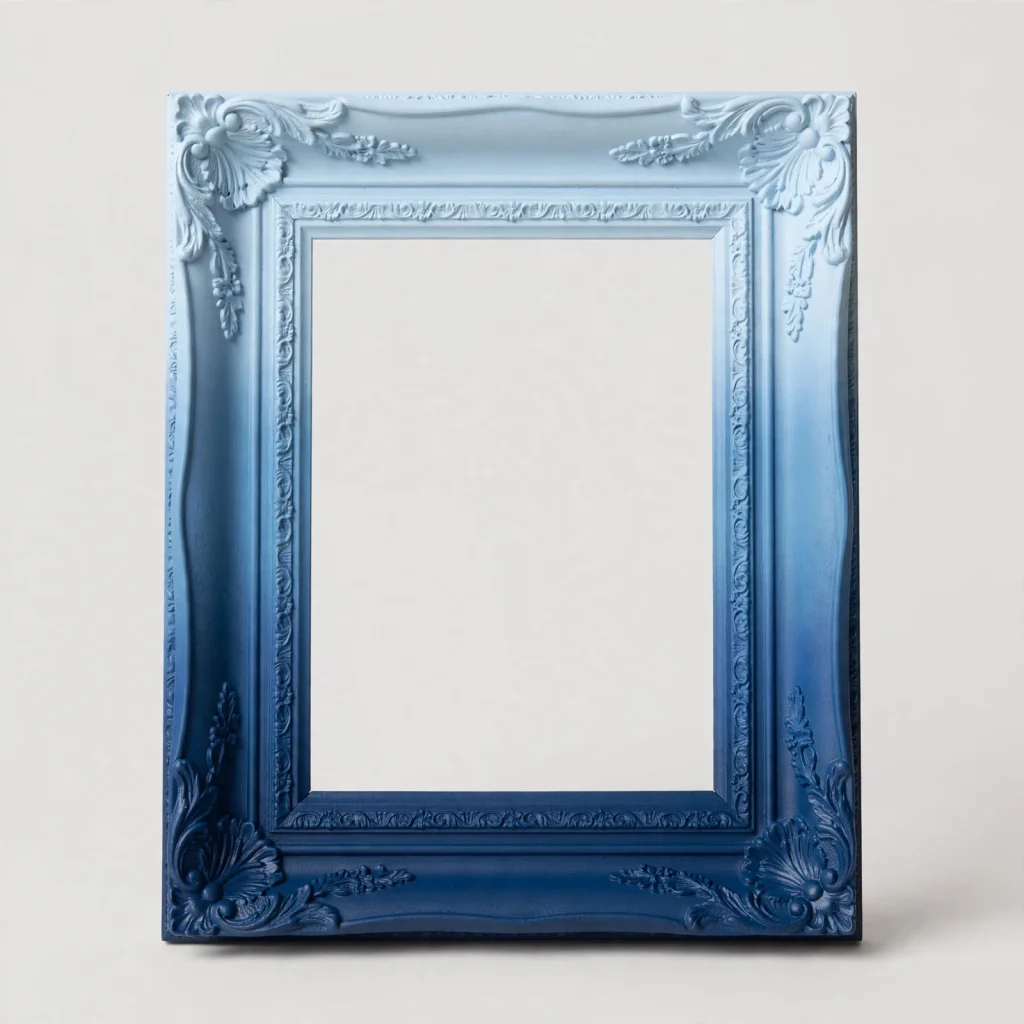
This is an easy way to add a modern, colorful touch to an inexpensive dollar store frame, and it does not need any extra materials beyond paint and a brush.
Quick tip: work quickly while the paint is still wet, since blending gets harder once a band starts to dry.
A soft, dry brush dragged lightly across the seam between two bands smooths out any harsh lines, and a coat of matte sealant afterward keeps the color from chipping with everyday handling.
8. Pressed Flower Frame
Pressed flowers give a frame a soft, natural look that works well for weddings, gardens, or spring themed rooms. Press flowers between heavy books for about a week until they are flat and dry, then arrange them around the frame edge and seal with a thin coat of glue.
Small flowers such as pansies, violets, and ferns tend to press well and keep their color longer than thick, fleshy blooms.
Quick tip: use tweezers to place small petals, since fingers can smudge the glue or crush the dried flower.
Silica gel or a flower press speeds up the drying time if you do not want to wait for the book method, and pressed leaves or ferns fill gaps nicely between the larger blooms.
9. Cork Board Combo Frame
Combine a photo frame with a small cork board panel so you get a fixed photo on one side and a pinboard for notes, tickets, or extra photos on the other. Attach both pieces to a shared backing board using screws or strong glue.
This craft is useful for a study desk or entryway, where you want one favorite photo on display along with room to pin reminders.
Quick tip: paint the cork board edge to match the frame finish so the two pieces look intentional together.
A thin wooden trim glued around both pieces once they are joined hides the seam between the frame and the cork, giving the finished piece a single, unified border.
10. Puzzle Piece Frame
An old jigsaw puzzle missing a few pieces still has plenty of use left in it. Paint the puzzle pieces in one color, or leave them natural, then glue them around a plain frame in an overlapping pattern until the wood is fully covered.
The bumpy, interlocking shapes give the frame a playful, textured border that kids especially enjoy building.
Quick tip: sort pieces by size first so you can fit larger ones in first and fill small gaps with smaller pieces at the end.
A single coat of metallic spray paint over the finished, glued layer turns plain cardboard puzzle pieces into something that looks closer to carved wood or hammered metal.
11. Fabric-Covered Frame
Wrapping a frame in fabric is a soft, cozy way to bring a pattern or color into a room. Cut fabric slightly larger than the frame, wrap it around the front and sides, then glue or staple the edges down on the back.
Leftover scraps from a sewing project or a favorite old shirt work well here, which makes it a good way to reuse fabric that has sentimental value.
Quick tip: iron the fabric flat before wrapping it, so wrinkles do not show through once it is glued in place.
Choose a fabric with some structure, like cotton canvas, over something thin and stretchy, since thicker fabric wraps cleaner around corners and hides the raw frame edge better.
12. Shadow Box Frame
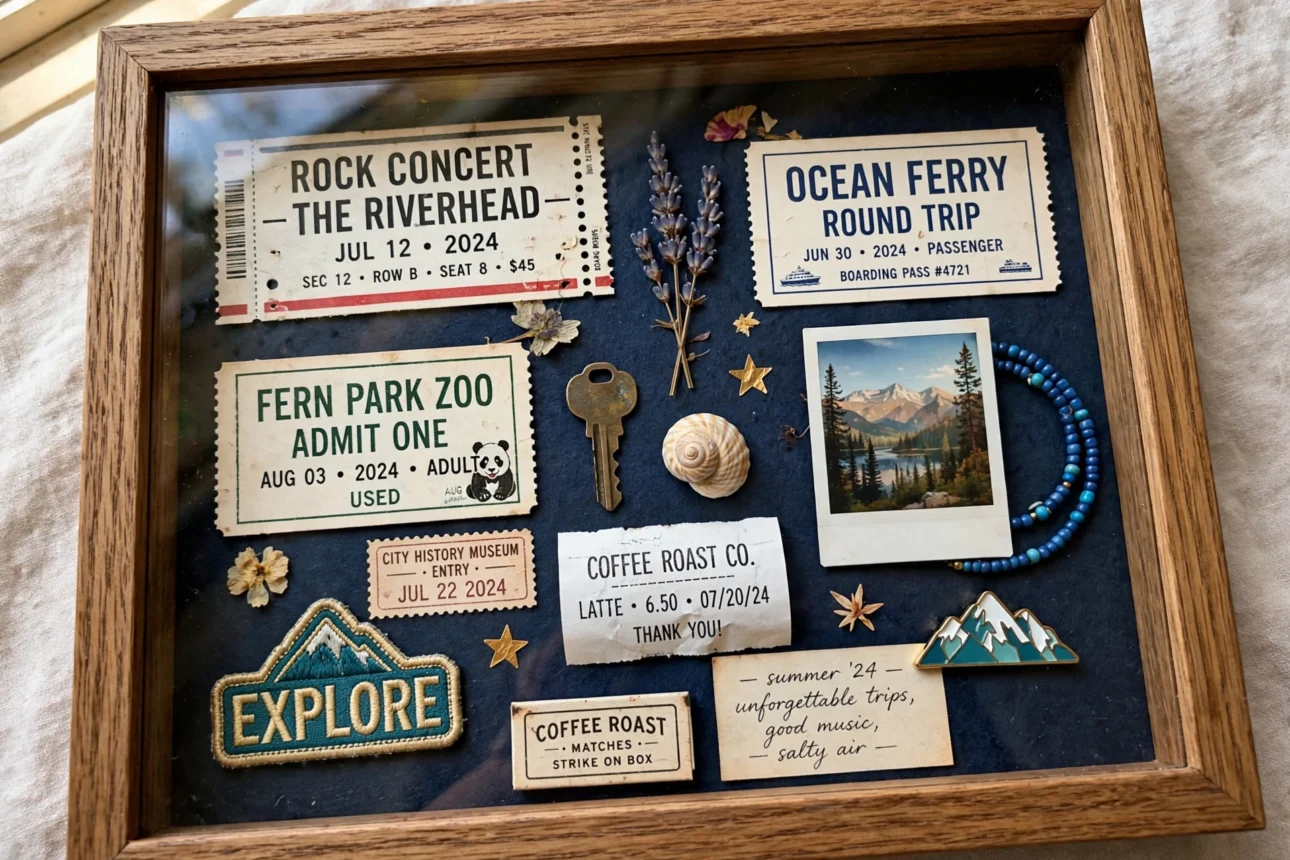
A shadow box is a deep frame that holds small objects instead of a flat photo, such as ticket stubs, dried flowers, medals, or tiny toys. Build or buy a frame with extra depth, then arrange the objects inside with foam mounting tape so they stay put but do not lie completely flat.
This project takes longer than the others on this list, since planning the layout of several objects takes patience, but it makes a meaningful keepsake for milestones like graduations or new babies.
Quick tip: dry-fit every object in place first and take a photo of the layout, so you can rebuild it exactly if a piece shifts while gluing.
Add a small handwritten label or date card at the bottom corner, since a shadow box is often kept for years and the extra context helps everyone remember why each object matters.
FAQ
What is the cheapest picture frame craft to try?
The washi tape frame and the twine-wrapped frame are the cheapest options on this list. Both use materials that cost only a few dollars and can be finished with a frame you already own.
Which frame craft is best for kids?
The puzzle piece frame and the clothespin frame are both good choices for kids. Neither one needs sharp tools, and children can help sort pieces or clip photos into place.
Can I use these ideas on frames without glass?
Yes. Most of these crafts decorate the outer edge or front surface of the frame, not the glass itself, so a frame missing its glass still works fine for any idea on this list.
How do I keep a decorated frame from getting damaged?
A thin coat of clear sealant or decoupage glue over the finished surface protects paper, shells, and pressed flowers from dust and light damage. Let each layer dry fully before adding the next.
Conclusion
A frame does not have to stay plain just because it came that way from the store. Twine, tape, paint, and scraps from your craft bin can turn a basic frame into something that actually feels like yours. Start small if you are new to crafting. A washi tape frame or a twine-wrapped frame takes very little time and gives you a feel for how the materials behave. Once you are comfortable, work your way up to a mosaic, a shadow box, or a fabric-covered frame for something with more depth. Keep a small box of leftover craft supplies on hand, since scraps from one project often become the starting point for the next one. Pick a frame sitting unused in your closet and give one of these ideas a try this week.
References
- Instructables, “DIY Picture Frame From Cardboard and Decorative Materials”
- Gathered, “DIY Picture Frame Ideas”
- Mod Podge Rocks, “Photo Frame Decoration Ideas”
- In My Own Style, “Upcycled Picture Frames Decorating Ideas”

Sarah Anderson . J
I’m the mom behind Wise Mom Blogger, where everyday creativity meets real-life motherhood. I share easy DIY crafts, cozy knitting and crochet projects, beginner-friendly sewing ideas, and family-tested recipes—plus quick baking hacks that make homemade feel doable on busy days.