Quick answer: The most fun charcuterie boards go beyond the classic meat and cheese spread with themes like s’mores, chocolate, breakfast, or a holiday-specific board built around one color palette. Picking a theme first, then layering in three or four textures and a mix of sweet and savory items, is the easiest way to build a board that looks impressive without much extra planning.
A charcuterie board does not have to mean the same rotation of salami, brie, and crackers every time. Once you start thinking of a board as a themed snack spread instead of just a meat and cheese platter, the options open up quite a bit, from a s’mores bar to a full breakfast board to a Valentine’s Day dessert spread. The trick to a fun board is picking one clear theme, then filling it with a mix of textures, colors, and both sweet and savory bites so there is something for everyone. Here are 13 fun charcuterie board ideas to try at your next gathering.
Charcuterie Board Basics at a Glance
| Board Element | Typical Prep Time | Status |
|---|---|---|
| Cheese and cured meat | 10 to 15 minutes | Standard |
| Fresh and dried fruit | 5 to 10 minutes | Standard |
| Dips, jams, and spreads | 5 minutes if store-bought | Varies |
| Themed baked items (baked brie, s’mores) | 20 to 30 minutes | Varies |
| Full multi-station food table | 1 hour or more | Caution |
| # | Board Idea | Best For |
|---|---|---|
| 1 | Classic Meat and Cheese Board | Any gathering |
| 2 | S’mores Board | Summer and campfire nights |
| 3 | Chocolate Dessert Board | Sweet tooth crowds |
| 4 | Breakfast Board | Brunch gatherings |
| 5 | Valentine’s Day Board | Romantic occasions |
| 6 | Charcuter-Tree | Holiday parties |
| 7 | Taco or Nacho Board | Game day crowds |
| 8 | Fruit and Yogurt Board | Lighter snacking |
| 9 | Kids’ Snack Board | Family gatherings |
| 10 | Mediterranean Board | Vegetarian guests |
| 11 | Halloween Spooky Board | Halloween parties |
| 12 | Charcuterie Jar Cups | Individual servings |
| 13 | Sweet and Savory Mix Board | Mixed preference crowds |
Rough Assembly Time by Board Type
1. Classic Meat and Cheese Board
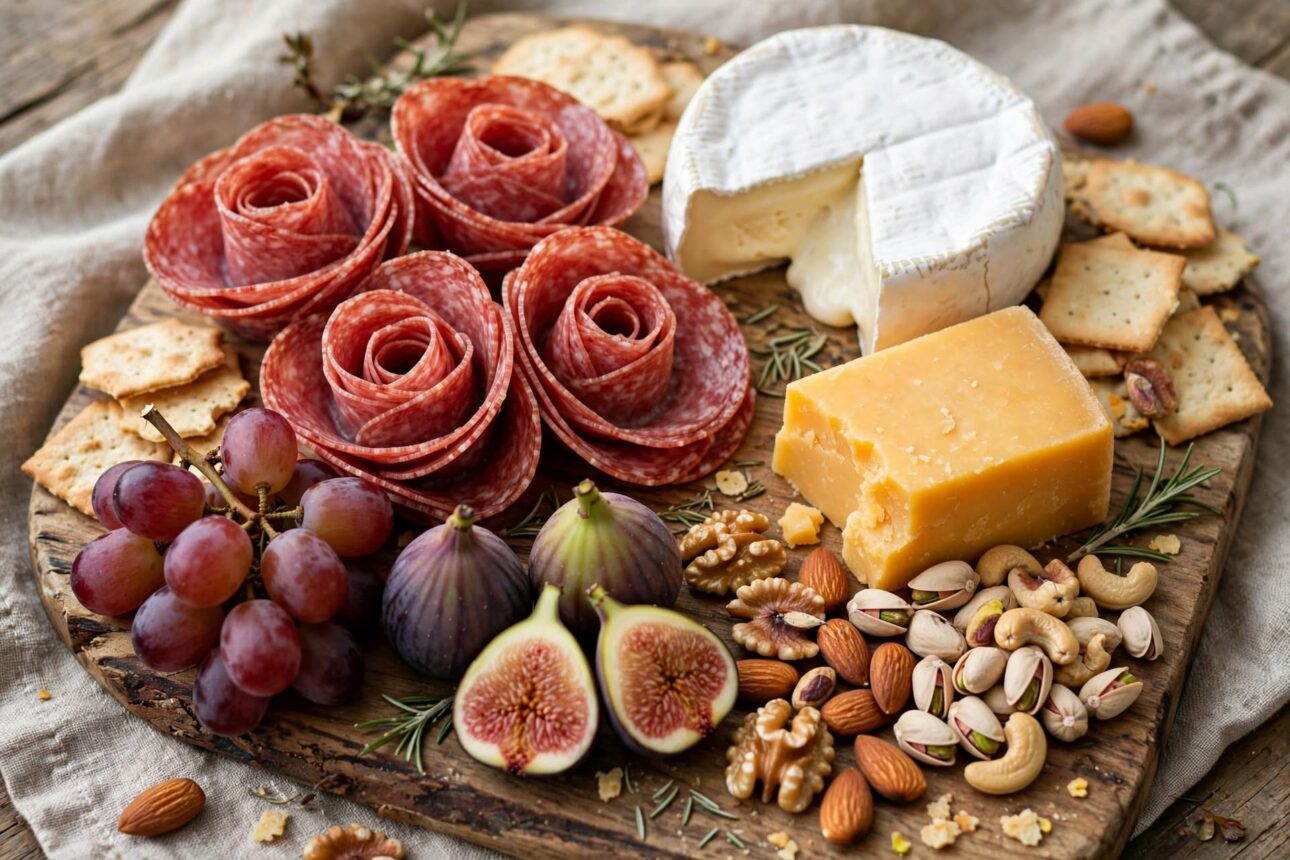
Build a board around three or four cheeses, like brie, aged cheddar, goat cheese, and a blue variety, paired with several cured meats such as salami, prosciutto, and pepperoni. This combination remains the most popular starting point for a charcuterie board because the different textures and flavors naturally pair well with almost any occasion. Add fresh and dried fruit, like grapes, figs, and apricots, for color and a touch of sweetness between savory bites. A handful of mixed nuts and a couple of crackers or crusty bread rounds out the board without much extra effort. This is the easiest board to build ahead of time since most of the ingredients keep well until the party starts.
2. S’mores Board
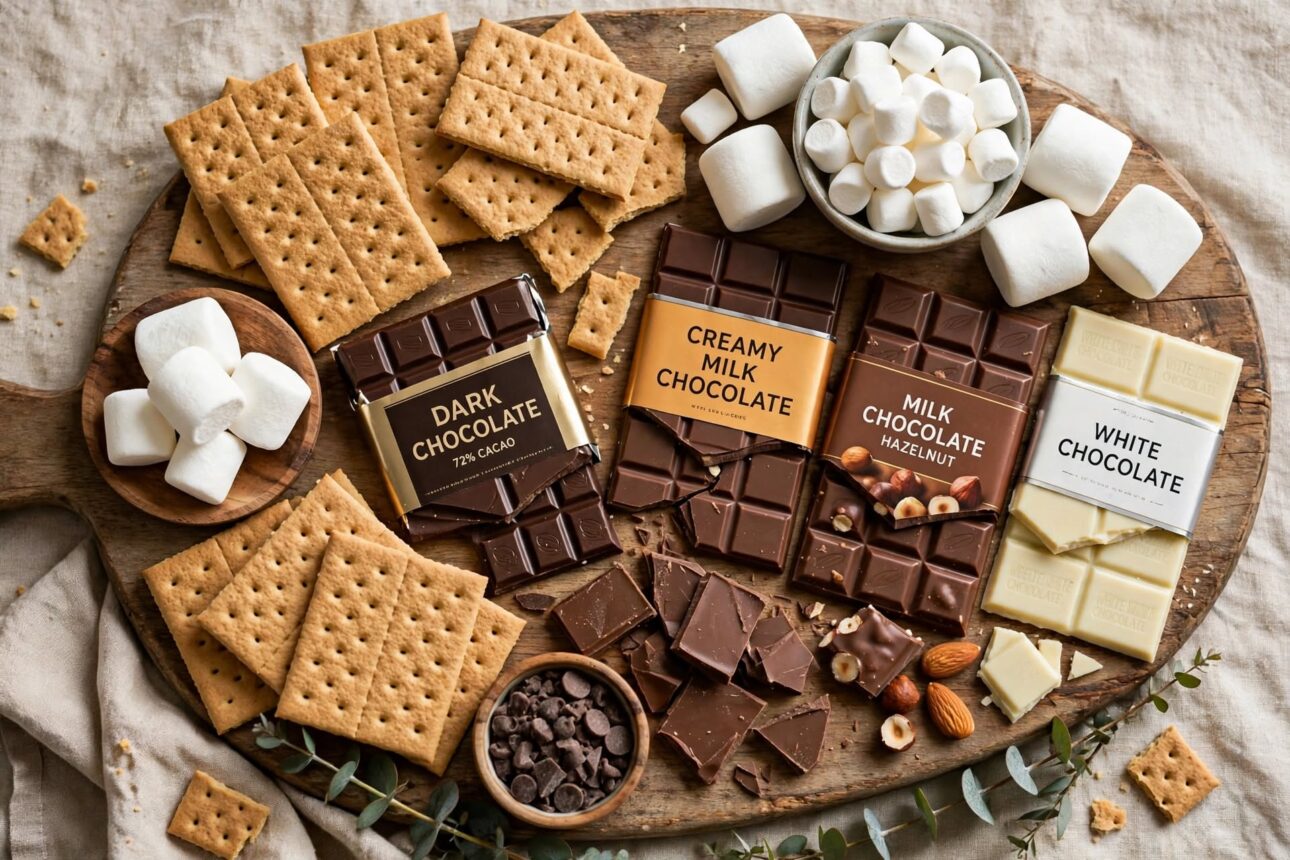
Fill a board with graham crackers, several chocolate bar varieties, marshmallows, and fun mix-ins like caramel and peanut butter for a build-your-own s’mores experience. This idea works especially well for summer gatherings or campfire nights since it turns a simple dessert into an interactive activity rather than a plated treat. Arrange the graham crackers in overlapping rows, then group the chocolate and marshmallows nearby so guests can build their own combination easily. Adding a small torch or a fire pit nearby lets guests toast their own marshmallows for extra fun. This board tends to disappear fast, so keeping extra marshmallows and chocolate on hand is a good idea for a bigger group.
3. Chocolate Dessert Board
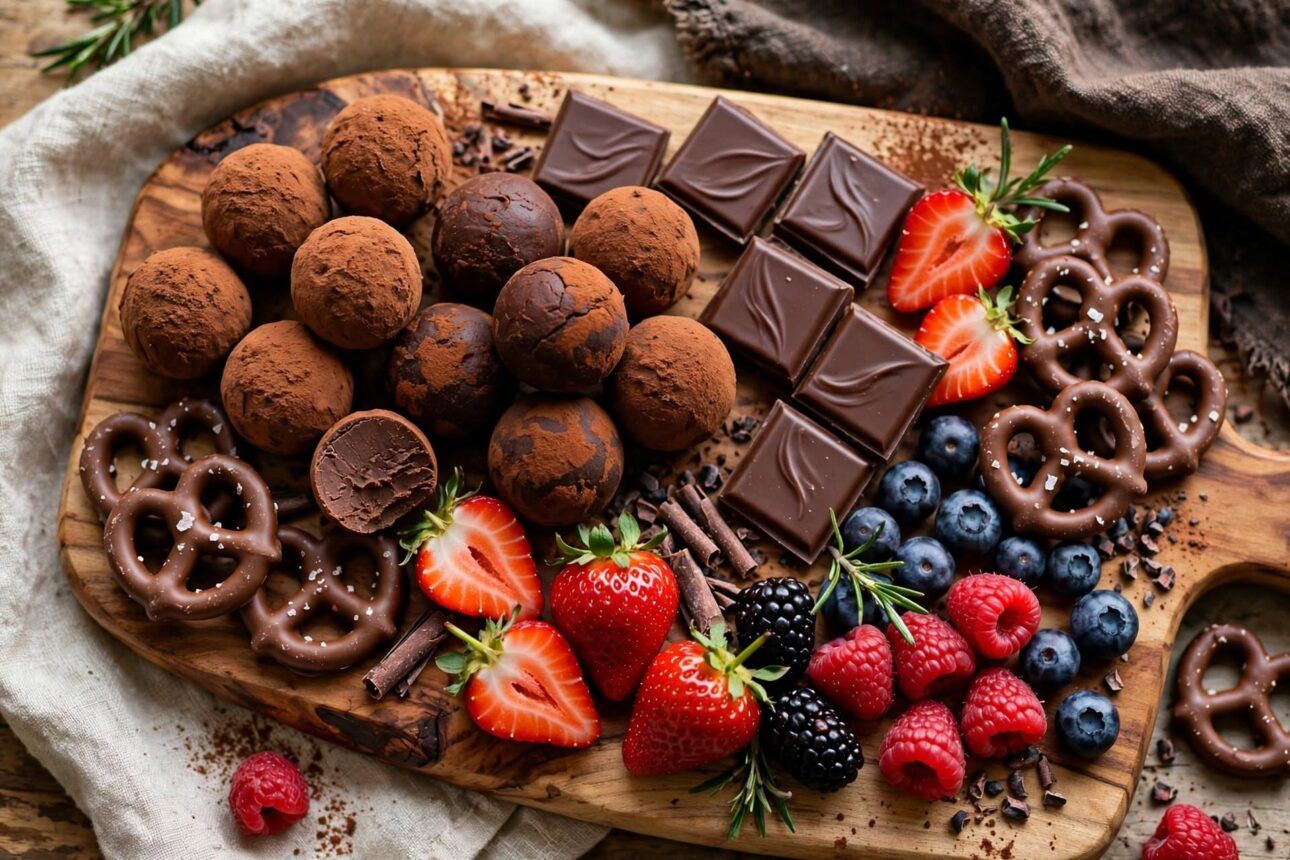
Fill a board with a mix of chocolate truffles, dark and milk chocolate squares, chocolate-covered pretzels, and fresh berries for an all-dessert charcuterie spread. A chocolate board works well as a dessert course after a meal or as the centerpiece of its own dessert party. Group the chocolates by type so guests can easily see their options, then tuck fresh berries like strawberries and raspberries into any gaps for color and a fresh contrast. A small bowl of Nutella or chocolate ganache in the center gives guests something to dip fruit or pretzels into. This board is easy to customize based on whatever chocolate you already have on hand or what is on sale.
4. Breakfast Board
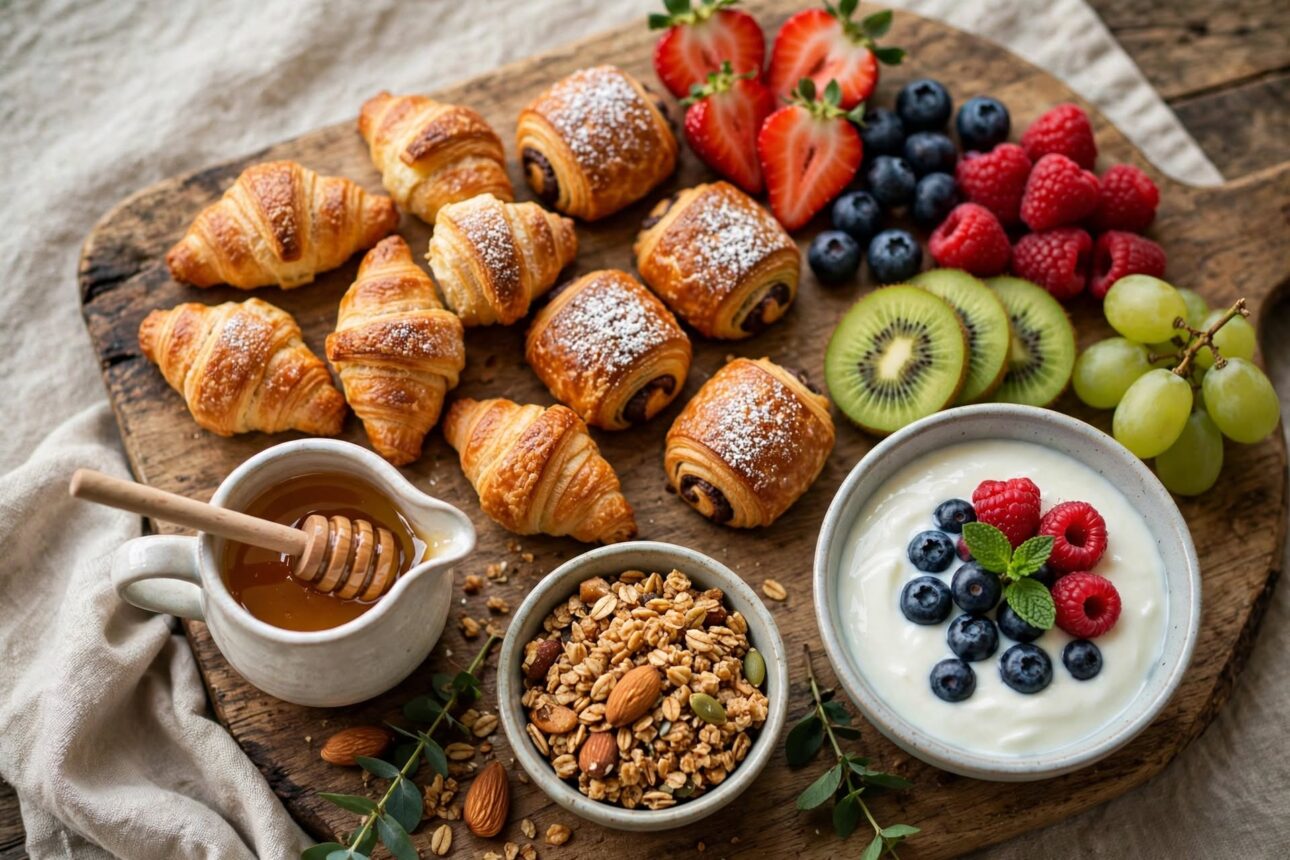
Build a board with mini pastries, fresh fruit, yogurt, granola, and a few slices of breakfast meat like bacon or sausage for a charcuterie-style brunch spread. This idea works especially well when hosting a morning gathering since it gives guests a variety of options without requiring a full sit-down meal. Arrange pastries and baked goods on one side, then group fruit, yogurt, and granola on the other so guests can build a parfait or grab items separately. Adding a small pitcher of maple syrup or honey gives guests something extra to drizzle over pastries or yogurt. This board pairs naturally with coffee or a mimosa bar for a relaxed weekend brunch.
5. Valentine’s Day Board
Build a board around pink and red foods, like strawberries, raspberries, red grapes, pink chocolate, and a soft cheese, for a romantic themed spread. Sticking to a tight color palette is one of the easiest ways to make a themed board look intentional and polished without much extra design work. Arrange the fruit and cheese in loose clusters by color, then fill any gaps with heart-shaped crackers or chocolate for a festive touch. A small ramekin of chocolate or berry sauce in the center gives the board a natural focal point. This idea works well scaled down for a couple or scaled up for a larger Galentine’s or Valentine’s Day gathering.

6. Charcuter-Tree
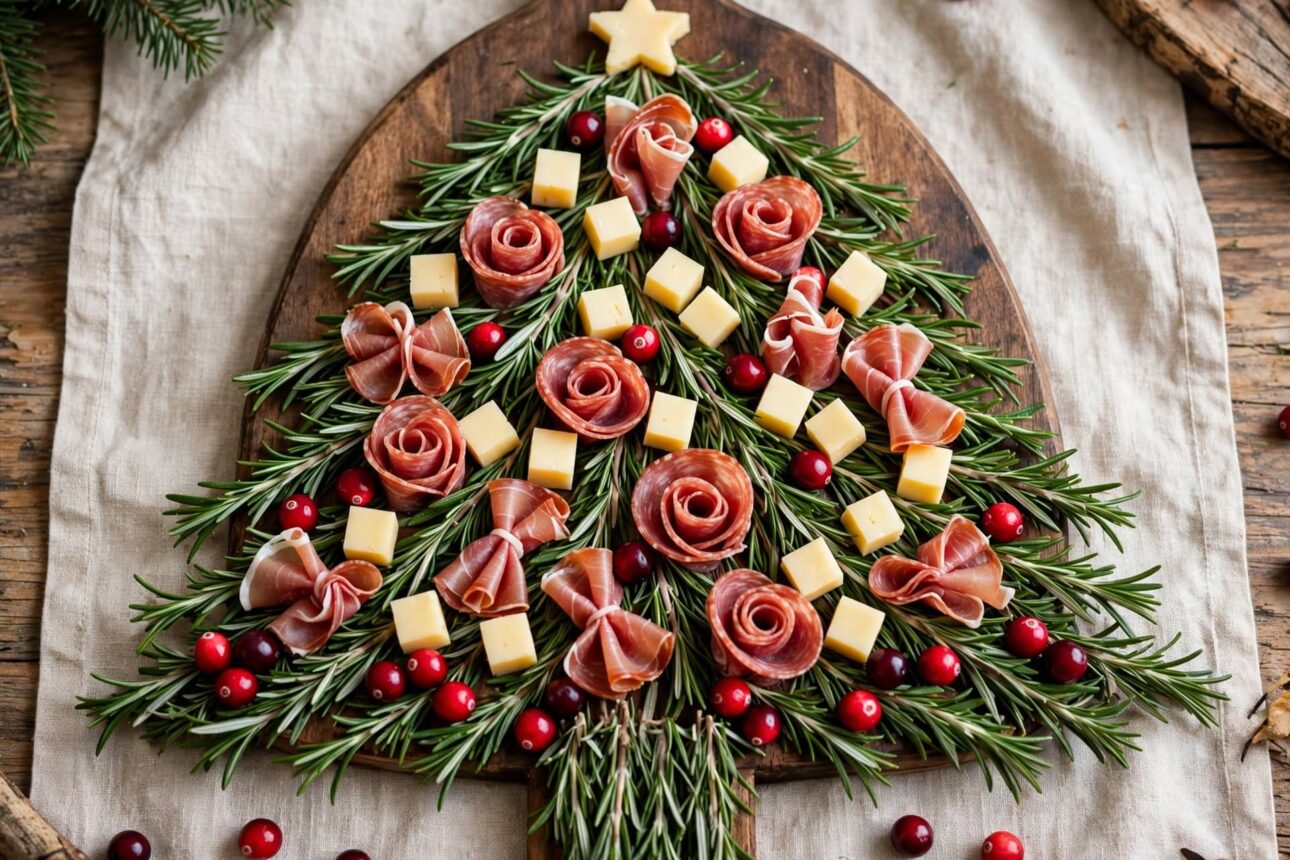
Arrange cheese, meat, crackers, and herbs in the shape of a Christmas tree on a large flat board or platter for a festive holiday centerpiece. This idea takes a familiar charcuterie board and gives it a fun, seasonal shape that instantly becomes a conversation piece at a holiday party. Start by outlining a triangle shape with rosemary sprigs or another leafy herb, then fill in the shape with folded meat, cheese cubes, and small crackers working from the base up. Add small round items like grapes or cranberries as ornaments scattered across the tree shape. A star-shaped cracker or cheese piece at the top finishes the look.
7. Taco or Nacho Board
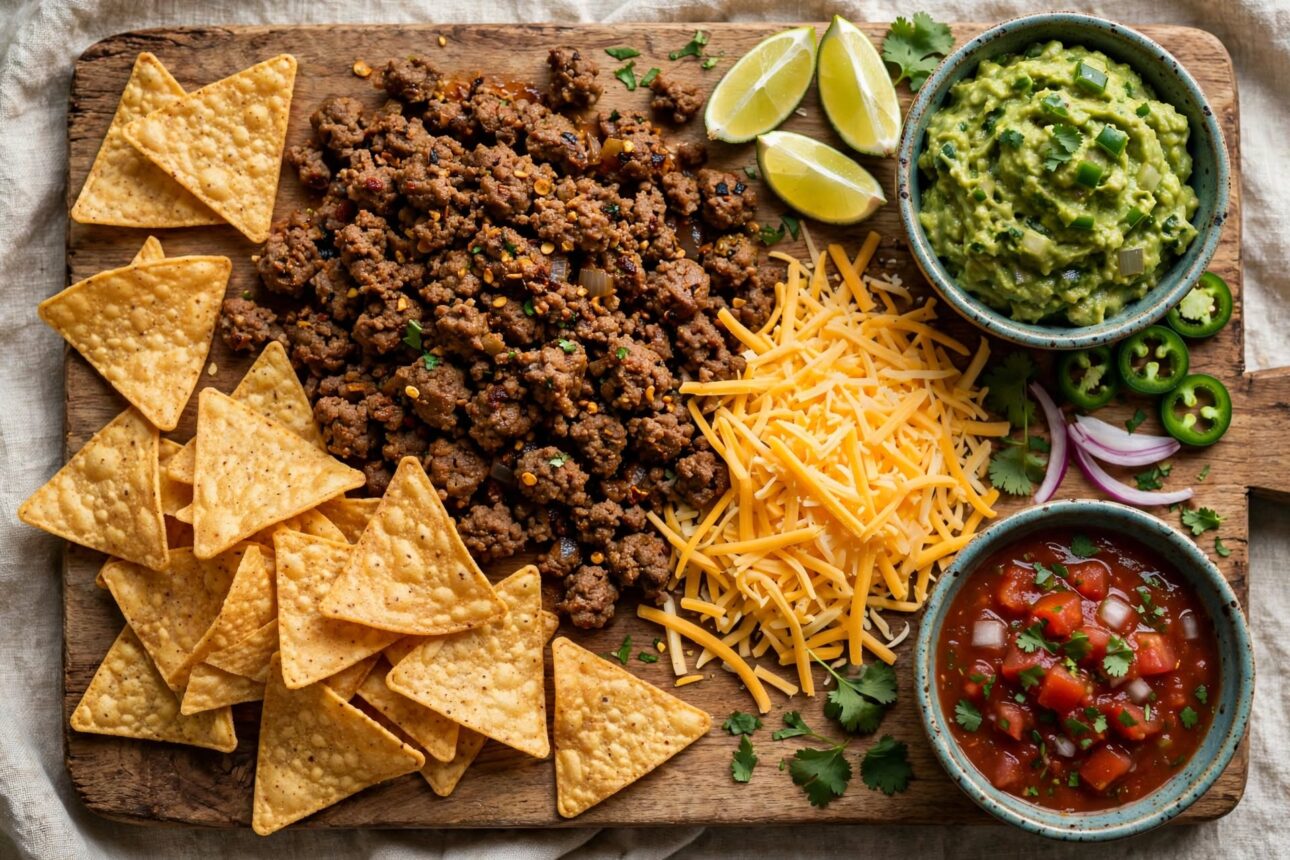
Fill a board with tortilla chips, shredded cheese, seasoned meat, and toppings like guacamole, salsa, and sour cream for a build-your-own taco or nacho spread. This idea works well for game day gatherings since it lets guests build a personalized plate without needing separate serving dishes for every ingredient. Spread the chips across the base of the board, then add small bowls or piles of toppings around the edges for easy access. Keeping wetter ingredients like salsa and guacamole in small bowls instead of directly on the board helps prevent everything from getting soggy too quickly. This board tends to be a crowd favorite since nearly everyone enjoys building their own combination.
8. Fruit and Yogurt Board
Build a board around several types of fresh fruit, a small bowl of yogurt or yogurt dip, and a light sprinkle of granola or honey for a lighter, refreshing option. This idea works well alongside a heavier board or as a standalone option for guests who want something less rich. Arrange the fruit by color in loose sections so the board looks vibrant and organized rather than randomly scattered. Place the yogurt or dip in a small bowl at the center so guests can dip fruit directly rather than needing separate plates. This board is also one of the easiest to prep ahead of time since fruit needs very little handling beyond washing and slicing.
9. Kids’ Snack Board
Fill a board with kid-friendly snacks like goldfish crackers, cheese cubes, grapes, pretzels, and a few small cookies for a fun, low-mess option at family gatherings. Kids’ boards work well because they give younger guests options they already recognize and enjoy, without needing separate serving plates for each snack. Arrange items in small, simple groupings so kids can easily see and grab what they want without digging through a crowded board. Keeping portions bite-sized, like small cheese cubes instead of full slices, makes the board easier for little hands to manage. This idea works well set at a lower table or a separate kids’ area during a larger party.
10. Mediterranean Board
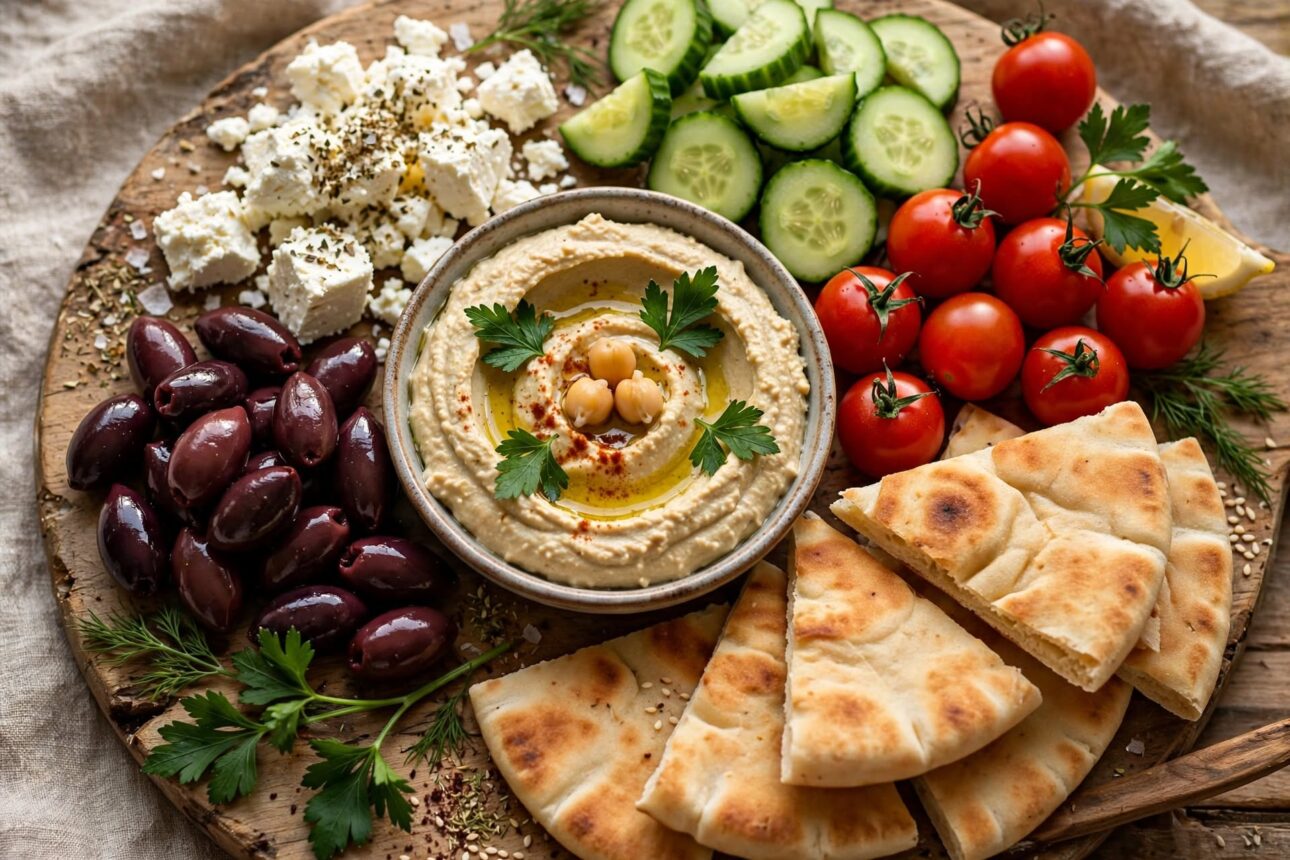
Build a board around hummus, olives, feta cheese, cucumber, cherry tomatoes, and warm pita for a fresh, largely vegetarian-friendly spread. This idea works well when you have guests avoiding meat, since the board still feels full and satisfying without relying on cured meats as the centerpiece. Place the hummus and any other dips in small bowls first, then arrange the vegetables and cheese around them in loose clusters. Warm the pita bread just before serving so it stays soft and easy to tear for dipping. A drizzle of olive oil and a sprinkle of za’atar over the hummus adds a nice finishing touch with very little extra effort.
11. Halloween Spooky Board
Fill a board with orange and black themed foods, like cheddar cheese, black olives, orange bell peppers, and spooky-shaped crackers, for a fun Halloween spread. Leaning into a specific color palette and a couple of themed shapes is an easy way to make a board feel festive without needing complicated recipes. Arrange the cheese and vegetables in clusters by color, then use small cookie cutters to shape a few crackers or cheese slices into pumpkins, bats, or ghosts. A small bowl of dip presented as a “cauldron,” using a dark-colored bowl, ties the theme together. This board works well alongside other Halloween party food rather than as the only offering on the table.
12. Charcuterie Jar Cups
Layer meat, cheese, crackers, and fruit into individual small jars or cups instead of building one large shared board. This idea, sometimes called jar-cuterie, works especially well for outdoor parties or larger gatherings where a shared board might not be practical or sanitary. Choose small mason jars or clear plastic cups, then layer a few pieces of each item so guests can see the variety inside. Arranging the jars on a tray or tiered stand keeps the presentation looking intentional rather than like individual snack bags. This option is also useful for guests with different dietary needs, since you can easily customize a few jars separately.
13. Sweet and Savory Mix Board
Combine sweet items like berries, honey, and dried fruit with savory items like pretzels, cheese, and vegetable crisps on the same board for guests who cannot decide between the two. This idea works well for mixed groups since it avoids forcing anyone to choose between a fully sweet or fully savory spread. Group the sweet and savory items into their own sections so the flavors do not blend together too much, but keep them close enough that guests can easily combine bites. A honey or caramel drizzle available on the side lets guests add sweetness to savory items like cheese or pretzels if they want. This board is a flexible option that works for almost any occasion since it appeals to a wide range of tastes.
How Do You Build a Charcuterie Board Step by Step?
Start by placing any bowls of dip or spreads on the board first, then build outward with larger items like folded meats and cheese blocks before filling remaining gaps with smaller items like nuts, crackers, and fruit. Working in this order keeps the board from looking flat, since the bowls and larger folded items add height and structure before the smaller pieces fill in the details. Folding meat into ribbons or small fans instead of laying it flat also adds visual texture without any extra ingredients. Filling gaps last, rather than placing every item in a fixed spot, gives the board a fuller, more natural look once it is finished.
- Choose your theme and gather three or four main ingredient categories, like cheese, meat, fruit, and crackers.
- Place any bowls of dip, jam, or spread onto the board first.
- Add larger items, like cheese blocks or folded meat ribbons, spaced evenly around the bowls.
- Fill in medium-sized gaps with crackers, bread, or vegetables.
- Fill any remaining small gaps with fruit, nuts, or other bite-sized items.
- Add a final garnish, like fresh herbs, to tie the presentation together.
Frequently Asked Questions
What is the easiest charcuterie board to make for beginners?
A classic meat and cheese board is the easiest starting point since most ingredients need little to no prep beyond slicing and arranging. A fruit and yogurt board is another simple option that avoids meat and cheese entirely.
How far in advance can you prepare a charcuterie board?
Cheese, meat, nuts, and dried fruit can usually be arranged several hours ahead and kept covered in the refrigerator until serving. Fresh fruit and any items that brown or wilt, like sliced apples or fresh herbs, are best added closer to serving time.
How much food do you need per person for a charcuterie board?
A common guideline is about two to three ounces each of meat and cheese per person if the board is served as an appetizer, or more if it is the main food offering. It is generally better to slightly overestimate since boards tend to get picked over quickly.
What can you use if you do not have an actual charcuterie board?
A large cutting board, sheet pan, or even a clean baking tray lined with parchment paper can work well as a substitute. What matters most is having enough flat surface area to spread items out with a little breathing room between each section.
Can charcuterie boards work for large groups?
Yes, using multiple smaller boards or individual jar cups tends to work better than one giant board for larger groups, since it prevents crowding around a single spot. Spacing several smaller boards around a room also helps guests spread out and mingle more naturally.
References
- Penguin Random House, “The Charcuterie Board Deck: 50 Creative and Stylish Spreads to Share” (2026)
- I Heart Naptime, “Charcuterie Board Ideas” (2025)
- The Homestead Survival, “Spice Up Your Next Charcuterie Board with These 11 Ideas” (2024)
- Giftpack, “15 Delicious and Creative Charcuterie Board Ideas to Impress Anyone” (2025)

Sarah Anderson . J
I’m the mom behind Wise Mom Blogger, where everyday creativity meets real-life motherhood. I share easy DIY crafts, cozy knitting and crochet projects, beginner-friendly sewing ideas, and family-tested recipes—plus quick baking hacks that make homemade feel doable on busy days.