Whether you are looking to refresh an old accessory or create a personalized gift, painting a canvas tote bag is an approachable DIY project that requires minimal supplies. By preparing your canvas surface properly and choosing a design that matches your current skill level, you can create a high-quality, wearable piece of art that stands up to daily use. Choosing the right design can even complement a 12 Creative Y2K Outfit Ideas for Women to Try Today for a truly unique look.
Quick Questions and Answers
Question: What are easy tote bag painting ideas for beginners? Answer: Easy beginner tote bag painting ideas include flowers, simple line art, dots, stripes, ombre blends, and basic geometric shapes. These options are repeatedly highlighted because they do not require advanced drawing skills and still look polished on canvas or fabric totes. Several guides also suggest using painter’s tape, sponge brushes, or paint markers to keep the process simple and clean.
Question: How do you paint a tote bag without bleeding through? Answer: Use a protective layer such as cardboard or freezer paper inside the tote before painting. Multiple craft sources say this helps stop paint from soaking through to the back side, and one tutorial also recommends smoothing the fabric with an iron first for a cleaner surface. Let the bag dry fully before adding a finishing heat-set step.
Question: Which tote bag painting ideas look most stylish? Answer: Stylish tote bag painting ideas in the research include minimalist line art, watercolor-style washes, geometric blocks, checkered patterns, galaxy scenes, and abstract swirls. These designs are popular because they look intentional even when made with simple tools. They also work well on a tote’s large flat surface, where repeating shapes and soft gradients read clearly.
1. Easy Floral Motifs
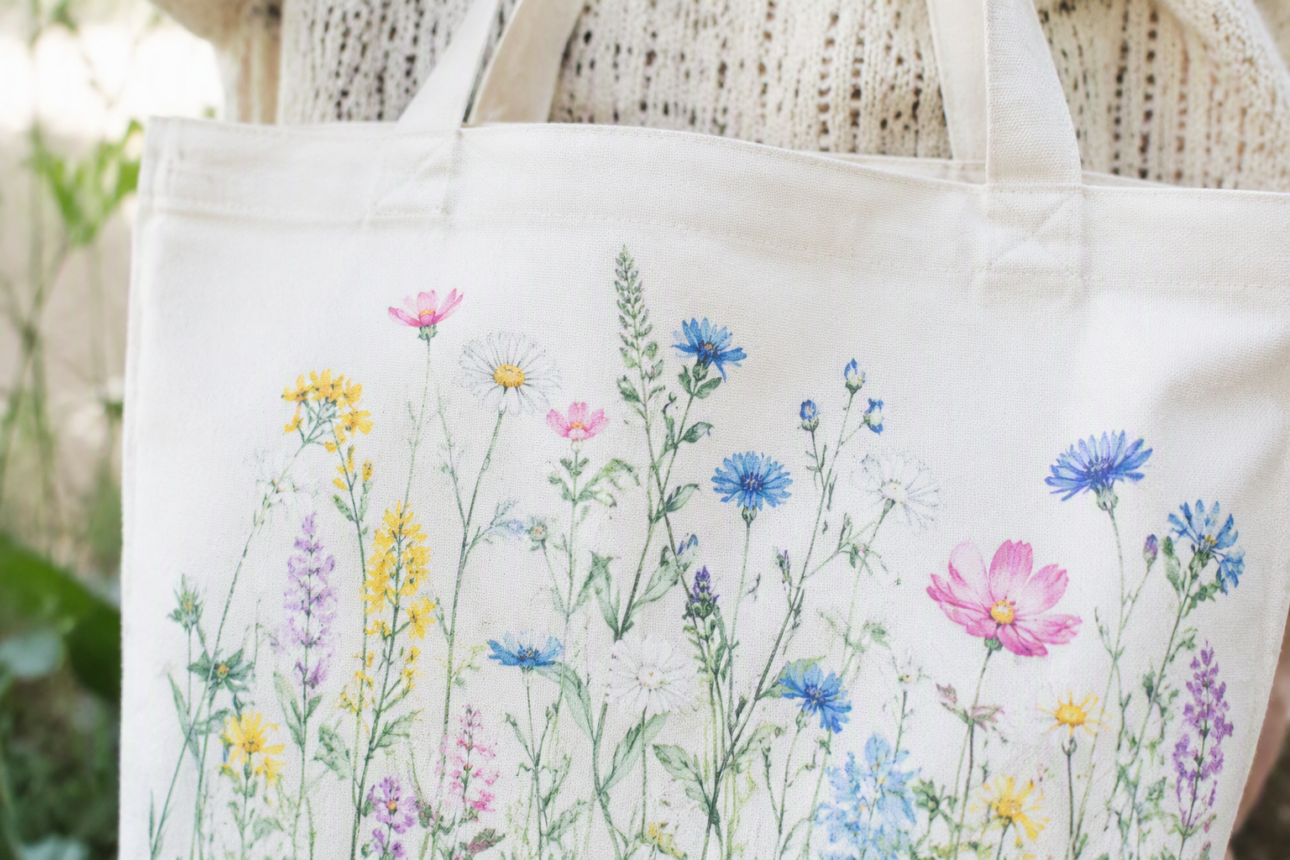
Flowers are widely considered the most accessible starting point for anyone new to fabric painting. You do not need formal art training to draw a few petals or leaves.
According to Classpop, floral designs are the easiest entry point for beginners because they rely on basic shapes rather than rigid proportions. You can use simple acrylic paints and sponge brushes to dab on petals without needing advanced brush control. If you want more definition, layer your base colors with finer highlights using a small detail brush once the paint is mostly dry.
2. Gradient Ombre Blends

Gradient effects add a professional finish to an otherwise plain bag. Blending two complementary colors, like pink into orange or blue into purple, creates a dreamy, soft transition.
If manual blending feels like too much work, just paint individual stripes of color with slightly overlapping tones. According to The Spruce Crafts, using a dry brush or sponge to buff the edges of those stripes together creates a convincing gradient. This technique is forgiving because the overlapping layers mask any uneven brush strokes.
3. Geometric Color-Blocking

Geometric designs are perfect if you crave clean, sharp lines. Using painter’s tape is the secret to success here.
Apply tape across the canvas to divide your bag into triangles, rectangles, or squares. This creates crisp boundaries that would be difficult to replicate by hand. You can mix and match high-contrast colors in each section for a modern look that might even pair well with your favorite 11 Trending Streetwear Brands for Women Worth Buying.
4. Dreamy Galaxy Scenes

Galaxy effects look complex, but they are surprisingly simple to execute. You basically need dark blue, purple, and black acrylic paints to build a base.
Start by dabbing these colors across the canvas in layers. The trick to making it look like deep space is adding the stars. Use an old toothbrush dipped in diluted white paint and flick the bristles with your thumb to create small, uneven white splatters. Focus the brightest colors toward the center of your design to give the bag a sense of depth.
5. Sentimental Handprint Art
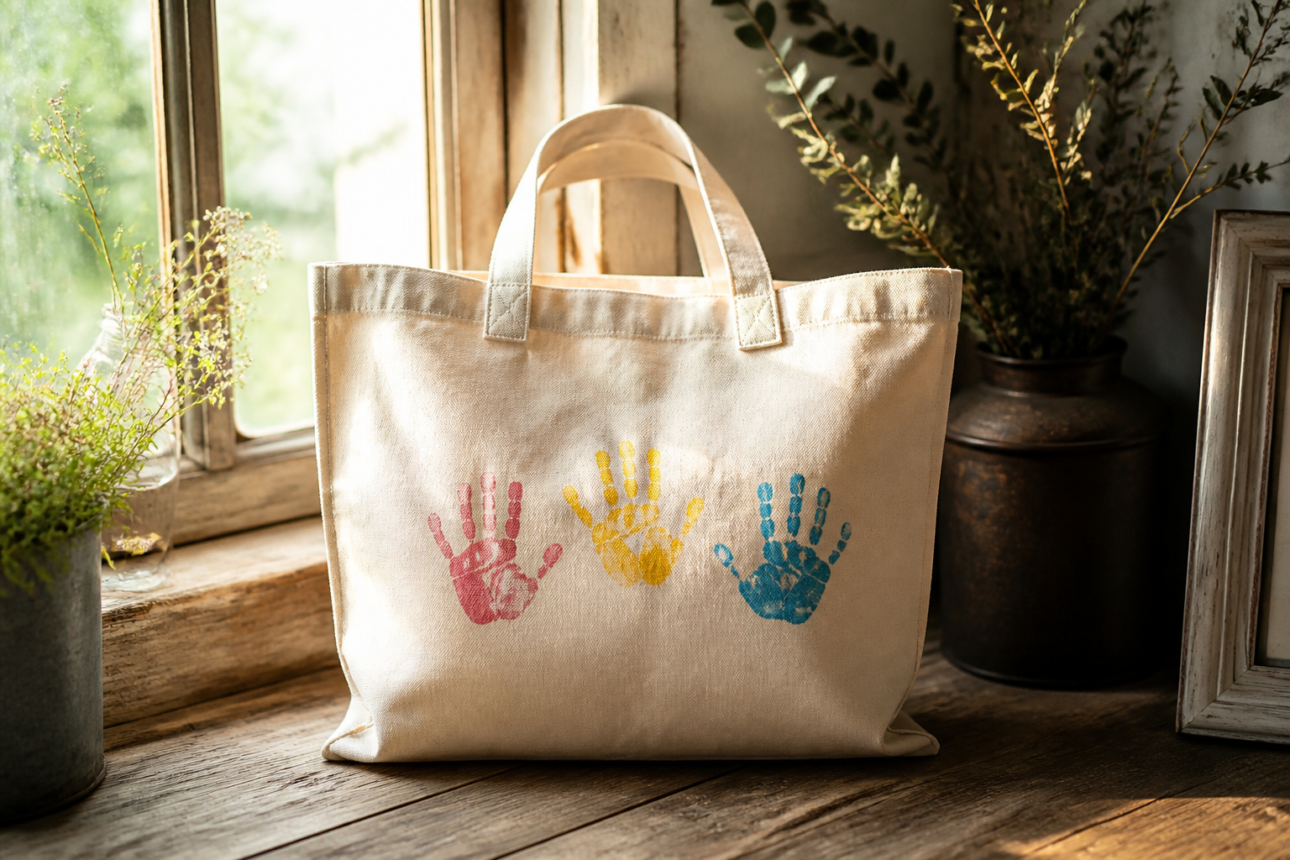
Handprint art is a fantastic way to turn a basic tote into a cherished keepsake. This works best on light-colored cotton bags where fabric paint can adhere evenly.
You can use non-toxic, skin-safe fabric paints to stamp your hands or fingers directly onto the fabric. It is a messy but fun activity that works great for birthdays or parent gifts. Once the paint is dry, use fine-tip fabric markers to write names or dates next to the prints to lock in the memory.
6. Minimalist Line Art
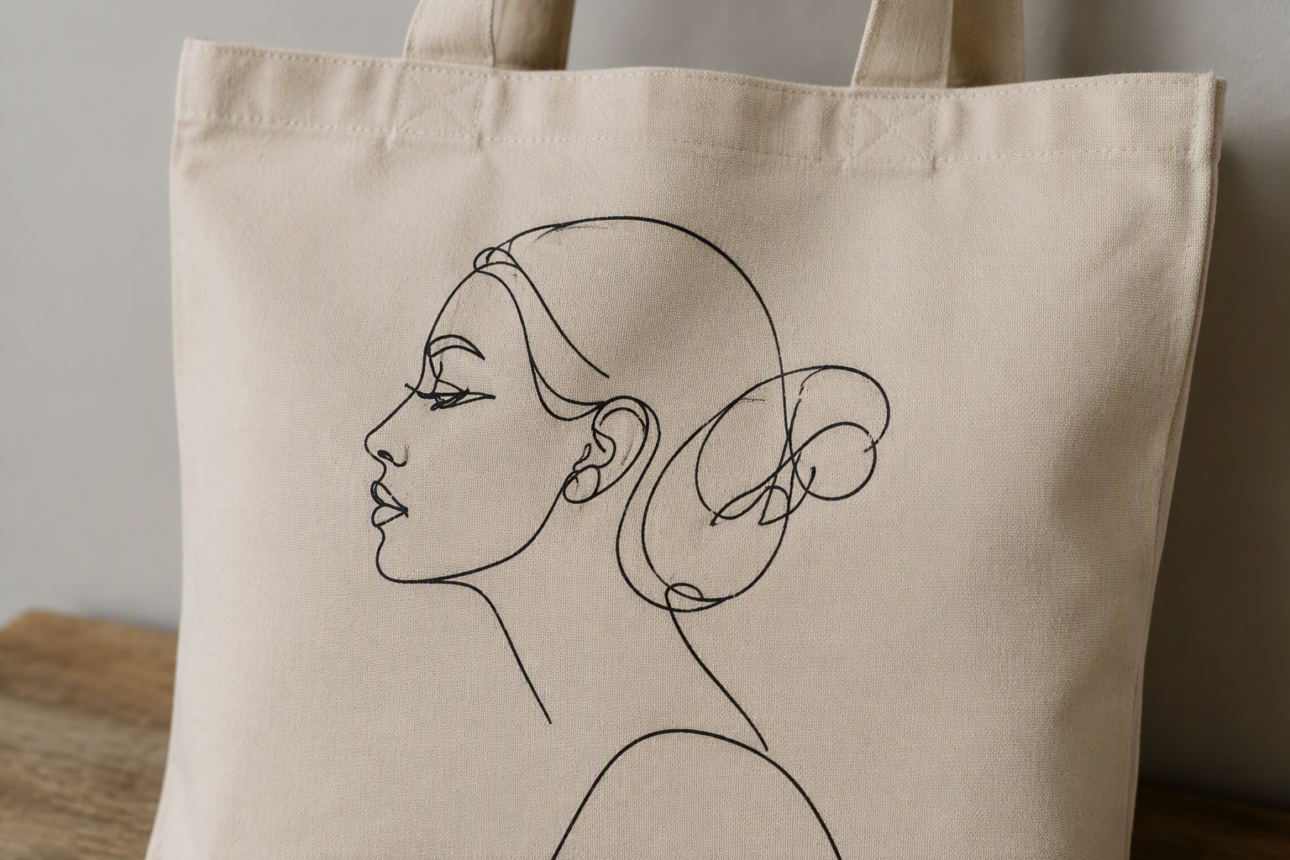
If you prefer a high-end, boutique aesthetic, minimalist line art is the way to go. This involves drawing single-line shapes like faces, flowers, or abstract squiggles.
Professional-grade fabric markers work much better than brushes for this project because they give you the precision required for fluid lines. Sketch your design lightly with a water-soluble pencil first. This ensures you do not run out of space halfway through your drawing and allows you to adjust the proportions before making the mark permanent.
7. Natural Fruit Stamps
You do not need fancy brushes to create a repeating pattern. Halved lemons, apples, or even potatoes make excellent, rustic stamps.
Press the cut side of the fruit into a shallow tray of fabric paint. Ensure you cover the surface evenly, then press firmly onto the canvas to transfer the shape. You can alternate fruit shapes or mix colors to create a whimsical print. It looks like a store-bought designer piece once finished and heat-set.
8. Sewn-on Canvas Pockets
If you are worried about messing up your favorite tote, try this modular approach. Pre-paint a separate 7×9 inch piece of spare canvas.
Finebrushes notes that this specific size works perfectly as a pocket for a standard tote. Once your design on the patch is dry and heat-set, you can attach it to the front of the bag. Use fabric glue for a quick fix or a simple running stitch if you want the addition to feel permanent and rugged.
9. Essential Surface Preparation
Preparation determines the quality of your final result. You should always iron your tote bag before starting to remove any factory creases.
A smooth, flat surface prevents your paint from pooling in the ridges of the fabric. According to instructions found in a YouTube tutorial, always insert a piece of thick cardboard inside the bag. This acts as a barrier that prevents wet paint from soaking through to the backside of the tote.
10. The Heat-Setting Process
Heat-setting is the step most beginners forget, but it is necessary for making your work permanent. Never skip this if you plan to carry heavy items or wash the bag.
Allow your finished painting to dry completely for at least 24 hours. Once the time is up, place a piece of parchment paper over your design and press it with a hot iron. This heat cures the binders in the paint, which stops the image from fading or peeling when the bag eventually hits the laundry cycle.
| Method | Complexity | Best For | Tool Required |
|---|---|---|---|
| Floral Motifs | Low | Beginners | Sponge Brush |
| Line Art | Medium | Minimalists | Fabric Marker |
| Galaxy Effect | Medium | Dramatic Looks | Old Toothbrush |
| Color-Blocking | Low | Modern Styles | Painter’s Tape |
Common Mistakes
Many people try to paint on a wrinkled surface, which causes the paint to skip over fibers and leave gaps. Always spend that extra minute with an iron to get the fabric flat. Another common error is using too much water with acrylic paints. While thinning paint can help with flow, too much water dilutes the binder, making the paint wash out later. Finally, avoid applying paint too thickly. Thin, even layers are always stronger and less likely to crack than one massive, heavy glob of paint.
FAQ
Q: Can you use acrylic paint on tote bags?
Yes, you can use acrylic paint on totes, though dedicated fabric paint is often preferred. Fabric paint is formulated with specific binders that allow the paint to stay flexible on cloth. If you use standard craft acrylics, ensure the bag is not meant for heavy-duty laundry or consider mixing in a textile medium.
Q: How long should tote bag paint dry before heat setting?
Wait at least 24 hours after the paint feels dry to the touch before attempting to heat-set it. This duration allows the moisture in the deep fibers of the canvas to evaporate completely. If you heat-set too early, you risk the paint bubbling or adhering to your parchment paper instead of the fabric.
Q: What tote bag designs are best for gifts?
Personalized designs are always the most popular choice for gifts. You can try handprint art, pet portraits, or bags featuring meaningful song lyrics. These personal touches change a mass-produced canvas bag into a custom keepsake. Adding a name or a specific date in fine-tip fabric marker further emphasizes the thoughtfulness behind the gift.
Q: Are tie-dye tote bag painting ideas hard to make?
Tie-dye effects on canvas are surprisingly approachable. You do not need to deal with actual dye vats if you use acrylic paint or fabric paint with a sponge brush. By dabbing colors and blending them while they are still wet, you can achieve that classic swirling aesthetic. Control is much easier with paint than with liquid dye.
Q: How do you add fine details to painted tote bags?
For tiny details like lettering or thin outlines, paint markers are your best friend. Brushes can be clumsy on canvas, especially if the texture is coarse. Using a marker gives you the control of a pen, allowing for much sharper, cleaner edges on your letters or small icons.
Q: What are the best materials for tote bag painting?
You should start with a clean, heavy-weight canvas tote, quality fabric or acrylic paint, and painter’s tape for crisp lines. A piece of cardboard for the inside is non-negotiable. Using a water-soluble fabric marker to sketch your design before applying paint helps prevent errors and keeps your final composition looking professional.
Q: Should you iron a tote bag before painting it?
Yes, you definitely should. A flat fabric surface prevents paint from pooling in the creases. Most DIY experts agree that even a quick pass with a hot iron significantly improves the final look of geometric designs and clean line art.
My Experience With 14 Simple Tote Bag Painting Ideas You Can Try at Home
I used to think that painting fabric was a professional-only endeavor, but I was wrong. My first attempt was a total disaster because I skipped the cardboard insert—don’t be like me. The paint soaked through, and I ended up with a permanent blue blob on the back of my bag. Now, I never start a project without a piece of sturdy cardboard pushed inside the tote. That one change made all the difference.
My favorite method by far is the geometric color-blocking. Using painter’s tape is oddly satisfying. Pulling the tape off to reveal a perfectly sharp, clean line gives you an instant boost of confidence. I also learned that you shouldn’t fight with the fabric texture. If the canvas is coarse, lean into it with thicker paint applications rather than trying to force a super-fine brush to do the work. It’s better to use markers for the fine details and save the brushes for the larger, abstract shapes. It keeps the process fun instead of frustrating. Have you ever tried painting on fabric, or do you have a favorite design idea that worked out well for you?
Conclusion
Painting a canvas tote is a rewarding, low-cost way to express your creativity while creating a functional item. You do not need a studio full of equipment to start. By focusing on simple techniques like color-blocking, fruit stamping, or minimalist line art, you can transform a plain bag into something that feels uniquely yours. The most important lessons are to prep your surface, use the right tools for details, and never forget that heat-setting step at the end. Once you master these, your designs will last through countless trips to the market or library. Enjoy the process of turning a blank canvas into your own wearable art.
References
- Classpop. (2026, January 10). 21 Totally Cool Tote Bag Painting Ideas for 2026. Classpop. https://www.classpop.com/magazine/tote-bag-painting-ideas
- Dynamic Mockups. (2026, January 15). 30 Tote Bag Design Ideas To Inspire You in 2026. Dynamic Mockups. https://dynamicmockups.com/knowledge/tote-bag-design-ideas/
- Finebrushes. (2026, February 5). 20+ Tote Bag Painting Ideas for Stylish, Easy DIY Designs. Finebrushes. https://finebrushes.com/blog/tote-bag-painting-ideas/
- iPaintYouSip. (2026, February 20). 19 Fun and Easy Tote Bag Painting Ideas Anyone Can Try. iPaintYouSip. https://ipaintyousip.com/tote-bag-painting-ideas/
- The Family Style Home. (2026, January 20). 12 Easy Tote Bag Painting Ideas. The Family Style Home. https://thefamilystyle.co.uk/12-tote-bag-designs/
- The Spruce Crafts. (2026, January 15). How to Paint a Canvas Tote Bag. The Spruce Crafts. https://www.thesprucecrafts.com/how-to-paint-a-canvas-tote-bag-4154377
- YouTube. (2026, March 1). 7 Painted Tote Bags & Testing Fabric Paints, Dollar Store Paints & Paint Markers. YouTube. https://www.youtube.com/watch?v=4UAMEq6RqwA

Sarah Anderson . J
I’m the mom behind Wise Mom Blogger, where everyday creativity meets real-life motherhood. I share easy DIY crafts, cozy knitting and crochet projects, beginner-friendly sewing ideas, and family-tested recipes—plus quick baking hacks that make homemade feel doable on busy days.