
Have you ever wondered how to embroider stitches that look clean, consistent, and professional? Whether you are planning a holiday gift or want to add flair to a summer tote, mastering the basics makes every project more enjoyable. Embroidery requires only a few core tools and a little patience to get started. By learning how to manage your thread, prep your fabric, and control your tension, you can turn a simple cloth into a personalized piece of art. Getting those first few stitches right sets the foundation for everything you create.
Quick Questions and Answers
Question: What tools do beginners need for embroidery stitches? Answer: Beginners typically need fabric, embroidery floss, a needle, a hoop, scissors, and a way to transfer the design onto the fabric. Several sources also recommend a water-soluble pen or similar marking tool, plus optional helpers like a thimble, needle threader, or needleminder for easier stitching.[2][4][6][7]
Question: How do you prepare fabric before embroidering stitches? Answer: The usual prep work is to choose suitable fabric, transfer the pattern onto it, and then secure the fabric in a hoop so it stays taut. Multiple sources recommend drawing or tracing the design before stitching, because it makes placement and sequencing easier for beginners.[3][4][6][7]
Question: Which embroidery stitch should a beginner learn first? Answer: The beginner stitch video starts with running stitch and back stitch before moving into split stitch, stem stitch, and chain stitch. That order makes sense because the first stitches are simpler and help you learn control, line following, and thread tension before trying more decorative stitches.[5]
Key Takeaways
- Six-stranded floss is the industry standard for most hand embroidery projects.
- Keeping your fabric drum-tight in a hoop is the most critical step for even stitches.
- Starting with simple outline stitches builds the hand control needed for complex fills.
- Tracing patterns before you start ensures your final design stays true to your original plan.
What You Need: Essential Embroidery Tools
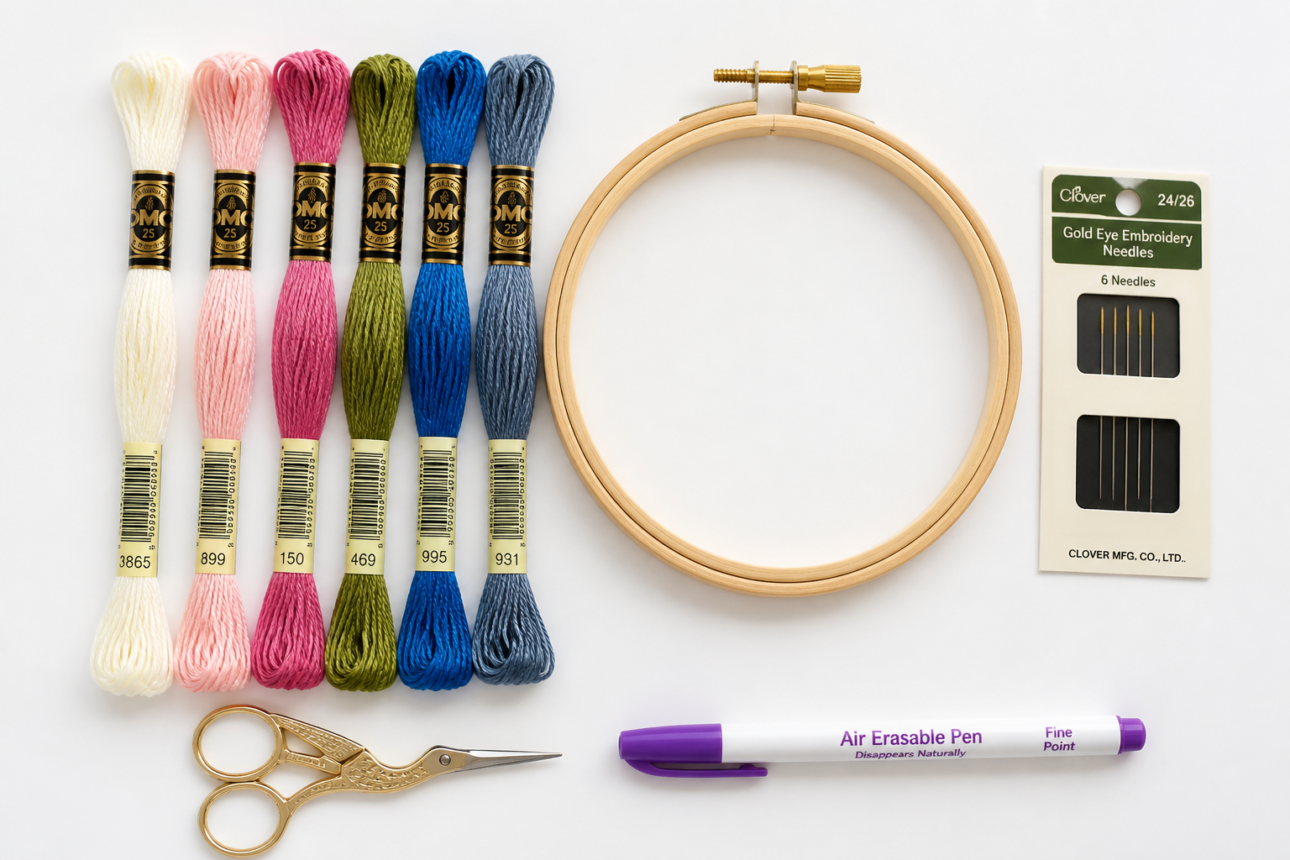
| Item | Purpose | Notes |
|---|---|---|
| Six-stranded Floss | Creating the actual design | DMC and Anchor are industry standards. |
| Embroidery Hoop | Holding fabric drum-tight | 6-inch or 8-inch sizes are best for beginners. |
| Embroidery Needles | Piercing the fabric | Sizes 24 and 26 are perfect for beginners. |
| Fabric | Surface for your design | Stable cotton or linen works best. |
| Embroidery Scissors | Cutting thread | Keep a small, sharp pair near your work. |
| Marking Pen | Pattern transfer | Water-soluble pens disappear with a damp cloth. |
How to Prepare Your Fabric and Thread

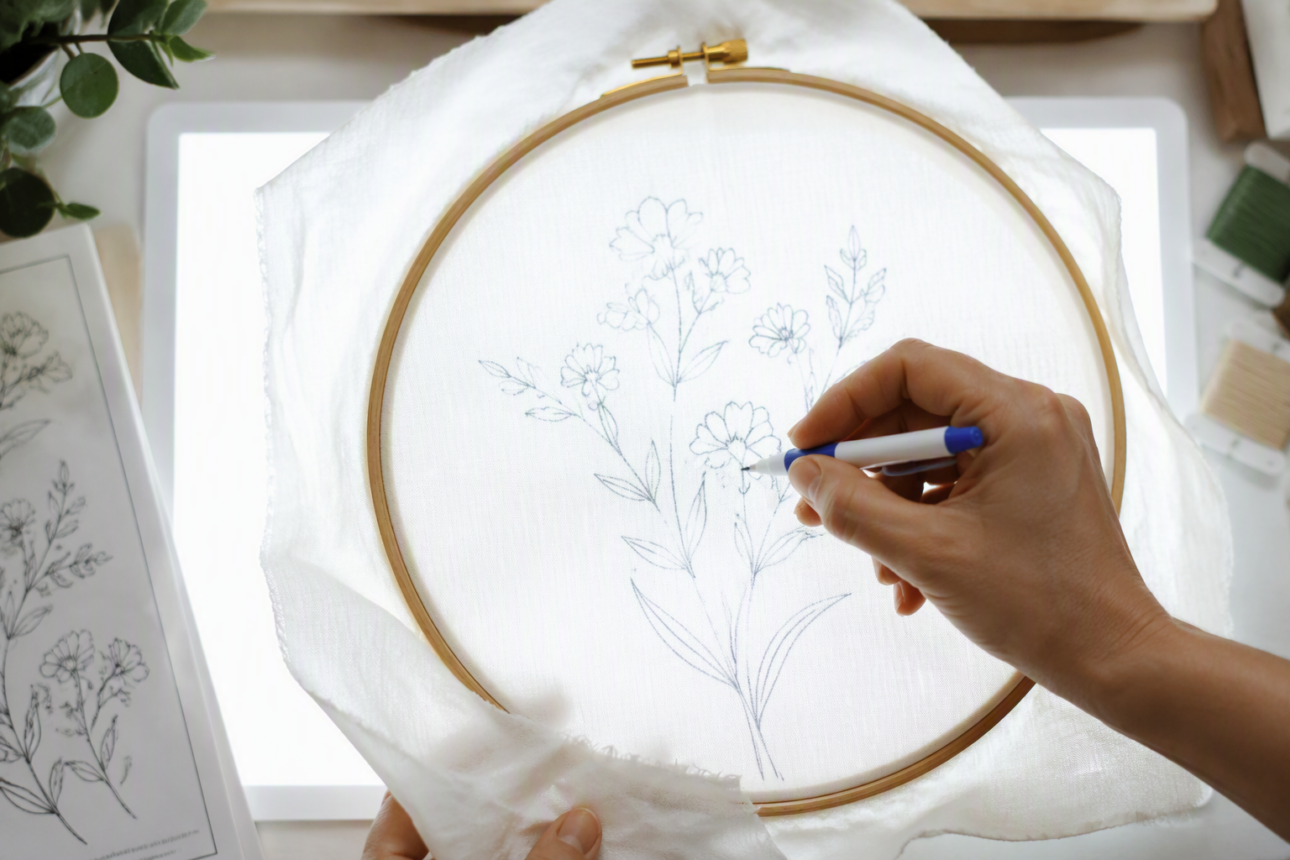
Tracing your design is your first real step toward success. You can use a sunny window or a light box to see through your fabric and trace your pattern. Alternatively, carbon paper is a solid choice for transferring darker designs onto light fabric. According to Clever Poppy, drawing the design onto the fabric is the starting point for all embroidery. It ensures your lines are accurate before you ever touch a needle to the cloth.
Once your design is traced, you must place the fabric into the hoop. Loosen the screw on the outer ring and place the inner ring underneath your fabric. Press the outer ring over the fabric and tighten the screw until the material is drum-tight. If the fabric is loose, your stitches will pucker later. You should check that your fabric doesn’t shift once it is secured.
Cutting your thread comes next. Stick to an 18-inch length to avoid tangles and knots. Pulling a length longer than this usually leads to frustration as the thread frays or twists against itself. If you find your thread is getting too thin or weak while you work, switch to a fresh piece immediately.
Step-by-Step Sequence: Mastering the 13 Basic Stitches
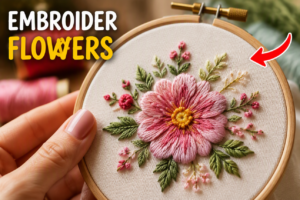
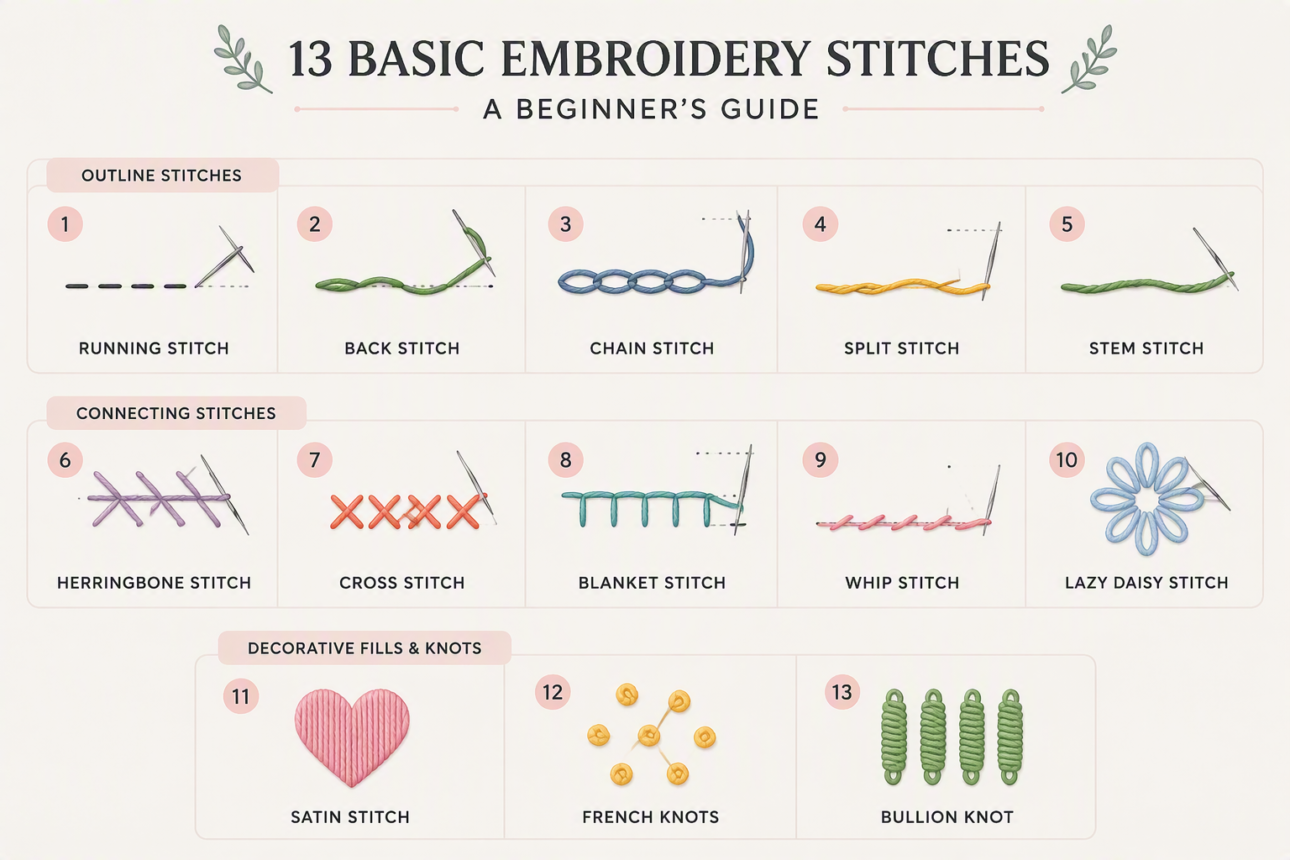
You should start with outline stitches. Practice the running stitch, back stitch, and stem stitch first. These simple lines form the backbone of many patterns and help you get comfortable with needle control. You might find that How to Embroider Flowers Step by Step is a helpful way to practice these foundational movements.
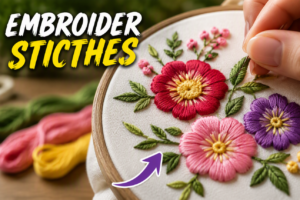
Connecting stitches follow next. Move on to the split stitch, chain stitch, and straight stitch. These stitches help you transition between lines and fill in gaps. When you feel confident, experiment with decorative fills. The satin stitch, lazy daisy, and French knot add beautiful texture to any piece.
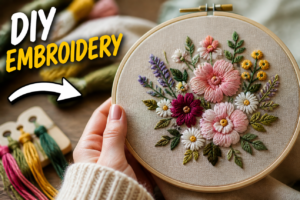
Finally, tackle the advanced textures. The blanket stitch, fishbone stitch, woven wheel, and bullion knot provide a professional touch. Note that the woven wheel stitch is very thread-intensive compared to basic stitches. If you enjoy creating unique textures, look into these 13 Genius DIY Embroidery Ideas for Beginners for inspiration. Take your time with these, as they require more careful tension management.
Common Mistakes to Avoid
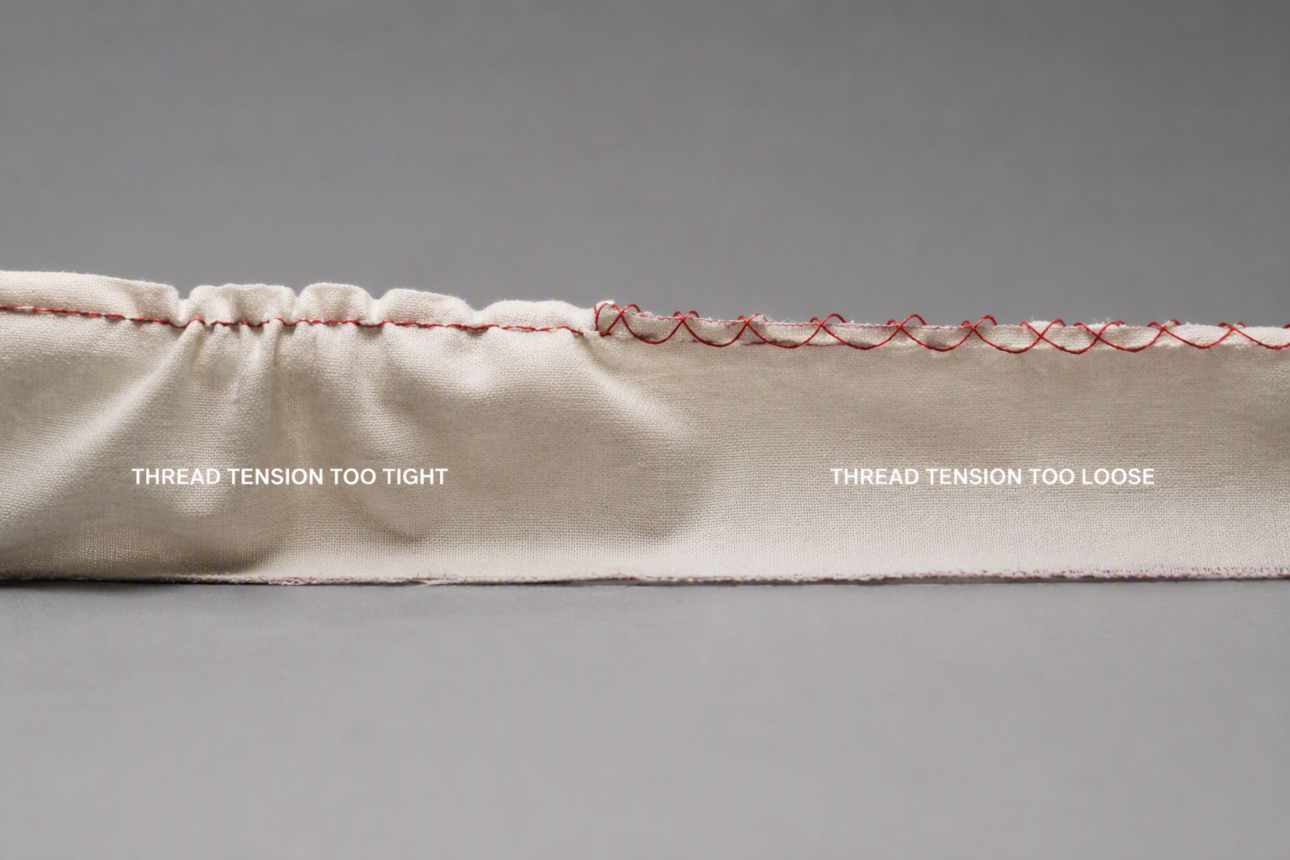
Ignoring thread tension is the most frequent error for beginners. If you pull your thread too hard, the fabric will pucker and warp. If you leave it too loose, the stitches will look messy or saggy. As Maggie Frames notes, proper thread tension is critical for even, secure results.
Working with thread that is too long is another trap. Beginners often cut long pieces to save time, but this leads to knots and fraying. Stick to that 18-inch rule. Finally, don’t flatten your work during the finishing process. Use a pressing cloth between the embroidery and your iron to protect the raised textures you worked so hard to create.
Troubleshooting Your Stitches
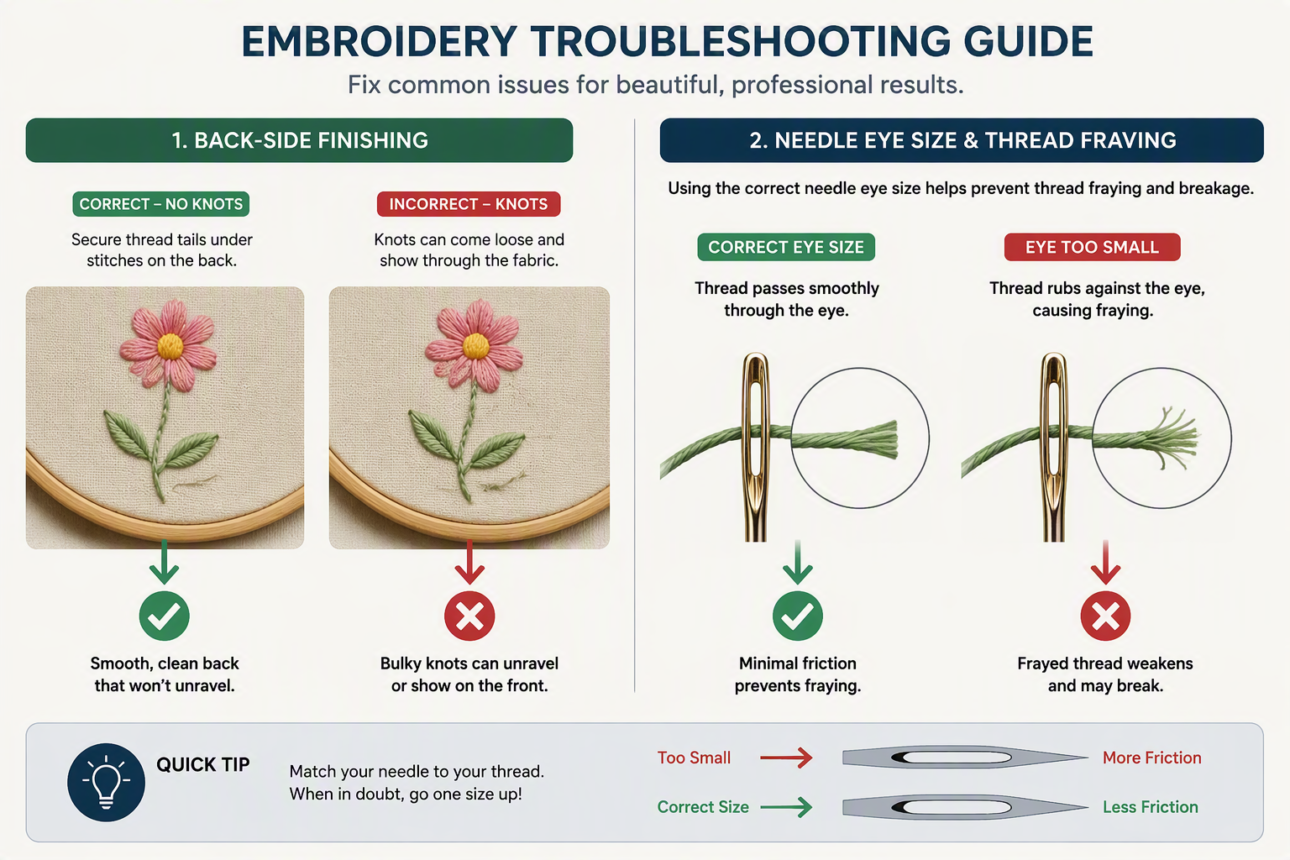
If you notice uneven spacing, stop and use a ruler to mark your fabric. Measuring out equidistant points before you stitch can prevent a project from looking haphazard. If you see knots forming on the back, you are likely leaving slack thread when moving from one area to another. Pull your thread through completely every time you start a new stitch.
Thread fraying is often a sign of a mismatch between your needle and your floss. If your thread is thinning, your needle eye might be too small or have a rough edge. Switch to a new needle. A clean, sharp needle glides through the fabric and preserves the integrity of your six-stranded cotton.
FAQ
Q: How long should embroidery thread be cut?
One beginner guide recommends cutting thread to about 18 inches long, which helps reduce tangling and wear while stitching. This length is short enough to manage comfortably but long enough for most beginner stitches. Cutting longer lengths usually leads to frustrating knots that can ruin your rhythm. Stick to this shorter length to keep your thread moving smoothly through the fabric.
Q: Why is an embroidery hoop important?
An embroidery hoop keeps the fabric taut while you stitch, which helps make stitches more even and easier to place. One source calls the hoop the starting point for all embroidery because it stabilizes the fabric during the whole process. Without a hoop, your fabric will bunch up as you pull the needle, making it nearly impossible to keep your design consistent.
Q: What size needle is best for embroidery stitches?
One beginner video names crossstitch needles in sizes 24 and 26 as part of its supply list. The exact best size depends on the fabric and floss being used, but those smaller needle sizes are commonly shown for beginner embroidery work. They are small enough to pass through dense fabric without leaving large holes, yet large enough to hold multiple strands of floss comfortably.
Q: How many stitches should a beginner practice first?
A beginner video teaches 13 stitches, but you do not need to learn all of them at once. A practical approach is to start with a few simple stitches, then add decorative and filling stitches once your hand control and thread handling improve. Focus on mastering the running and back stitches before moving toward more complex knots or heavy decorative fills.
Q: How do you stop embroidery stitches from looking uneven?
Proper thread tension is critical for even, secure stitches, and the fabric should stay taut in the hoop while you work. Unevenness often comes from loose fabric, overly long thread, or pulling the thread too hard while forming the stitch. Take your time with each pull and keep your tension consistent across the entire design.
Q: Can you iron finished embroidery without flattening stitches?
Yes, but a pressing cloth or piece of cotton fabric should cover the embroidery first. One beginner guide says this protects the stitches from being moved and flattened, especially if you iron from the reverse side. This simple layer of fabric keeps your texture intact while allowing you to remove any wrinkles or hoop marks from the surrounding cloth.
Q: What is the expected result of a beginner embroidery stitches guide?
The expected result is a stable fabric piece with clean, visible stitches that follow the transferred design and use the correct stitch sequence. A successful beginner piece should look neat, with consistent tension and no obvious puckering or distortion in the fabric. Aim for clarity and patience rather than speed during your first few attempts.
My Experience With How to Embroider Stitches Step by Step
I remember my first time picking up an embroidery hoop. I thought it would be a relaxing afternoon, but I spent half the time untangling knots because I used a thread length that was way too long. It was a humbling start. I learned quickly that the hoop isn’t just a suggestion; it’s the lifeline of the project. If your fabric isn’t tight, you are fighting a losing battle.
The biggest expert insight I can share is to watch your tension on the back of the fabric as much as the front. Sometimes, we focus so much on the “pretty” side that we don’t realize the back has become a tangled mess of slack thread. My advice is to keep it clean on the back, too. It makes the whole process feel more organized. Embroidery is really about rhythm. Once you find your pace with the needle, it gets easier. What was the most difficult stitch for you to master on your first attempt?
Next Steps for Your Embroidery Journey
Try a pre-printed pattern to practice consistency. These kits are excellent for learning spacing before you try freehand designs. Explore combining different stitches to add depth to leaves and petals. Finally, use a needleminder. It is a small magnetic tool that keeps your needles from getting lost on the floor.
References
- Clever Poppy. (n.d.). What Essential Supplies do You Need to Get Started in Modern Embroidery. Clever Poppy Blog. https://cleverpoppy.com/blogs/clever-poppy-blog/what-essential-supplies-do-you-need-to-get-started-in-modern-embroidery
- Instructables. (n.d.). Tools and Materials for Embroidery. Instructables. https://www.instructables.com/Tools-and-Materials-for-Embroidery/
- Maggie Frames. (2026). Essential Stitching Materials: Tools, Techniques, and Selection Guide. Maggie Frames. https://www.maggieframes.com/blogs/embroidery-blogs/essential-stitching-materials-tools-techniques-and-selection-guide
- Molly and Mama. (2026). Embroidery For Beginners – What Supplies Will You Need?. Molly and Mama. https://www.mollyandmama.com.au/embroidery-for-beginners-what-supplies-will-you-need/
- Scribd. (n.d.). Essential Embroidery Tools and Materials. Scribd. https://www.scribd.com/document/541975516/Embroidery-Tools-and-Materials
- YouTube. (2026). 13 Hand Embroidery Stitches for Beginners. YouTube. https://www.youtube.com/watch?v=V95uh5nQZic
- YouTube. (2026). Essential Embroidery Tools & Supplies for Beginners. YouTube. https://www.youtube.com/watch?v=bvOHaPIzjPY
- YouTube. (2026). How to Start Embroidery: A Simple Guide to Tools & Supplies. YouTube. https://www.youtube.com/watch?v=gr4hyU1HiK8&vl=en

Sarah Anderson . J
I’m the mom behind Wise Mom Blogger, where everyday creativity meets real-life motherhood. I share easy DIY crafts, cozy knitting and crochet projects, beginner-friendly sewing ideas, and family-tested recipes—plus quick baking hacks that make homemade feel doable on busy days.