Paper is one of the cheapest, easiest craft supplies you can find. Chances are you already have some sitting in a drawer right now. You don’t need fancy tools or a big budget to make something fun. Just paper, scissors, and maybe a glue stick will get you started. These twelve projects work for kids, adults, or a rainy afternoon with the whole family. Some take five minutes, others take a bit longer, but none of them need special skills. Grab whatever paper you have on hand and pick one that catches your eye. You will be surprised how much you can create with a single sheet.
Quick answer
Some of the easiest paper crafts are paper airplanes, origami animals, paper flowers, garlands, and pop-up cards. Each one needs only paper, scissors, and sometimes glue, and most take less than 20 minutes to finish.
| Craft | Skill Level | Time Needed |
| Paper Airplanes | Beginner | 5-10 min |
| Origami Crane | Varies | 15-20 min |
| Paper Flowers | Beginner | 10-15 min |
| Paper Garland | Beginner | 15 min |
| Pop-Up Cards | Varies | 15-20 min |
| Paper Fans | Beginner | 10 min |
| Paper Boats | Beginner | 5-10 min |
| Quilled Bookmarks | Needs Practice | 20-30 min |
| Paper Lanterns | Beginner | 10 min |
| Paper Masks | Varies | 20-30 min |
| Accordion Rainbow Cards | Beginner | 10-15 min |
| Paper Weaving | Varies | 15-25 min |
1. Paper Airplanes
Fold a plain sheet of paper into a classic dart shape and you have a toy in under five minutes. Start by folding the paper in half lengthwise, then fold the top corners down to the center crease. Fold those edges in again to make the wings, then crease the whole plane flat. Kids love decorating the wings with markers before a launch contest. It is one of the fastest paper crafts around, and it teaches basic folding skills that carry over to origami later. Once you have the basic dart down, try adjusting the wing angle to see how far or how straight the plane flies. Small changes like folding the wingtips up slightly can turn a wobbly flight into a smooth glide. This makes it a fun way to sneak in a little science about balance and air resistance without it feeling like a lesson.

2. Origami Crane
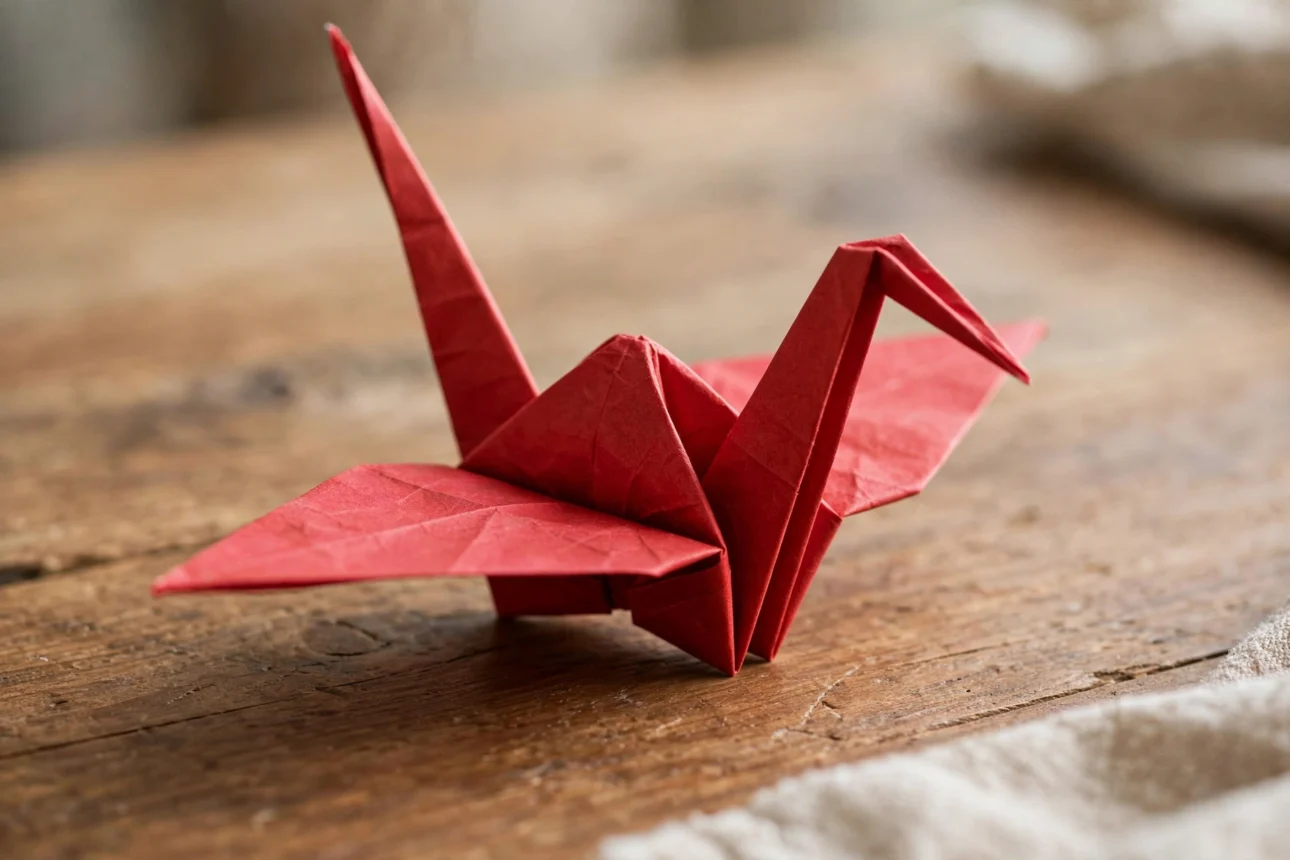
The origami crane is one of the most recognized paper folding projects in the world. Start with a square sheet of paper, fold it into a smaller square base, then shape the wings and neck with a series of guided folds. If you only have regular printer paper, trim it into a square first. It takes some patience the first time, but once you learn the base fold you can make animal after animal. A finished crane makes a lovely gift tag or ornament. Some people fold a set of a thousand cranes over time as a personal project or a gift for someone going through a hard season, since the tradition is tied to good wishes and healing. Even a single crane strung on thread and hung near a window catches light nicely and adds a quiet handmade touch to a room.
3. Paper Flowers
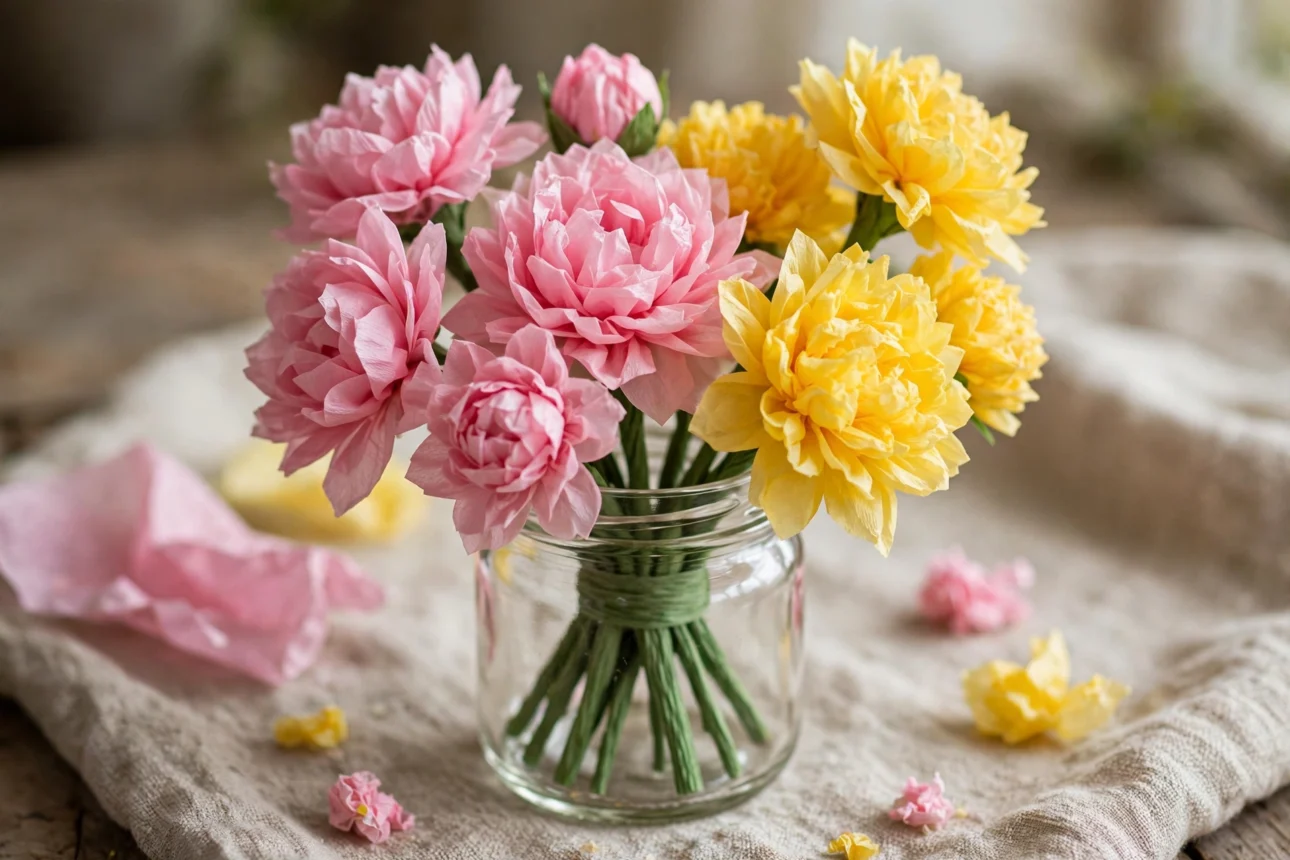
Cut several layered petal shapes from colored paper or tissue paper, then stack and glue them at the center. Curl the petal edges gently around a pencil to give them shape. A rolled strip of green paper works as the stem. These flowers never wilt, so they make a great gift for a birthday or Mother’s Day. Tissue paper versions look especially soft and full once you fluff out each layer. For a bigger project, make a whole bouquet using different paper colors and sizes, then arrange them in a small jar or vase as a centerpiece. Coffee filters also work well for this craft since they take watercolor or marker dye beautifully before being shaped into petals.
4. Paper Garland
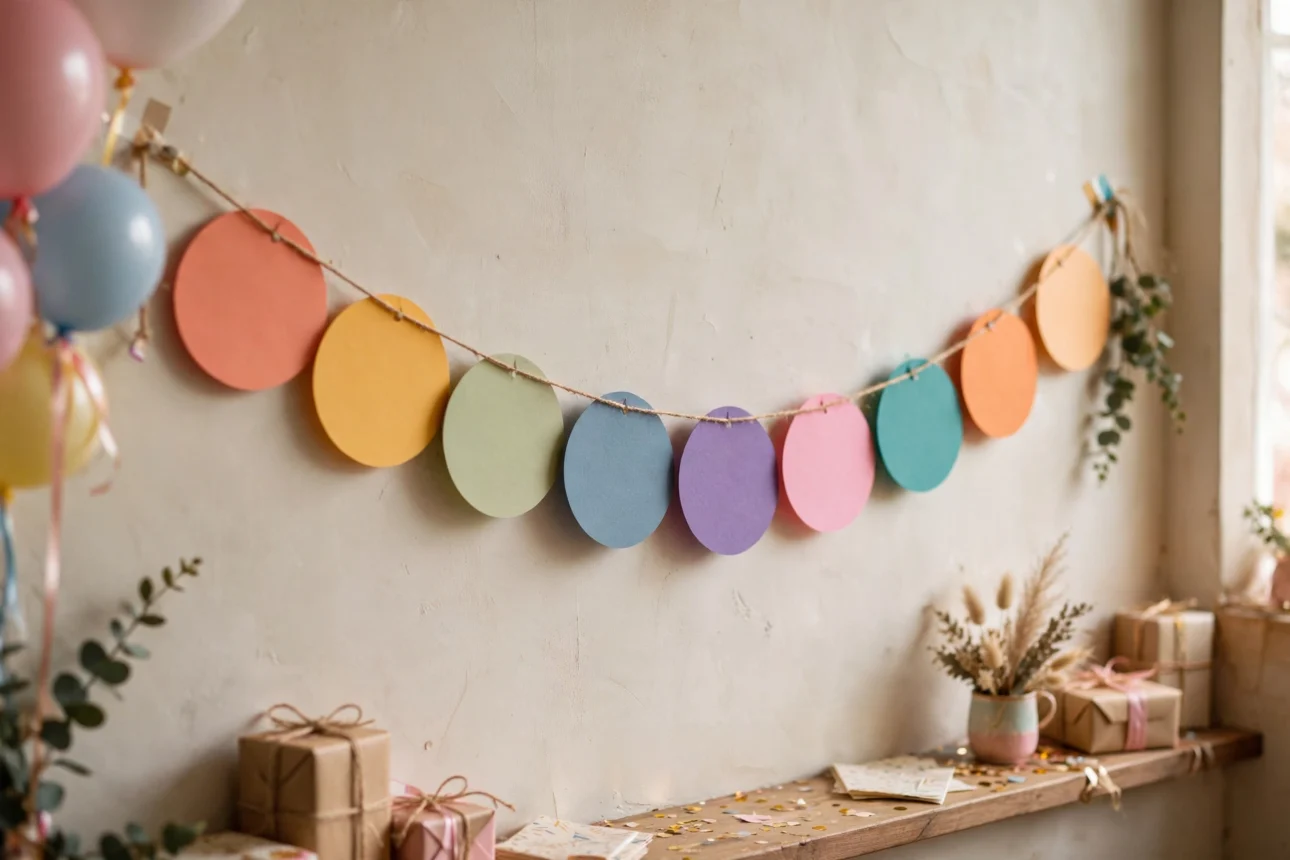
Cut a stack of matching shapes, such as circles, triangles, or hearts, from colored paper. String them together on thread or yarn using a needle, or simply glue them along a ribbon. A garland instantly brightens a room for a party or a regular Tuesday. It is one of the most satisfying paper crafts because you see results the moment it goes up on the wall. Kids can help cut and thread the shapes with light supervision. Mixing patterned paper, like old magazine pages or wrapping paper scraps, with solid colors adds visual interest without extra effort. A garland also works as a countdown chain if you write a number or small task on each shape and take one down each day leading up to an event.
5. Pop-Up Cards
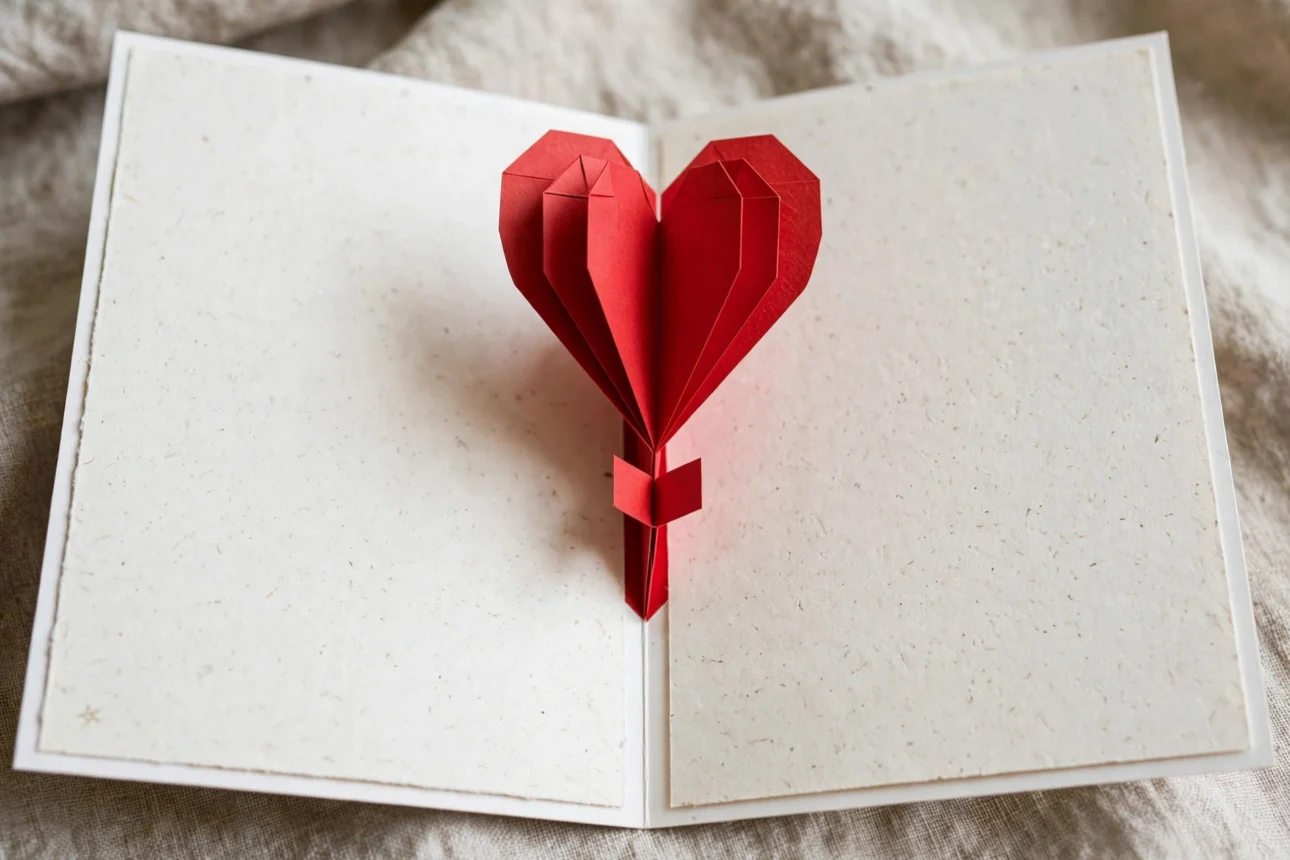
Fold a piece of cardstock in half, then make two small parallel cuts in the center fold. Push that little tab through to the inside so it pops out when the card opens. Decorate the tab as a heart, star, or flower using markers or extra paper. Glue the card closed around the tab so it stays hidden until opened. This is a favorite for birthday and holiday cards because it adds a fun surprise without much extra work. Once you get comfortable with one tab, try adding a second or third pop-up element at different heights on the same card for a layered effect. Writing a message around the pop-up, rather than just above or below it, makes the whole card feel more thought out.
6. Paper Fans
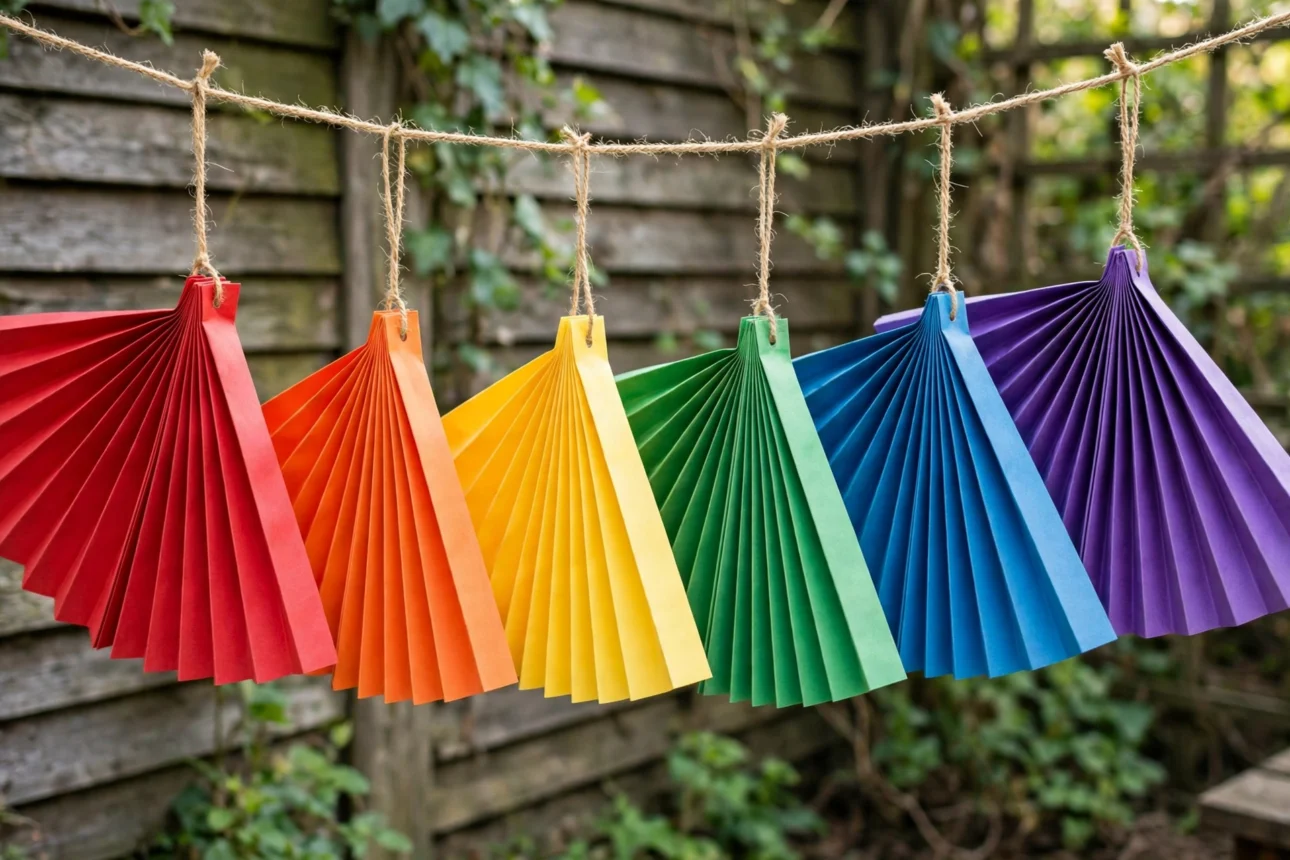
Fold a rectangular sheet of paper back and forth in an accordion pattern, then pinch and tie one end with string or a rubber band. Fan out the other end and you have a working fan in about ten minutes. Bigger sheets make great room decorations when hung from the ceiling in a row. Smaller ones work as party favors or a quick way to cool off on a hot day. Taping two fans together at the tied end and spreading them into a full circle creates a starburst shape that looks great as a backdrop for photos or a party table. Using paper with a pattern on one side and a plain color on the other gives the fan two different looks depending on which way it faces.
7. Paper Boats
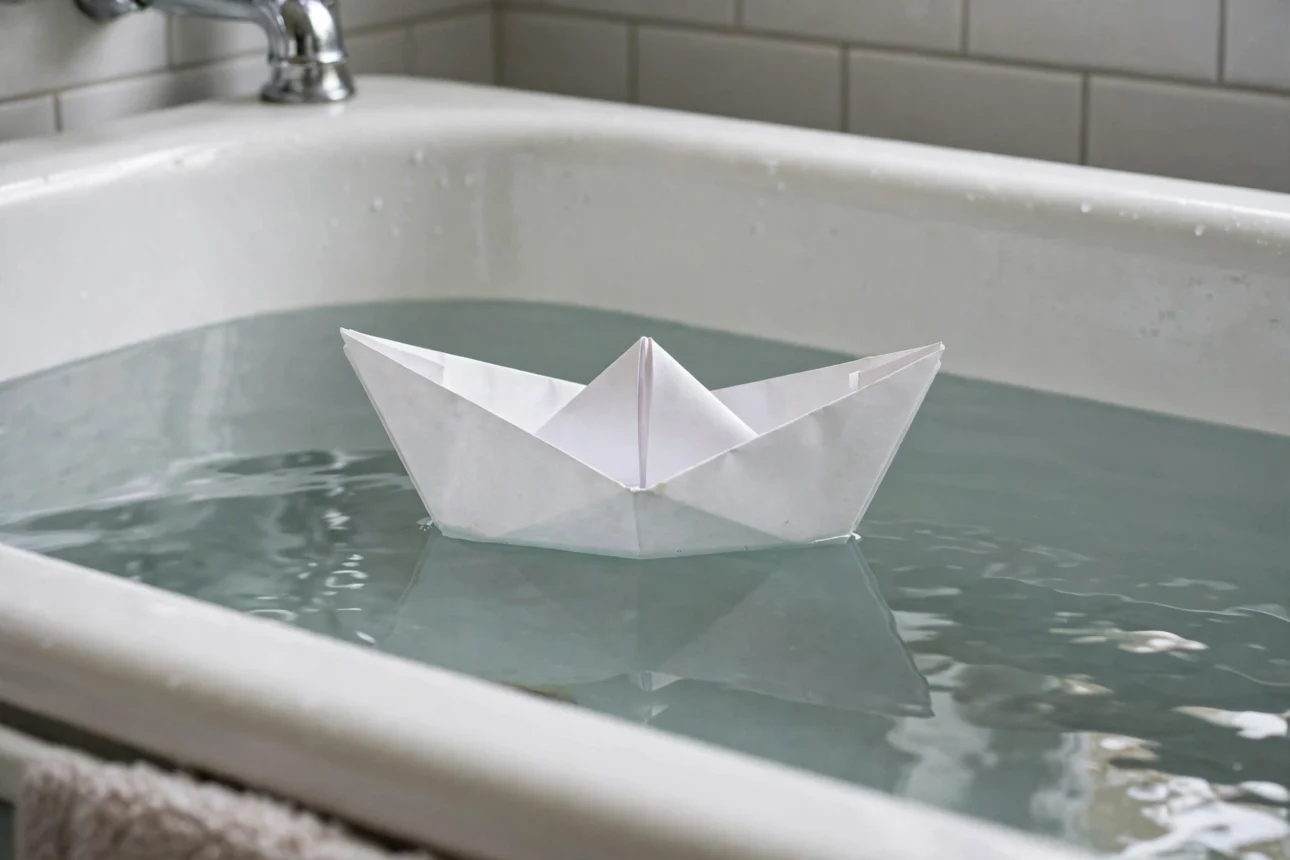
Start with a rectangular sheet folded in half, then fold the top corners down to meet the center to form a triangle shape. Fold up the bottom edges on both sides, then gently pull the sides apart and flatten the boat into shape. Set it in a bathtub, puddle, or sink and watch it float. It is a classic project that has been passed down for generations, and it barely takes any materials at all. Adding a small paper sail on a toothpick mast gives the boat a bit more personality and lets it catch a light breeze if you race a few at once. Waxed paper or paper coated lightly with cooking oil resists water longer, so the boat can float a bit longer before it starts to soak through.
8. Quilled Bookmarks
Quilling means rolling thin strips of paper into tight coils, then shaping and gluing them into small designs. Roll a few strips into coils, pinch them into teardrop or leaf shapes, and arrange them into a flower or swirl pattern on a cardstock bookmark base. This one takes more patience than the others on this list, but the finished result looks far more detailed than the effort it takes. A toothpick makes rolling the strips much easier if you do not have a quilling tool. Precut quilling paper strips in coordinated colors are inexpensive and save time if you plan to make several bookmarks at once, such as for gifts or a classroom activity. Sealing the finished design with a thin layer of clear glue or laminate helps it survive being tucked into a book again and again.
9. Paper Lanterns
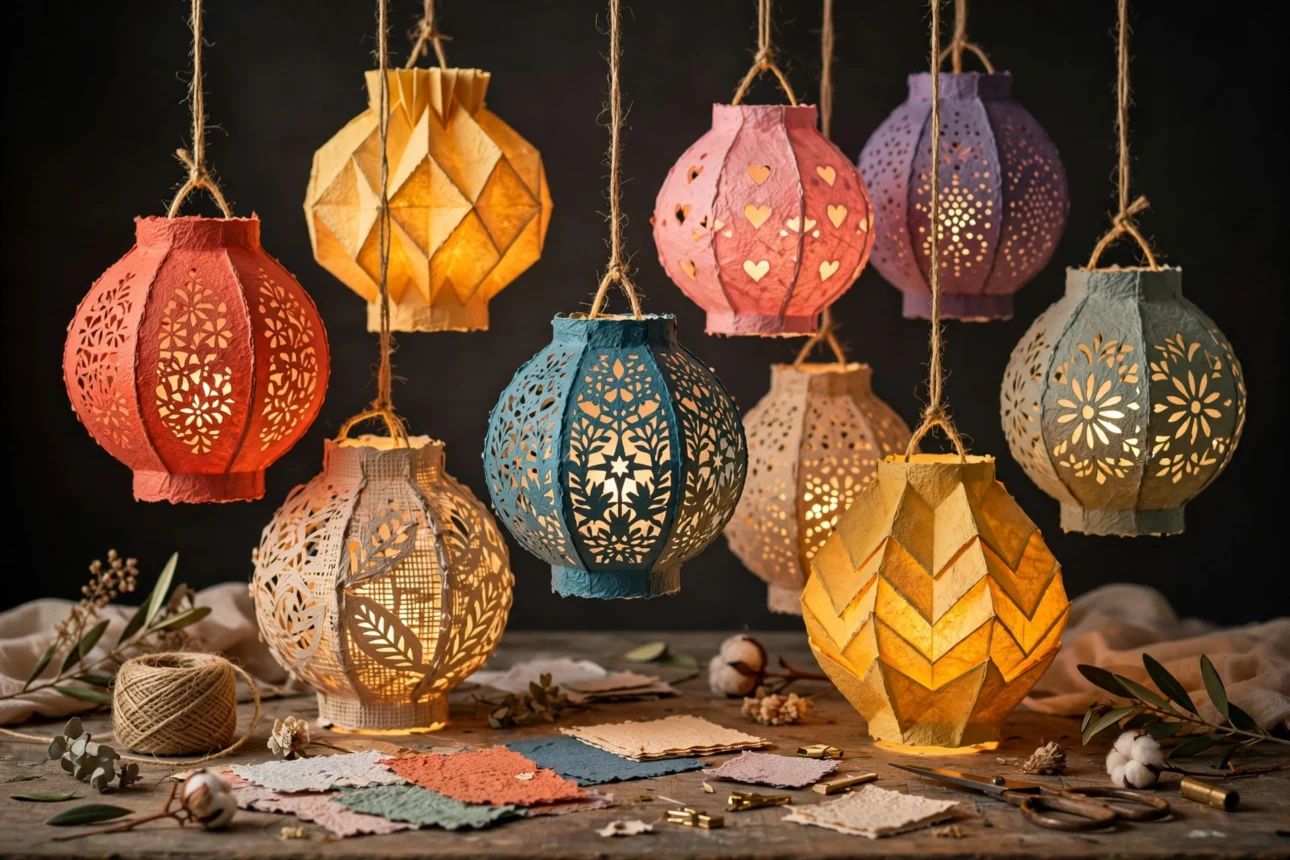
Fold a sheet of paper in half, then cut evenly spaced slits from the folded edge, stopping short of the open edge. Unfold the paper and curl it into a cylinder, gluing or taping the short ends together. Add a handle made from a paper strip and it is ready to hang. These look great in a row for a party, and swapping in different colored paper changes the whole look in seconds. For a soft glow, slip a battery-operated tea light into the bottom of the lantern instead of a real flame, which keeps it safe around kids and decorations. Punching a few small holes near the top before curling the paper lets extra light peek through once it is lit.
10. Paper Masks
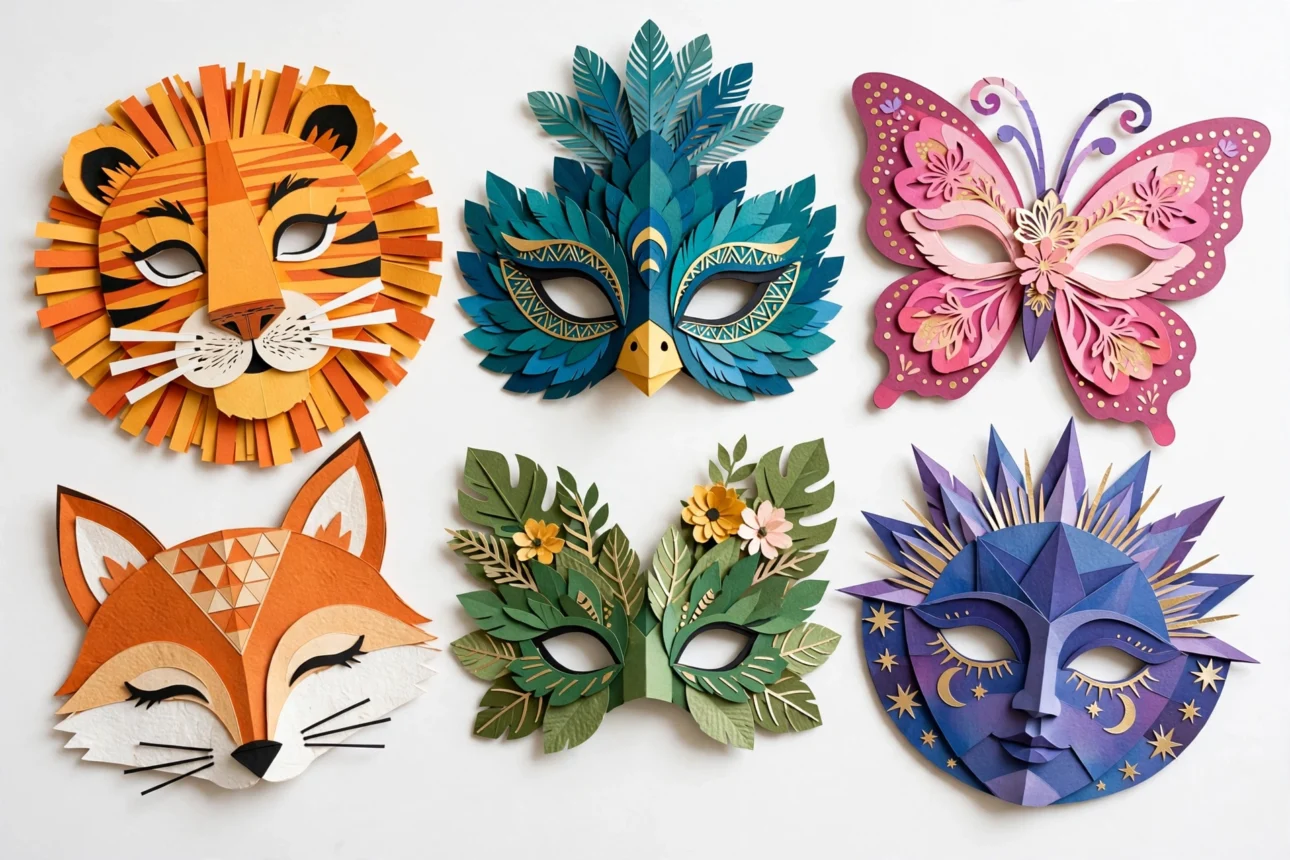
Draw or trace an animal or character face shape on a sturdy piece of cardstock, then cut out eye holes. Add details with markers, crayons, or glued-on paper pieces like ears or a beak. Attach a popsicle stick to the bottom or punch holes on the sides and tie on elastic string so it can be worn. This craft turns into instant pretend play once it is finished, and it works well as a themed party activity for a group of kids. Setting out a mix of feathers, sequins, yarn, and colored paper scraps lets each child personalize their mask instead of following one exact design. Masks also double as an easy way to reuse a cereal box or other thin cardboard if you want something sturdier than regular paper.
11. Accordion Rainbow Cards
Cut colored paper strips in rainbow order, then fold each one accordion-style so it can stretch and collapse like a spring. Glue the strips side by side onto a folded card base so the rainbow pops up when the card opens. Add cotton balls or drawn clouds on each end for a finishing touch. It is a cheerful card idea for a birthday, a get-well message, or just to brighten someone’s mailbox. Using slightly different strip widths for each color keeps the rainbow from looking too rigid, since real rainbows have bands of uneven thickness. A short handwritten note tucked just under the rainbow gives the recipient something to read once the initial surprise has settled.
12. Paper Weaving
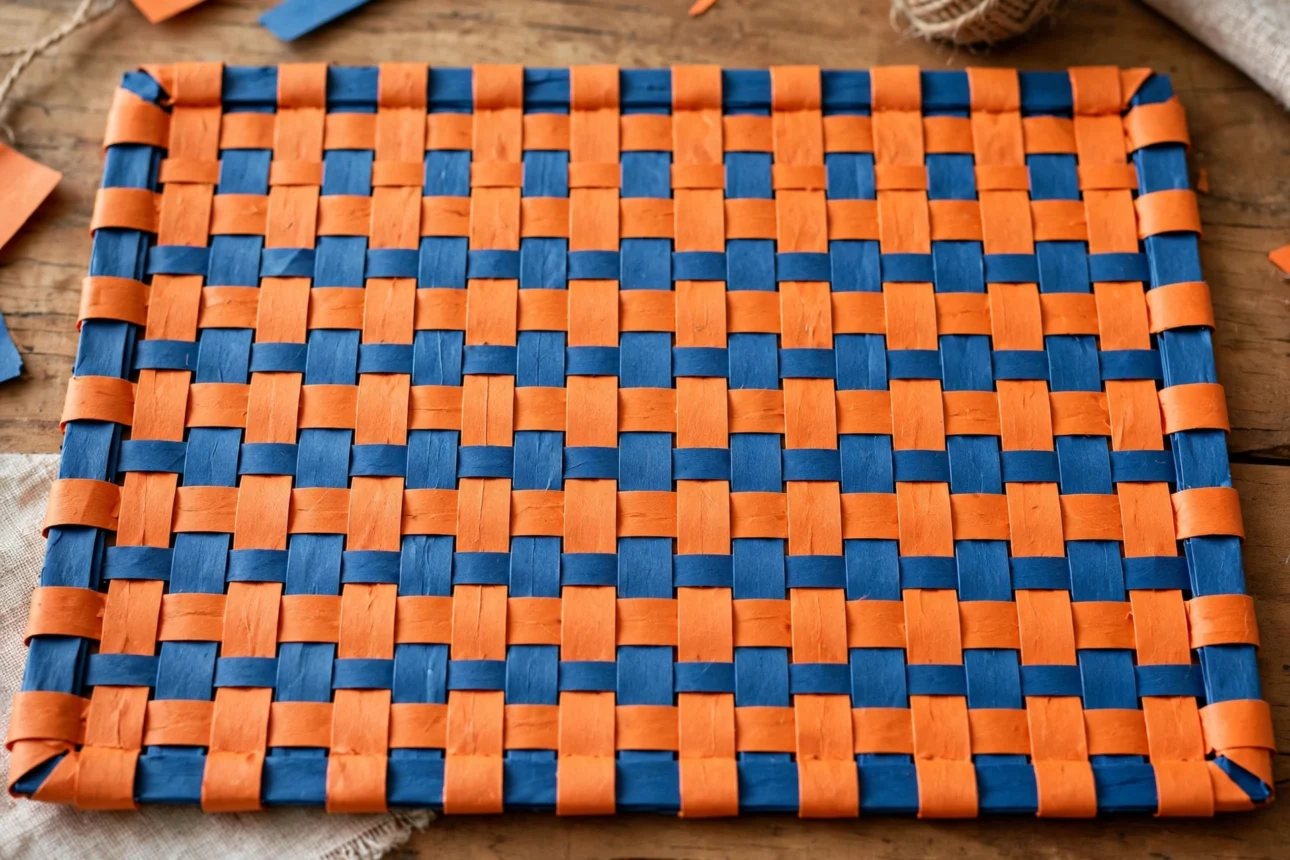
Cut even slits down a sheet of paper, leaving a solid border around the edges, then weave separate paper strips through the slits over and under. Alternate colors for a checkerboard look, or use a single bold color for a simple pattern. Once finished, the woven sheet can become a placemat, a card front, or a piece of wall art. This project is a gentle way to practice hand-eye coordination while still finishing something colorful in under half an hour. Trying different weaving patterns, such as skipping every other slit or grouping strips in pairs, changes the finished look without adding much extra time. Laminating a finished placemat, or covering it with clear contact paper, makes it wipeable and much sturdier for everyday table use.
FAQ
What paper works best for easy crafts?
Regular printer paper works for most folding projects like airplanes and boats. Cardstock holds up better for cards, masks, and anything that needs to stand on its own, since it resists bending and holds a crease longer than thinner paper.
What age group are these crafts good for?
Most of these projects suit ages five and up with a little help, and older kids and adults can do them independently. Cutting-heavy crafts like masks need adult supervision for younger children, while simple folds like fans and boats work well even for preschoolers.
Do I need special tools to start?
No, scissors and a glue stick cover almost everything on this list. A few projects like quilling go faster with a toothpick or quilling tool, but neither is required to get a finished result.
How can I make these crafts last longer?
Using cardstock instead of thin paper and storing finished pieces away from direct sunlight and moisture helps them hold their shape and color for years. A light coat of clear sealant or lamination adds extra protection for pieces that will get handled often.
References
- Red Ted Art, “Easy Paper Crafts for Kids and Adults” (2023)
- Feeling Nifty, “75 Craft Ideas with Paper: Fun DIY’s for Kids & Adults” (2025)
- Occasionally Crafty, “10 Easy Paper Crafts for Kids to Try at Home” (2026)
- DIY Candy, “50+ Paper Crafts for Kids Provide Hours of Fun!” (2024)
- Papercraft World, “Simple Paper Crafts: 31 Easy Projects for Kids & Adults” (2025)

Sarah Anderson . J
I’m the mom behind Wise Mom Blogger, where everyday creativity meets real-life motherhood. I share easy DIY crafts, cozy knitting and crochet projects, beginner-friendly sewing ideas, and family-tested recipes—plus quick baking hacks that make homemade feel doable on busy days.