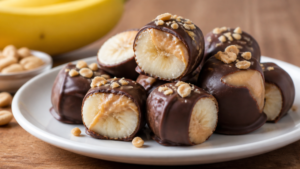
Are you wondering how to make a microwave cake that tastes like it came from an oven rather than a lunchbox? Achieving a rich, moist microwave mug cake relies on the perfect balance of basic pantry staples, which creates a warm, single-serving dessert without the need for batch baking. Whether you are craving a late-night chocolate fix on a Tuesday or hosting a 12 Easy Summer Dinner Ideas the Whole Family Will Love gathering, this fast method offers a reliable way to satisfy your sweet tooth.
Quick Questions and Answers
Question: Why do microwave cakes sometimes come out rubbery or soggy? Answer: Microwave cakes can become rubbery or soggy if cooked too long or not long enough, as microwaves heat unevenly. Overcooking dries out the cake, making it crumbly, while undercooking leaves it wet. Mixing the batter well and rotating the mug during cooking helps ensure even results.
Question: Can I make a microwave cake without using a mug? Answer: Yes, you can use any microwave-safe bowl, ramekin, or silicone mold instead of a mug. Avoid metal pans, as they are unsafe in microwaves. Silicone molds work well and don’t require greasing, but adjust cooking time based on your microwave’s wattage.
Question: Do microwave cakes need baking powder or soda to rise? Answer: Yes, most microwave cake recipes include baking powder or baking soda to help the cake rise and become fluffy. These leavening agents react with moisture and heat in the microwave, creating air pockets that give the cake a light texture similar to oven-baked cakes.
Ingredients and Tools You Need
To achieve consistent results, gathering the right tools matters as much as the ingredients. According to the U.S. Department of Agriculture, using microwave-safe cookware is the only way to ensure chemicals do not leach into your food during heating.
| Item | Purpose | Notes |
|---|---|---|
| 10-12 oz Mug | Vessel | Use a wide-rimmed style for even heating. |
| All-Purpose Flour | Structure | Scoop and level for accuracy. |
| Baking Powder | Rise | Ensure it is fresh for the best lift. |
| Milk | Moisture | Any dairy or plant-based equivalent works. |
| Cocoa Powder | Flavor | Use high-quality unsweetened cocoa. |
Step 1: Whisk The Dry Ingredients

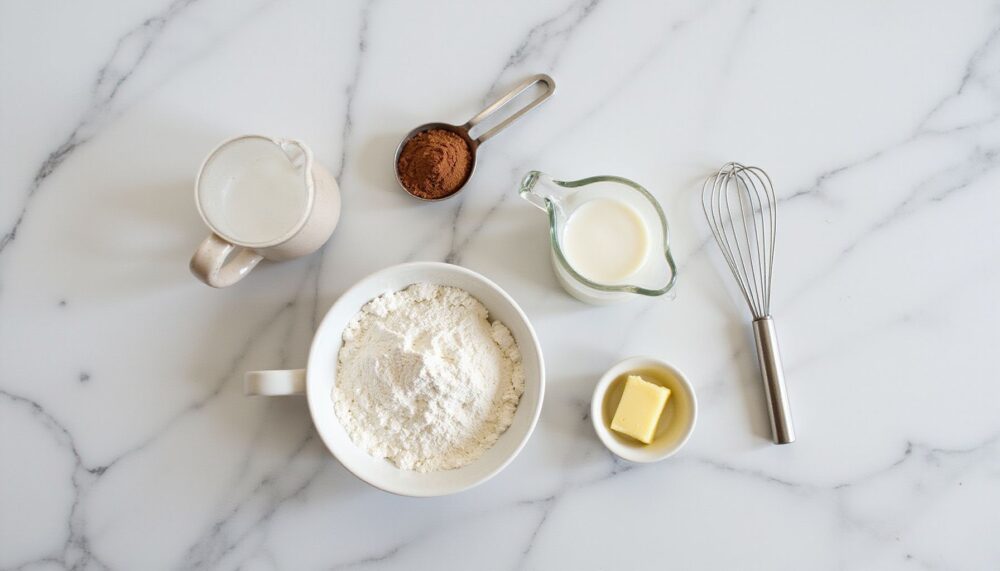
Start by adding your flour, sugar, cocoa powder, baking powder, and a pinch of salt directly into your microwave-safe mug. Use a sturdy fork to combine these dry elements until the color is uniform and no pockets of flour remain. As Something Swanky notes, proper blending of dry components prevents dense or lumpy cakes.
Step 2: Incorporate Wet Ingredients
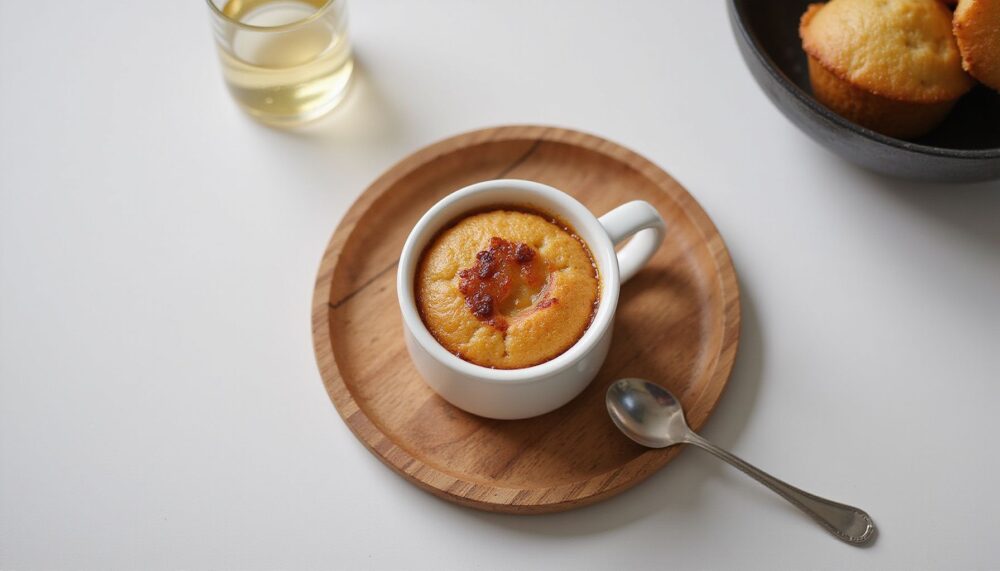
Pour the milk, oil or melted butter, and a splash of vanilla extract into the mug with your dry mix. Stir carefully until the batter reaches a smooth consistency. Avoid over-mixing, as this develops excess gluten, leading to a tougher texture rather than the light crumb you expect from a dessert.
Step 3: Add Final Mix-ins
If you want a truly decadent treat, fold in optional ingredients such as chocolate chips, a swirl of peanut butter, or a teaspoon of jam. These additions provide texture and gooey pockets of flavor. Much like when designing the perfect How to Create the Perfect Graduation Cake: Simple DIY Ideas, the small, intentional details transform a simple base recipe into something special.
Step 4: Cook Your Mug Cake
Place the mug in the very center of your microwave turntable to ensure heat travels evenly through the batter. Heat on high for approximately 60 seconds. Note that high-wattage machines often finish in 45 or 50 seconds, while standard units may need the full 60 to 75 seconds.
Step 5: Let The Cake Rest
Resist the urge to eat immediately. Letting the cake sit for 1 or 2 minutes allows the steam to redistribute and the structure to set properly. This resting period transforms the center from a hot, liquid-like batter into a stable, sliceable cake texture.
Common Mistakes to Avoid
The most frequent error is using a mug that is too small. If the batter takes up more than half the volume of the mug, it will likely spill over during the rise. Always ensure the mug is large enough to contain the expansion. Additionally, Better Homes & Gardens suggests that ignoring the wattage of your microwave often leads to either burnt edges or an undercooked center.
Troubleshooting Your Mug Cake
If your cake feels tough or rubbery, you likely over-mixed the batter or cooked it specifically too long. If the texture is too dry, try checking the microwave 10 seconds earlier or adding an extra half-teaspoon of milk next time. Conversely, if the center remains soupy, microwave the cake in 10-second bursts until it feels firm to a gentle poke.
FAQ
Q: How long does it take to cook a mug cake in the microwave?
Cooking time typically ranges from 50 seconds to 2 minutes, depending on your microwave’s wattage and the size of the mug. Start with 50 seconds, then add 10-second intervals until the cake is firm and a toothpick comes out clean.
Q: Are microwave cakes healthy compared to regular baked cakes?
Microwave cakes often use less butter and sugar than traditional cakes, making them slightly healthier, but they still contain flour, sugar, and fats. Some recipes use healthier substitutions like applesauce or reduced oil, but overall, they remain a dessert treat rather than a health food.
Q: What ingredients are needed for a basic microwave cake recipe?
A basic microwave cake recipe usually includes all-purpose flour, sugar, baking powder, salt, milk, melted butter or oil, and vanilla extract. Chocolate versions add cocoa powder or chocolate chips. Some recipes use an egg for extra richness and structure.
Q: Will a microwave cake rise the same as an oven-baked cake?
Microwave cakes rise similarly to oven-baked cakes if the recipe includes baking powder or soda. However, they may not develop the same crust or golden color since microwaves don’t brown food. The texture remains soft and fluffy, but the surface stays pale.
Q: Does microwave wattage affect how long I should cook my cake?
Yes, microwave wattage significantly affects cooking time. Higher-wattage microwaves cook faster, while lower-wattage ones need more time. Adjust by adding or subtracting 15-second intervals based on your microwave’s power to avoid under or overcooking.
Q: What toppings work best for microwave mug cakes?
Popular toppings for microwave mug cakes include ice cream, whipped cream, chocolate chips, nuts, raisins, maple syrup, or a dusting of powdered sugar. Frosting can also be added once the cake has cooled completely to prevent melting.
Q: Is it safe to cover a microwave cake while cooking?
It’s generally safe to loosely cover a microwave cake with plastic wrap or a microwave-safe lid, leaving a small vent for steam to escape. This helps prevent drying but avoids pressure buildup. Never seal it completely, as trapped steam can cause overflow or uneven cooking.
My Experience With Microwave Cake Recipe
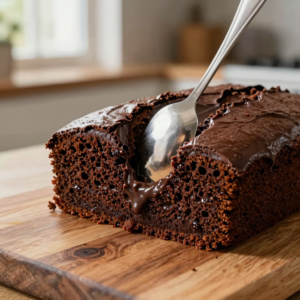
I have spent many late nights staring at the microwave, waiting for a mug cake to finish. My biggest takeaway is that timing is not universal; if you own a powerful 1200-watt machine, a minute will turn your dessert into a hockey puck. I learned to watch the cake through the glass door during the final 15 seconds. If it starts to climb rapidly out of the mug like a science experiment, stop it immediately, even if it has not reached the target time. My preference usually leans toward slightly underdone centers, which act like a molten lava sauce against the cooked edges.
Mixing the dry ingredients with the milk and oil using a fork is a small but vital step that most people rush. I found that if I don’t scrape the bottom corners of the mug, I end up with hidden patches of raw flour in my final bite. It is one of those annoying culinary truths—precision in the stir translates to success in the bowl. Have you ever had a mug cake experiment go sideways, or did yours turn out perfectly on the first try?
Recipe Card
5-Minute Microwave Mug Cake
A moist and fudgy individual chocolate cake that is ready to eat in under 5 minutes.
Prep: 2 minutesCook: 1 minuteTotal: 3 minutesYield: 1 servingCategory: DessertCuisine: American
Ingredients
- 4 tbsp all-purpose flour
- 2 tbsp sugar
- 2 tbsp cocoa powder
- 1/4 tsp baking powder
- 1 pinch salt
- 3 tbsp milk
- 1.5 tbsp melted butter or oil
- 1/4 tsp vanilla extract
Instructions
- – Whisk the dry ingredients together in a 10-12 oz microwave-safe mug.
- – Add the wet ingredients and stir until the batter is smooth.
- – Add a tablespoon of chocolate chips if desired.
- – Microwave on high for 60 seconds (adjust based on your wattage).
- – Let cool for 1 minute before serving.
Notes
- Use a wide-rimmed mug for even cooking.
- Do not overfill; leave at least an inch of space at the top.
Nutrition (Per Serving)
| Calories | 320 |
| Protein | 5 |
| Carbs | 45 |
| Fat | 14 |
Estimated values, provided for informational purposes only.
References
- Broma Bakery. (n.d.). Chocolate Mug Cake. https://bromabakery.com/chocolate-mug-cake
- Bigger Bolder Baking. (2026, June 15). Best-Ever Chocolate Mug Cake. https://www.biggerbolderbaking.com/best-ever-chocolate-mug-cake
- Wilton. (n.d.). How to Make a Mug Cake. https://blog.wilton.com/how-to-make-a-mug-cake
- U.S. Department of Agriculture. (n.d.). Microwave Ovens and Food Safety. https://www.fsis.usda.gov/food-safety/safe-food-handling-and-preparation/food-safety-basics/microwave-ovens-and-food-safety
- Better Homes & Gardens. (n.d.). How to Microwave Food Safely. https://www.bhg.com/kitchen/appliances/microwave-safety-tips/

Sarah Anderson . J
I’m the mom behind Wise Mom Blogger, where everyday creativity meets real-life motherhood. I share easy DIY crafts, cozy knitting and crochet projects, beginner-friendly sewing ideas, and family-tested recipes—plus quick baking hacks that make homemade feel doable on busy days.