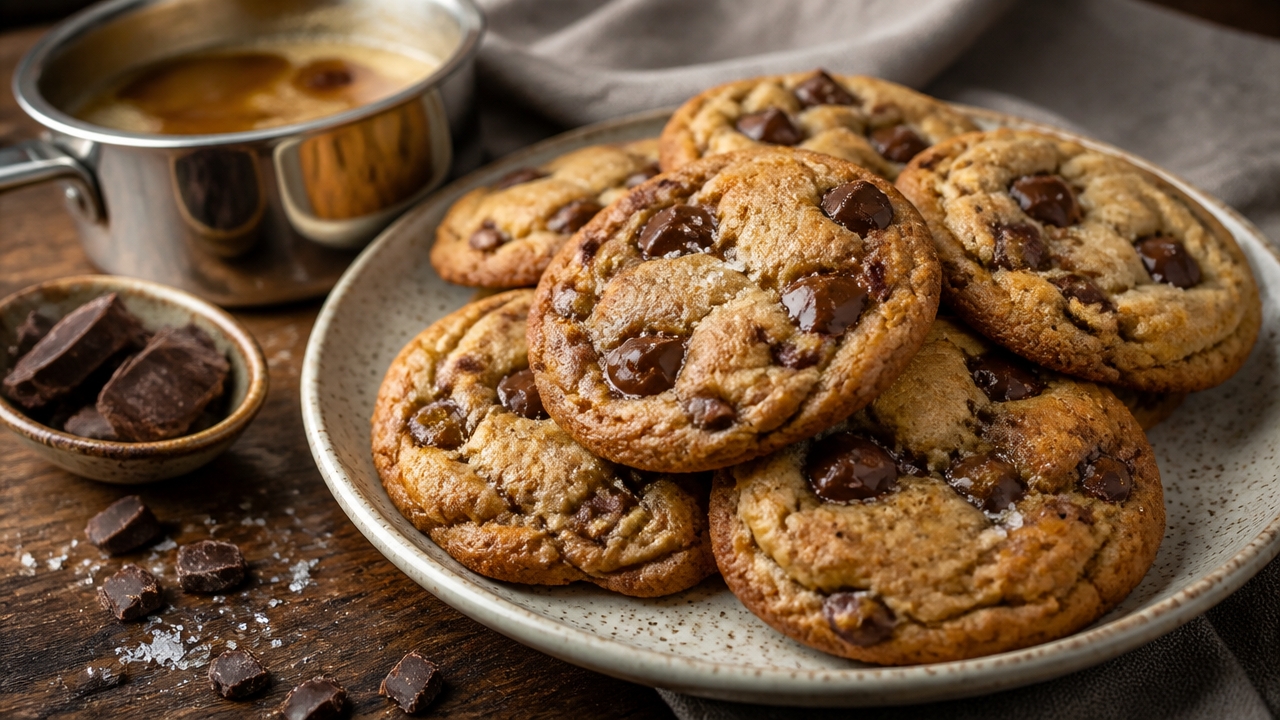
What makes a truly standout brown butter chocolate chip cookie differ from every other standard homemade treat you have tried? The magic lies in the simple, transformative process of browning butter to unlock deep, nutty notes that define the best bakery-style chocolate chip cookies. Whether you are prepping for a cozy winter evening or a summer family gathering, this recipe provides the perfect centerpiece for your dessert table. By balancing rich fat with the right sugars and high-quality chocolate, you craft an easy yet impressive addition to your repertoire. Let’s look at how to get these perfect every time.
Quick Questions and Answers
Question: Why do you brown butter for chocolate chip cookies? Answer: Brown butter adds a deep, nutty, and caramel-like flavor that transforms standard chocolate chip cookies into something richer and more complex. The process evaporates water from the butter and browns the milk solids, creating a distinct toasted aroma. This flavor profile is the key difference between these cookies and recipes using regular melted or softened butter[1][5].
Question: Can you use melted butter instead of browned butter? Answer: Using regular melted butter will not produce the same nutty, toasted flavor because browning requires cooking the butter until the milk solids caramelize. Melted butter only liquefies the fat without developing the characteristic brown butter taste or aroma. For the best results, you must cook the butter until it turns golden and smells fragrant[1][5].
Question: Do brown butter cookies need to be chilled? Answer: Chilling brown butter cookie dough is highly recommended, often for at least 30 minutes or up to overnight, to firm up the fat and prevent excessive spreading. Since brown butter is liquid when warm, chilling ensures the cookies bake with a better texture and thicker shape. Many recipes state that overnight chilling is best for hydrating the flour and intensifying the flavor[2][7].
Key Takeaways
- Browning butter is a technique that removes moisture and caramelizes milk solids.
- Cold equipment and careful heat management prevent the butter from burning.
- Chilling the dough after mixing is necessary for a thick, chewy texture.
What You Need
| Item | Purpose | Notes |
|---|---|---|
| Light-colored saucepan | Browning butter | Essential to see color changes clearly. |
| High-quality unsalted butter | Base flavor | Avoid salted butter to control sodium levels. |
| Brown sugar | Moisture/Caramelization | Light or dark brown both add depth. |
| Chopped quality chocolate | Texture | Creates irregular, melted pools of cocoa. |
| Parchment paper | Lining | Prevents sticking during the bake. |
Step 1: Browning the Butter Correctly

Cooking the butter begins with a light-colored saucepan. A pale interior allows you to track the color of the milk solids as they transform from pale yellow to a deep amber. Place your unsalted butter in the pan over medium heat.
Whisk the butter constantly as it melts. Initially, you will see a lot of sputtering and foam. This shows the water is evaporating. After a few minutes, the foam will subside, and the bottom of the pan will display tiny, golden-brown specks.
The aroma is your most reliable gauge. Once the air fills with a distinct, toasted nut smell, remove the pan from the heat immediately. If you leave the butter on the burner for even 30 seconds too long, you risk burning the milk solids. Pour the liquid gold into a heat-safe bowl so it stops cooking.
Step 2: Preparing the Dough

Transfer your browned butter into a mixing bowl to cool completely. Never add hot butter to your sugar or eggs, as this melts the sugar too fast and ruins the final texture. You want the fat to return to a soft, room-temperature solid before proceeding.
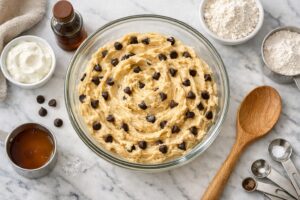
Once cooled, cream the butter with your brown and granulated sugars until the mixture looks fluffy. This aeration is vital for a soft cookie center. Add your room-temperature eggs and a splash of pure vanilla extract.
Fold in your flour, baking soda, and salt. When adding your chocolate, try chopping a high-quality dark chocolate bar instead of using chips. These shards create thin puddles of melted cocoa that contrast with the chewy dough. If baking for a large event, keep in mind how these homemade treats stand out against simpler desserts.
Step 3: Baking for the Perfect Texture
Preheat your oven to 350°F (175°C). Use a standard temperature guide to ensure your oven is calibrated correctly, as hot spots often ruin delicate cookie doughs.
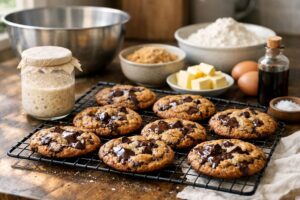
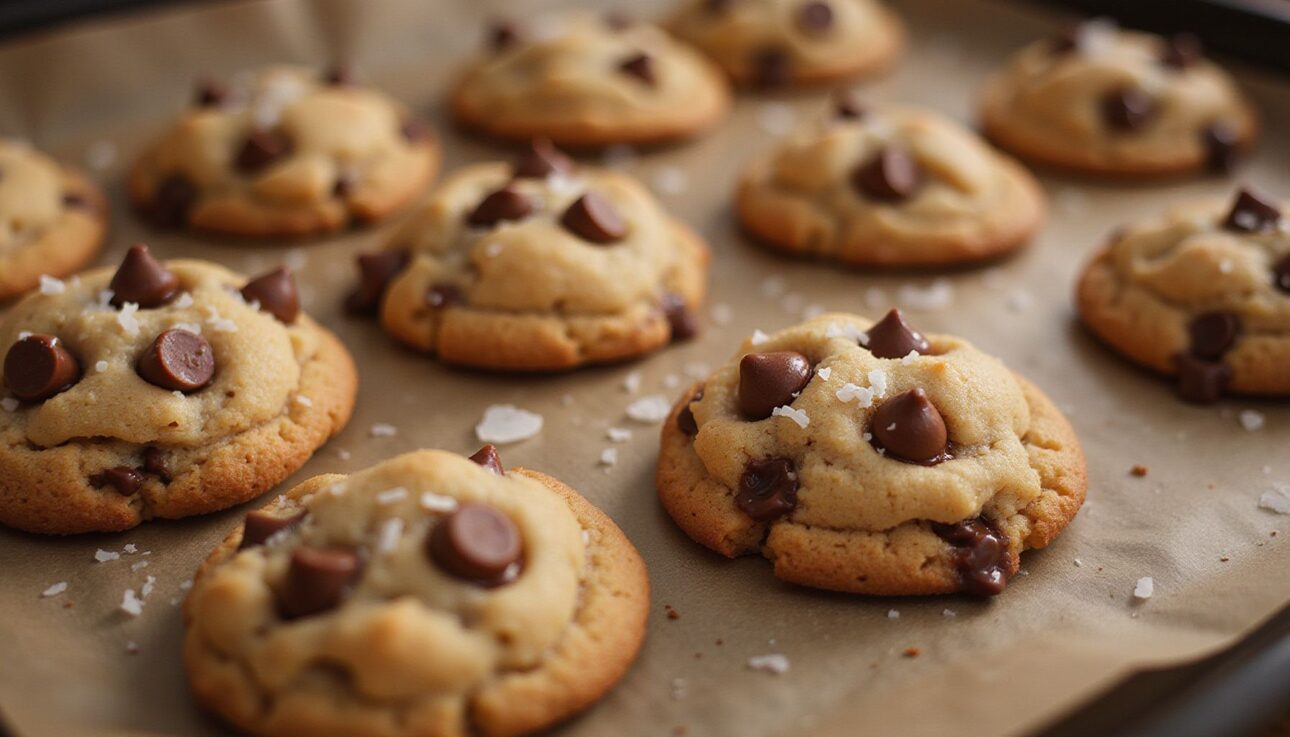
Scoop generous balls of dough onto your parchment-lined sheet. Give them at least 2 inches of space. Bake until the edges look crisp and light brown, while the center remains slightly puffy.
Total bake time usually falls between 10 and 12 minutes. The center should look underdone when you pull them out; they will firm up as they cool on the hot baking tray. Sprinkle a pinch of flaky sea salt over the top while they are still warm to balance the sweetness of the caramelized sugar.
Common Mistakes to Avoid
Many beginners use a dark-tinted pan, which makes it nearly impossible to distinguish between golden brown and burnt black. Stick to stainless steel or light-colored enamel pans. Using regular baking soda that has been open for months is another common oversight; it loses its lift and leads to flat, dense cookies.
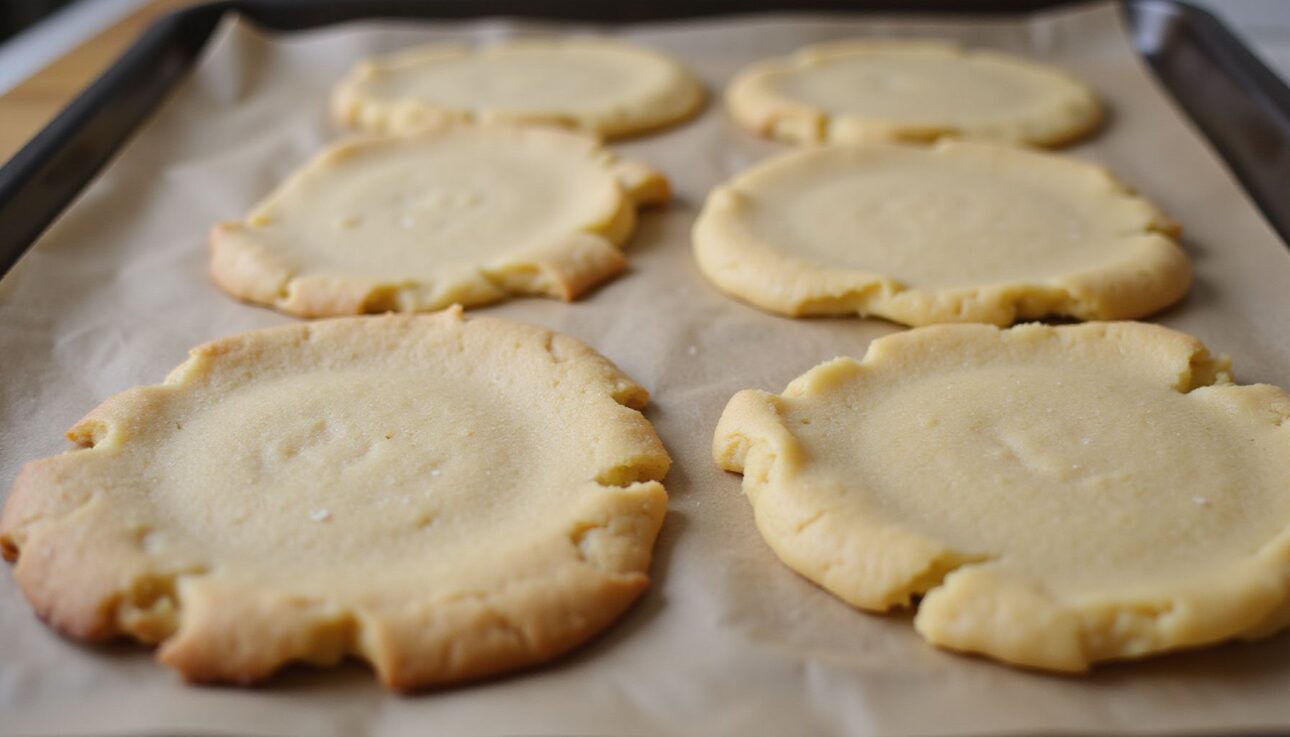
Don’t rush the chill time. If you skip this, the dough will spread into one giant, flat crisp in the oven because the butter was too liquid. If you find yourself in a rush and need a quick dessert, perhaps consider a moist mug cake instead.
Troubleshooting
Does your dough feel greasy? It likely needs an extra 15 minutes of chilling in the refrigerator. The fat needs to firm up to support the structure of the flour.
Are your cookies not browning evenly? This implies the oven rack is too low or your heat is fluctuating. Always place your baking sheet on the center rack for the most consistent temperature circulation. If the cookies look like they are burning on the edges before the center is cooked, lower your oven temperature by 10 degrees next time.
FAQ
Q: Are brown butter chocolate chip cookies better than regular ones?
Many bakers prefer brown butter cookies because the nutty, toasted flavor adds a sophisticated depth that regular butter lacks. The browning process creates a caramel-like taste that pairs exceptionally well with chocolate, making them richer and more aromatic. While regular cookies are classic, brown butter versions are often considered a premium upgrade for flavor enthusiasts.
Q: How long does it take to brown butter for cookies?
Browning butter typically takes about 5 minutes over medium heat, during which it will melt, foam, and then turn golden brown. You must stir constantly and watch for the milk solids to brown and the butter to smell fragrant and nutty before removing it from heat immediately. If left too long, the butter can burn and ruin the flavor of the entire batch.
Q: Does brown butter make cookies spread more?
Brown butter can make cookies spread more if the dough is not chilled properly, as the water content is reduced and the butter is often liquid when added. Chilling the dough for at least 30 minutes or overnight helps solidify the fat, which minimizes spreading and creates a thicker cookie. Without chilling, the cookies may end up flat and greasy.
Q: When should you add chocolate to brown butter dough?
You should add chocolate chips or chunks after the dough has cooled slightly, usually after mixing in the dry ingredients, to prevent them from melting prematurely. Some recipes suggest letting the dough rest for 20 minutes before adding chocolate to ensure it hydrates the flour and distributes the flavor evenly. Mixing chocolate in too early while the dough is hot can cause the chocolate to melt into the dough.
Q: Which chocolate works best for brown butter cookies?
Chocolate chips or chopped chocolate bars work well, but using a mix of both creates varied texture and depth in the final cookie. Chopping chocolate bars into small pieces allows for irregular chunks that melt slightly, while reserving larger chunks to press onto dough balls adds visual appeal. Sea salt is often sprinkled on top to complement the rich chocolate and nutty butter flavors.
Q: Will brown butter cookies stay soft after baking?
Yes, brown butter chocolate chip cookies are designed to stay soft and chewy in the center while the edges turn golden brown. Recipes often recommend baking until the centers still look soft when removed from the oven, as they will firm up slightly while cooling on the pan. The reduced water content in brown butter can contribute to a denser, more tender texture.
Q: What temperature do you bake brown butter cookies?
You should bake brown butter chocolate chip cookies at 350°F for approximately 10 to 12 minutes, depending on the desired spread and thickness. The cookies are done when the edges are lightly golden brown but the centers remain soft and puffy. Overbaking can dry them out, so removing them when the centers are still slightly soft ensures a chewy result.
Next Steps
Experimentation is part of the fun. Try folding in toasted pecans or walnuts for an added crunch that complements the nuttiness of the butter. You can also swap half the milk chocolate for bittersweet dark chocolate to provide a sharper flavor contrast. Store your leftovers in an airtight jar to maintain the soft, chewy texture for up to 3 days.
My Experience With Brown Butter Chocolate Chip Cookies Recipe
My first attempt at browning butter was an exercise in patience—and a near-disaster. I was so convinced that “golden brown” meant “keep cooking until it’s darker” that I almost turned my butter into a burnt, bitter disaster. Luckily, I caught the smell right at the threshold of ruin. The lesson here is simple: trust your nose, not just your eyes. The transition from perfect nuttiness to bitter scrap happens in mere seconds.
I have found that using a mix of dark brown sugar and white sugar yields the best results. The molasses in the brown sugar interacts beautifully with the caramelized solids in the butter, giving the cookies a chewy, toffee-like interior that most standard recipes just can’t replicate. It is a subtle shift, but it makes these cookies taste much more expensive than they actually are. One expert tip I swear by is letting the dough rest for a full hour before baking. It gives the flour time to hydrate and the fat time to settle, leading to a much better shape.
Have you ever accidentally burnt your butter while trying to reach that perfect caramel hue?
Recipe Card
Brown Butter Chocolate Chip Cookies
A decadent, chewy cookie featuring nutty browned butter and rich pools of dark chocolate.
Prep: 15 minutesCook: 12 minutesTotal: 1 hour (including chilling)Yield: 18 cookiesCategory: DessertCuisine: American
Ingredients
- 1 cup unsalted butter
- 1 cup light brown sugar, packed
- 1/2 cup granulated sugar
- 1 large egg + 1 egg yolk
- 2 tsp vanilla extract
- 2 1/4 cups all-purpose flour
- 1 tsp baking soda
- 1/2 tsp sea salt
- 1 1/2 cups chopped dark chocolate
Instructions
- – Brown the butter in a light-colored pan over medium heat until nutty and golden. Let cool.
- – Whisk browned butter with sugars until smooth. Add egg, yolk, and vanilla.
- – Stir in flour, baking soda, and salt. Fold in chocolate.
- – Chill dough for 30 minutes.
- – Preheat oven to 350°F. Scoop onto parchment-lined sheet.
- – Bake for 10-12 minutes. Cool on pan.
Nutrition Info (per serving)
| Calories | 280 |
| Protein | 3g |
| Carbs | 35g |
| Fat | 15g |
| Fiber | 1g |
| Sugar | 22g |
| Sodium | 180mg |
Notes
- Do not skip the chill time; it prevents the cookies from turning into flat puddles.
- Use a high-quality chocolate bar chopped into chunks for the best melted texture.
References
- In Bloombakery. (2026, April 14). Brown Butter Chocolate Chip Cookies. In Bloombakery. https://inbloombakery.com/brown-butter-chocolate-chip-cookies
- Wild Wild Whisk. (2021, August 22). Brown Butter Chocolate Chip Cookies. Wild Wild Whisk. https://wildwildwhisk.com/brown-butter-chocolate-chip-cookies
- Centers for Disease Control and Prevention. (n.d.). Keep Food Safe. CDC. https://www.cdc.gov/foodsafety/keep-food-safe.html
- FoodSafe. (n.d.). Baking Soda and Food Safety. FoodSafety.gov. https://www.foodsafety.gov/

Sarah Anderson . J
I’m the mom behind Wise Mom Blogger, where everyday creativity meets real-life motherhood. I share easy DIY crafts, cozy knitting and crochet projects, beginner-friendly sewing ideas, and family-tested recipes—plus quick baking hacks that make homemade feel doable on busy days.