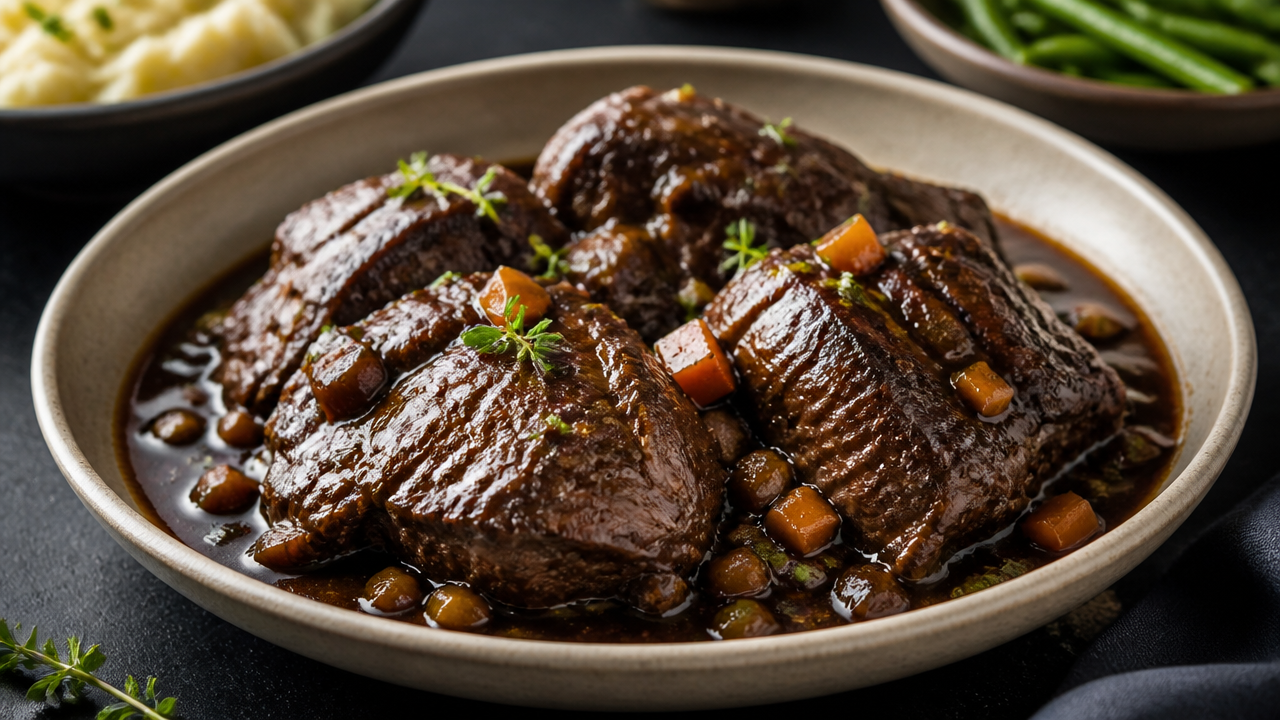
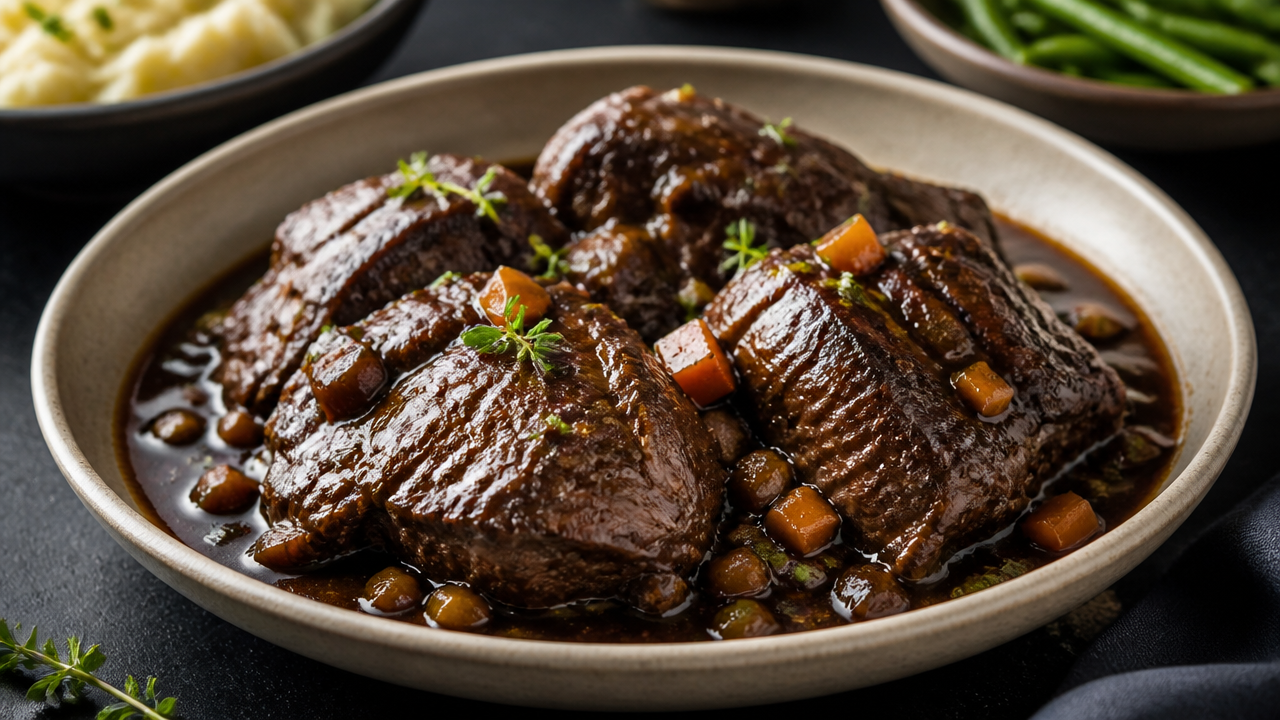
What makes a truly great beef cheeks recipe stand out from every other braised beef dish you have tried? Beef cheeks are a dense, collagen-packed cut that transforms into something silky and luxurious when cooked properly. This how-to guide walks through the complete process from trimming to serving, so you get tender beef cheeks every time — whether you are planning a cozy winter dinner or an impressive holiday meal. No guesswork required.
Quick Questions and Answers
Question: Why are beef cheeks so hard to cook properly?
Answer: Beef cheeks are dense muscle with significant connective tissue, requiring long, slow cooking to render the fat and break down fibers. If not cooked low and slow for 3 to 8 hours, they remain tough and chewy rather than tender and silky.
Question: Can you eat beef cheeks raw or undercooked?
Answer: No, beef cheeks must be fully cooked until tender because they are extremely tough when raw. Undercooked cheeks will be chewy and difficult to eat, as the collagen needs hours of heat to convert into gelatin for a soft texture.
Question: Do beef cheeks need to be marinated before cooking?
Answer: Marinating is optional but recommended for deeper flavor, with some recipes suggesting 6 to 24 hours in a liquid marinade. However, many successful recipes skip marination and rely on searing and a rich braising liquid with red wine and herbs.
Key Takeaways
Trimming silverskin is non-negotiable for tender results
Low and slow cooking (8 hours on low or 3-3.5 hours at 300°F) breaks down collagen
Searing builds deep flavor through fond development
The meat is done when it pulls apart easily with a fork
Final sauce can be thickened with cornstarch slurry or pureed vegetables
What You Need
Item
Purpose
Notes
Beef cheeks (2-3 lbs)
Main protein
Look for well-trimmed cheeks from a butcher
Sharp fillet knife
Trim silverskin and excess fat
A dull knife makes trimming dangerous and messy
Dutch oven or slow cooker
Braising vessel
Heavy-bottomed Dutch oven works best for stovetop-to-oven
Red wine (1.5 cups)
Braising liquid base
Cabernet or Merlot work well; avoid cooking wine
Beef stock (2 cups)
Adds depth to sauce
Low-sodium preferred for controlling salt
Cornstarch
Thicken final sauce
Mix 2 tbsp cornstarch with 2 tbsp cold water for slurry
Aromatics
Flavor foundation
Onion, garlic, thyme, bay leaf, tomato paste
Prep Work: Cleaning the Meat
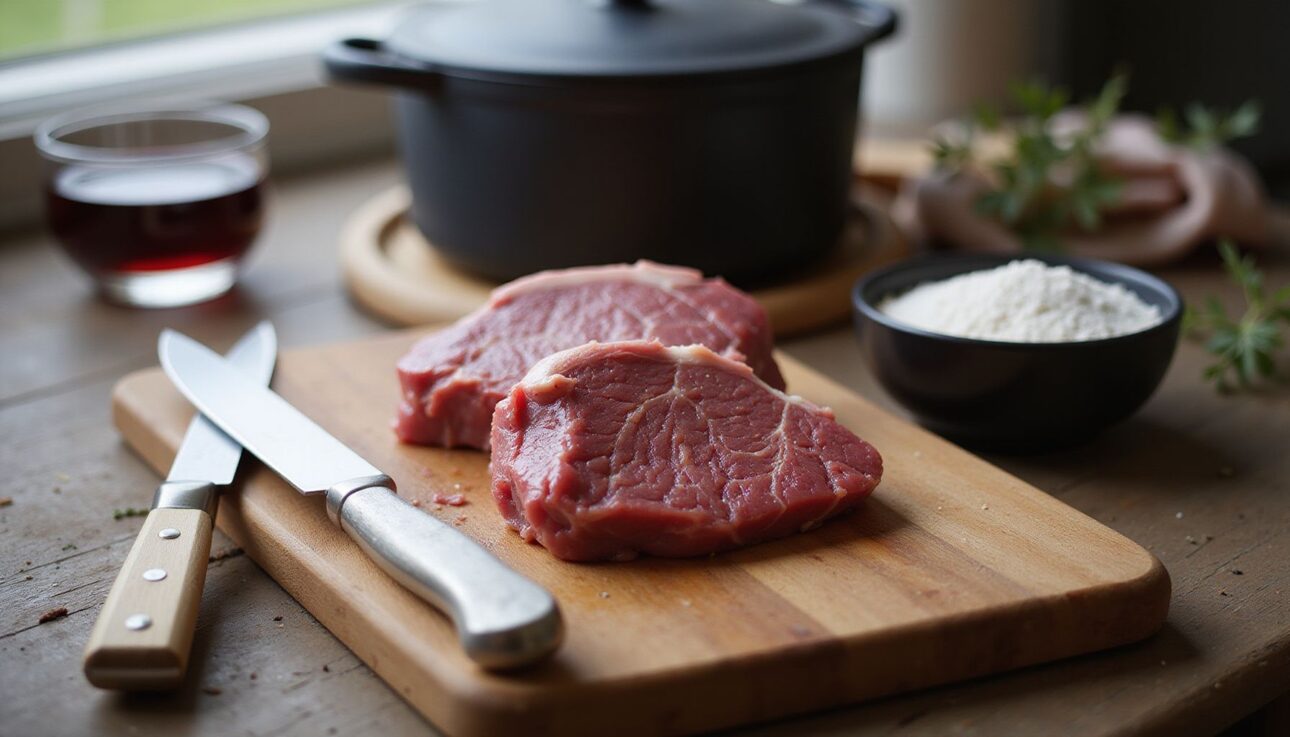
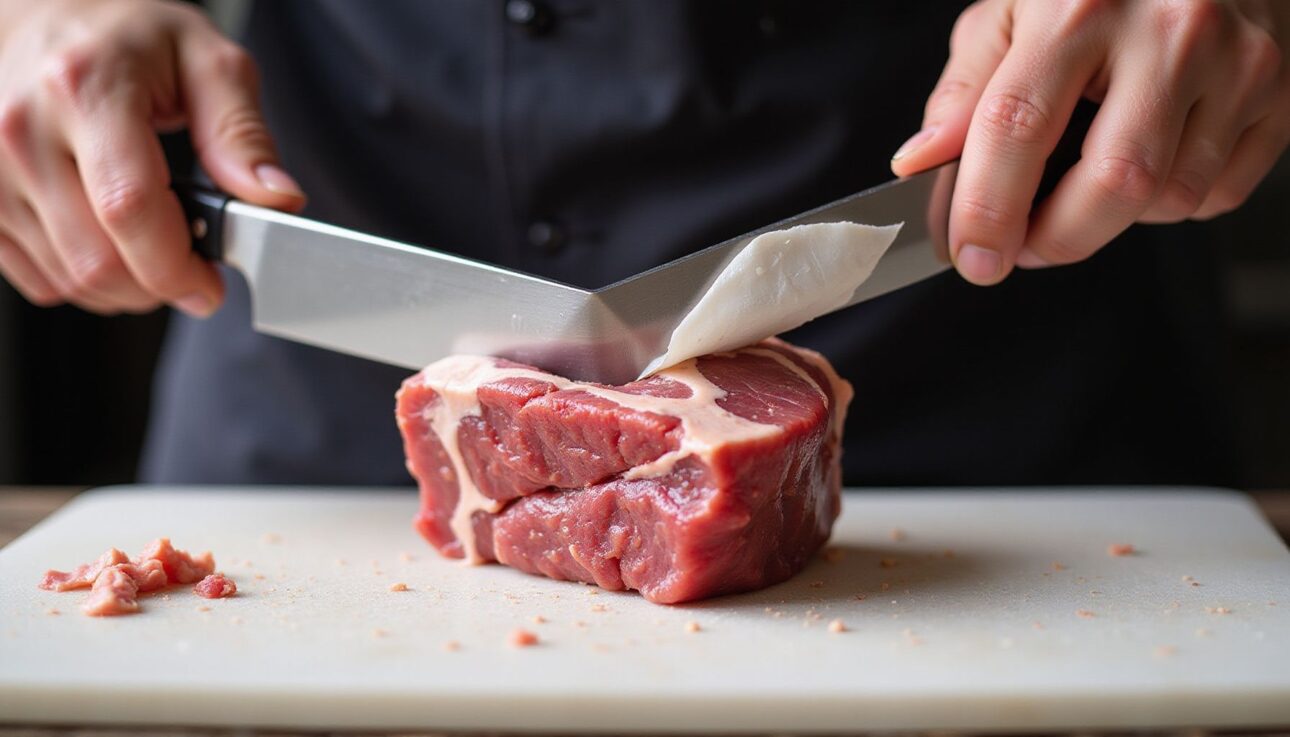
Beef cheeks come with a tough outer membrane called silverskin. Leaving it on guarantees chewy, unpleasant meat no matter how long you cook. Grab a sharp fillet knife — this matters more than anything else in your drawer. Lay each cheek flat on your cutting board. Slide the knife just under the silverskin, keeping the blade angled slightly upward against the membrane. Use long, smooth strokes to separate it from the pink meat beneath.
Trim any large pockets of surface fat, too. Some marbling inside is good — that fat melts during cooking and keeps the meat moist. But big chunks of hard fat on the outside won’t render properly and leave a greasy finish. Spend five minutes here. It saves you from disappointment.
Rinse the trimmed cheeks under cold water and pat them completely dry with paper towels. Dry meat sears better. Wet meat steams.
Step 1: Sear the Beef Cheeks
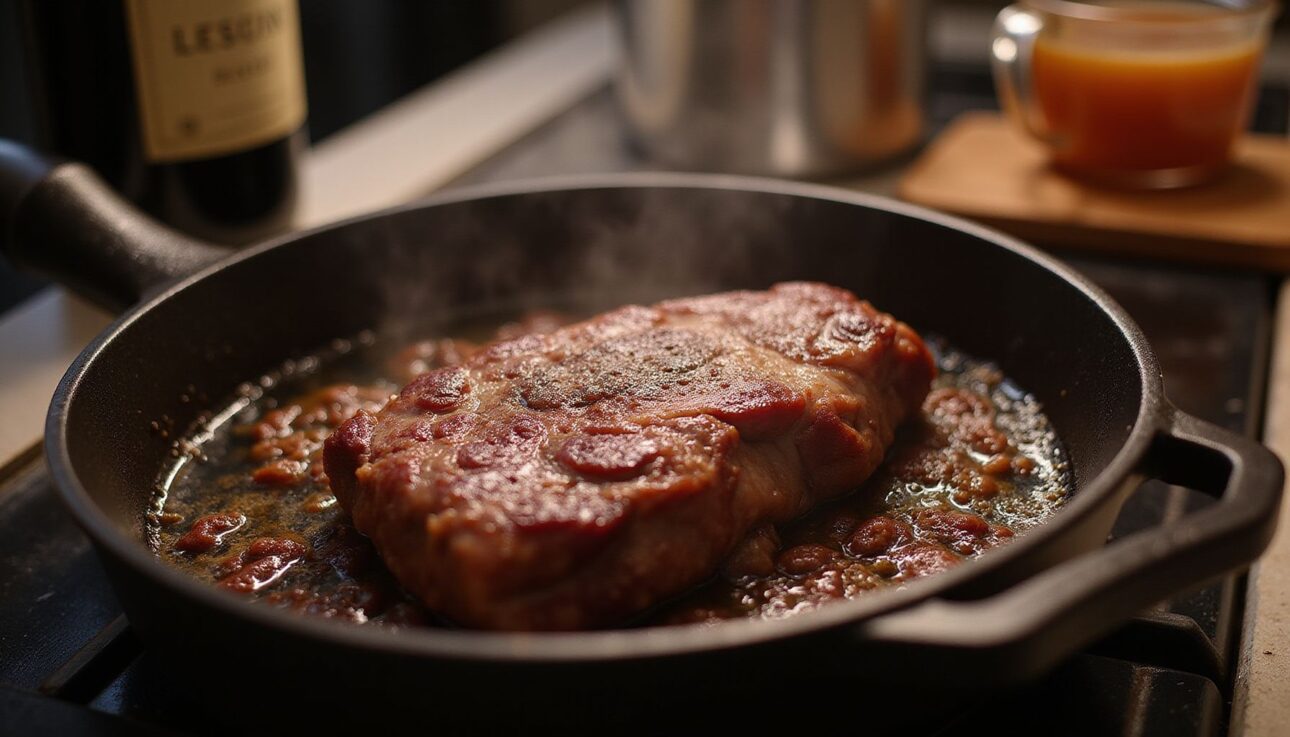
Heat a Dutch oven or heavy skillet over medium-high heat. Add 2 tablespoons of neutral oil with a high smoke point — canola or avocado oil is fine. You want the oil shimmering but not smoking.
Season the dried cheeks generously with kosher salt and black pepper on all sides. Place them in the hot pan in a single layer. Do not crowd the pan — cook in batches if needed. Let them sit undisturbed for 3 to 4 minutes per side. You are looking for a deep brown crust, not a pale tan. Flip with tongs and repeat on all sides. The fond — those brown bits stuck to the pan bottom — is pure flavor waiting for liquid.
According to RecipeTin Eats, browning beef cheeks before braising is the single most important step for building a rich, complex sauce. Skipping it leaves the dish flat.
Step 2: Build the Braising Base
Remove the seared cheeks to a plate. Reduce the heat to medium. Add one diced onion and cook for 3 to 4 minutes until translucent. Throw in 3 minced garlic cloves and cook one more minute — garlic burns fast, so keep stirring.
Add 2 tablespoons of tomato paste. Cook it for 2 minutes, stirring constantly. Tomato paste needs heat to shed its raw, tinny flavor and turn savory and sweet. Pour in 1.5 cups of red wine. Scrape the bottom of the pan with a wooden spoon to lift all that fond into the liquid. Let the wine bubble and reduce by half — about 3 to 4 minutes.
Add 2 cups of beef stock, 2 sprigs of fresh thyme, 1 bay leaf, and 2 whole peeled carrots cut into chunks. Return the beef cheeks to the pot. The liquid should come about halfway up the sides of the meat. Add a little water if needed.
Step 3: Cook Low and Slow
For the oven, cover the Dutch oven with its lid and place it in the oven at 300°F (150°C). Cook for 3 to 3.5 hours. Check at the 2.5-hour mark by poking the meat with a fork. It should slide in with almost no resistance. If it still fights back, give it another 30 minutes and test again.
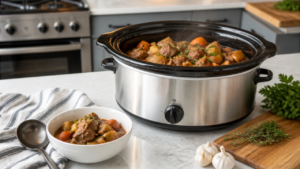
For a slow cooker, transfer everything from the pot to the slow cooker insert. Set it to LOW for 8 hours. Do not use the HIGH setting — it cooks too aggressively and can make the meat stringy rather than tender. The low, steady heat allows collagen to convert to gelatin slowly, which gives that silky, melt-in-your-mouth texture.
Research from the USDA Food Safety and Inspection Service confirms that cooking tough cuts at low temperatures for extended periods safely breaks down connective tissue while keeping the meat moist.
Step 4: Thicken and Finish the Sauce
When the meat is fork-tender, remove it from the pot carefully — it will want to fall apart. Set it on a plate and tent with foil. Strain the braising liquid through a fine-mesh sieve into a saucepan. Discard the solids.
Let the liquid sit for a minute, then skim off any visible fat from the surface with a spoon. Bring it to a gentle simmer over medium heat. If you want a glossy, thick gravy, mix 2 tablespoons of cornstarch with 2 tablespoons of cold water in a small bowl until smooth. Whisk the slurry into the simmering liquid. It will thicken in about 2 minutes. Season with salt and pepper to taste.
Alternatively, you can skip the straining and puree the vegetables right into the sauce using an immersion blender. This creates a naturally thick, velvety sauce without cornstarch. Both work — the puree method gives a more rustic texture.
Step 5: Rest and Serve
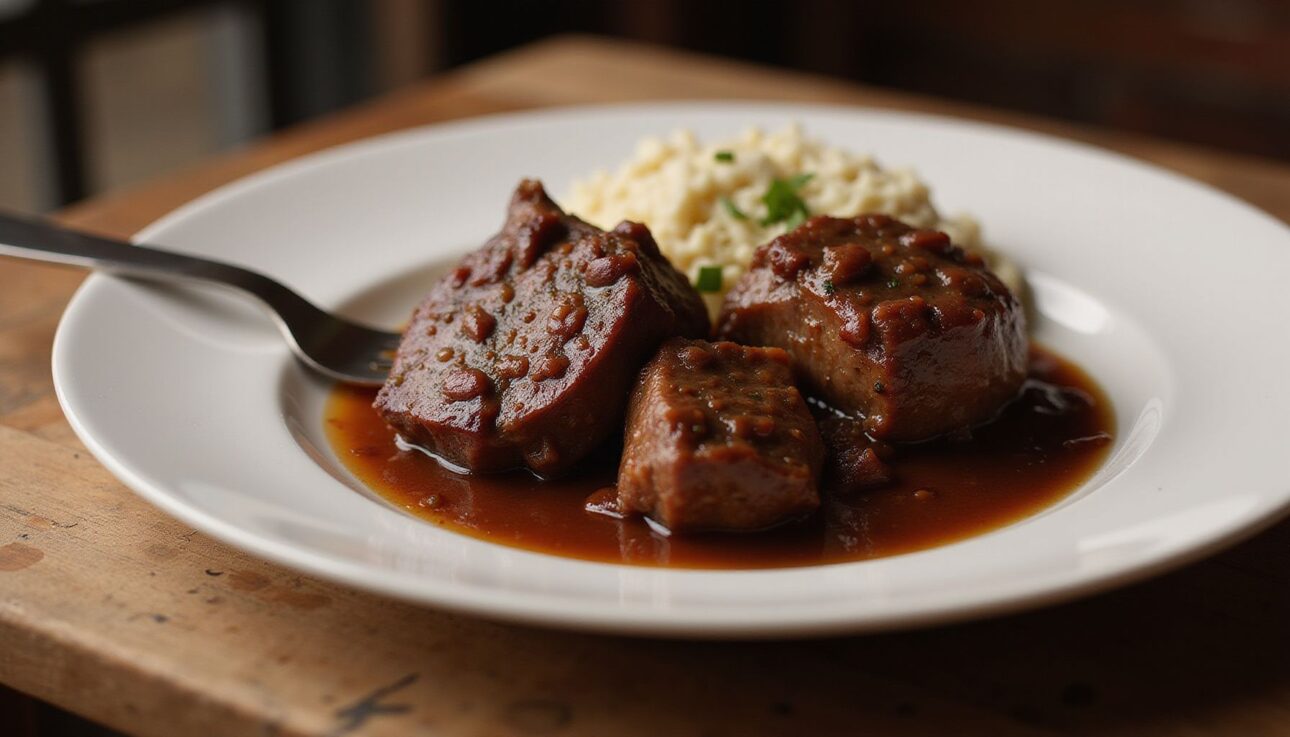
Return the cheeks to the thickened sauce. Let them rest in the warm sauce for 5 to 10 minutes before serving. This lets the meat absorb a bit of the sauce back into its fibers. Do not rush this step — it makes a difference in the final bite.
Plate each cheek on a bed of creamy mashed potatoes or a simple polenta. Spoon the sauce generously over the top. The gravy should be rich enough to coat the back of a spoon. A sprinkle of fresh parsley or chives adds a bright finish.
Skipping the sear. This is the most common mistake. Without browning, you lose the Maillard reaction that creates hundreds of flavor compounds. The sauce ends up tasting like boiled wine and stock — not the deep, layered gravy you want.
Rushing the cook. Beef cheeks need time. Pulling them at 4 hours in a slow cooker because you are hungry leads to disappointment. The collagen has not fully broken down yet. The meat will be chewy and the sauce will lack body. Set a timer and walk away.
Leaving the silverskin. I cannot stress this enough. Silverskin does not break down during cooking. It stays tough and rubbery. If you skip trimming, every bite will have a chewy patch you cannot enjoy. Take the 5 minutes.
Using too much liquid. The cheeks should be partially submerged, not swimming. Too much liquid dilutes the flavor and makes a thin sauce. You want just enough to braise, not boil.
Troubleshooting: Getting the Perfect Texture
If the meat is still chewy after the recommended time. The connective tissue has not fully rendered. Return the pot to the oven or slow cooker for 30-minute increments. Test with a fork each time. Some cheeks are larger or denser than others and need extra time.
If the sauce is too thin. Mix 1 tablespoon cornstarch with 1 tablespoon cold water and whisk it into the simmering sauce. Let it cook 2 minutes. Repeat if needed. Do not dump dry cornstarch directly into hot liquid — it turns into lumps.
If the sauce is too salty. Add a peeled raw potato to the simmering sauce. Let it cook for 15 minutes. The potato absorbs some of the salt. Remove it before serving. Alternatively, add a splash of water or unsalted stock to dilute.
If the meat falls apart completely. This is not a mistake — this is the goal for many recipes. But if you want slices that hold shape, check earlier at the 2.5-hour mark for oven cooking and at 6 hours for the slow cooker. Remove the meat immediately once fork-tender.
Frequently Asked Questions
Q: Are beef cheeks better slow cooked or pressure cooked?
Both methods work well, but slow cooking (8–10 hours) yields a more uniformly silky texture, while pressure cooking (1 hour) is faster. Slow cooking allows better fat rendering and flavor development, whereas pressure cooking is convenient for quick results.
Q: How long does it take to cook beef cheeks in the oven?
In the oven at 300°F (150°C), beef cheeks typically take 3 to 3.5 hours until very tender. At 325°F (160°C), they may need 3 to 3.5 hours, and you should check them starting at 2 hours for desired tenderness.
Q: What is the best liquid for braising beef cheeks?
The best braising liquids combine dry red wine, beef stock, and aromatics like thyme, rosemary, garlic, and tomato paste. Some recipes also add porcini powder, vinegar, or a marinade for enhanced depth and richness.
Q: Which side dishes pair best with beef cheeks?
Beef cheeks are traditionally served with creamy mashed potatoes, Paris mash, or cauliflower mash to absorb the rich gravy. Glazed carrots, parsley garnish, and a reduction of the cooking sauce are also common and complementary pairings.
Q: Will beef cheeks fall apart if cooked too long?
Yes, overcooking can cause beef cheeks to become mushy and fall apart completely, though they are generally forgiving due to their high collagen content. Cooking until “falling apart” is often the desired endpoint for maximum tenderness.
Q: How do you know when beef cheeks are fully cooked?
Beef cheeks are fully cooked when they are very tender enough to cut with a spoon or fork and the meat easily pulls apart. The texture should be silky and soft, with no chewiness remaining in the fibers.
Q: What temperature should I cook beef cheeks at for tenderness?
For oven cooking, maintain 300°F (150°C) for 2.5 to 3.5 hours, or 325°F (160°C) for 3 to 3.5 hours. For slow cookers, use the low setting for 8 hours to ensure the fat renders and the meat becomes tender.
Recipe Card
Slow-Cooked Red Wine Beef Cheeks
Tender, melt-in-your-mouth beef cheeks braised in red wine and aromatics. Perfect for a special dinner or Sunday supper.
Prep: 20 minutesCook: 3 hours 30 minutesTotal: 3 hours 50 minutesYield: 4 servingsCategory: Main CourseCuisine: American
Ingredients
2 lbs beef cheeks (about 4 cheeks), trimmed of silverskin
2 tbsp avocado oil or canola oil
1 tsp kosher salt
1/2 tsp black pepper
1 medium yellow onion, diced
3 cloves garlic, minced
2 tbsp tomato paste
1.5 cups dry red wine (Cabernet Sauvignon or Merlot)
2 cups low-sodium beef stock
2 sprigs fresh thyme
1 bay leaf
2 carrots, peeled and cut into chunks
2 tbsp cornstarch mixed with 2 tbsp cold water (for slurry, optional)
Fresh parsley, chopped, for garnish
Instructions
Pat the beef cheeks dry with paper towels. Season both sides with salt and pepper.
Heat the oil in a Dutch oven over medium-high heat until shimmering. Sear the cheeks in batches for 3–4 minutes per side until deeply browned. Transfer to a plate.
Reduce heat to medium. Add the diced onion and cook for 4 minutes until softened. Add the garlic and cook 1 minute more.
Stir in the tomato paste and cook for 2 minutes, stirring constantly.
Pour in the red wine. Scrape up any browned bits from the bottom of the pan. Let the wine reduce by half, about 3 minutes.
Add the beef stock, thyme, bay leaf, and carrots. Nestle the seared cheeks back into the liquid. The liquid should reach about halfway up the meat.
Cover the Dutch oven and transfer to the oven. Cook at 300°F (150°C) for 3 to 3.5 hours, or until the meat is fork-tender and pulls apart easily.
Carefully remove the cheeks to a plate and tent with foil. Strain the braising liquid through a fine-mesh sieve into a saucepan. Discard solids.
Skim excess fat from the surface of the liquid. Bring it to a gentle simmer over medium heat. Whisk in the cornstarch slurry and cook for 2 minutes until thickened. Season with additional salt and pepper if needed.
Return the cheeks to the sauce and let rest for 5 minutes. Serve over mashed potatoes or polenta. Garnish with fresh parsley.
Nutrition Info (per serving)
Calories
510
Protein
42g
Carbs
12g
Fat
28g
Fiber
2g
Sugar
6g
Sodium
480mg
Notes
For slow cooker: follow steps 1-5, then transfer everything to the slow cooker. Cook on LOW for 8 hours.
Leftovers keep refrigerated for up to 4 days and actually taste better the next day.
To freeze, store the cooked cheeks in their sauce in an airtight container for up to 3 months.
Tips for Next-Level Results
Salt the meat the night before. Season the trimmed cheeks with kosher salt and leave them uncovered in the fridge overnight. This dry-brines the meat, allowing salt to penetrate deep into the fibers. The result is better-seasoned meat throughout, not just on the surface.
Use a wine you would drink. The braising liquid concentrates during cooking. If the wine tastes harsh or overly tannic on its own, it will taste worse after reduction. A decent $10 bottle of Cabernet or Merlot is fine. Avoid anything labeled “cooking wine.”
Add a splash of vinegar at the end. A teaspoon of red wine vinegar or balsamic vinegar stirred into the finished sauce brightens the whole dish. It balances the richness of the beef and the sweetness of the carrots. Taste before adding — you want a subtle lift, not a sour punch.
Save the rendered fat. When you skim the fat from the sauce, do not throw it away. That flavorful beef fat is great for roasting potatoes or sautéing vegetables later. Store it in a jar in the fridge for up to a month.
Comparison: Cooking Methods for Beef Cheeks
Method
Time
Texture
Effort
Best For
Oven braise (300°F)
3-3.5 hours
Silky, holds shape
Moderate
Precise temperature control
Slow cooker (LOW)
8 hours
Very tender, fall-apart
Minimal
Set-and-forget convenience
Pressure cooker
60-75 minutes
Tender, less deep flavor
Moderate
Quick weeknight meals
Smoker (275°F)
4-5 hours
Smoky, firm-tender
High
Barbecue enthusiasts
My Experience With Best Beef Cheeks Recipe
I have cooked beef cheeks maybe a dozen times now, and I still make the same mistake about every third batch. I get impatient and pull them ten minutes early. Ten minutes. That is all it takes to go from “pretty good” to “I should have waited.” The first time I cooked them properly — let them go the full 3.5 hours until the fork slid in like hot butter — I actually laughed out loud at how good they were. My husband thought I was losing it.
The trick I wish someone had told me earlier: flip the cheeks halfway through the oven cook. The top half stays exposed to more heat and cooks faster. Flipping them once ensures even tenderness. Also, do not skip the carrot chunks in the braise. They are not garnish. They break down and thicken the sauce naturally. I puree them right in with an immersion blender — no cornstarch needed.
What about you? What is the one beef cheek trick you swear by that nobody talks about?
Latest Updates
As of early 2026, beef cheeks are appearing on more restaurant menus and in butcher cases than ever before. Home cooks are driving demand as word spreads about how affordable this cut remains compared to short ribs or brisket. Prices still hover around $5 to $8 per pound depending on your region, making it one of the best values in the meat case.
This recipe makes 4 generous servings. Leftovers keep in the refrigerator for up to 4 days in an airtight container. The flavor actually improves overnight as the meat continues to absorb the sauce. Reheat gently in a covered pot over low heat, adding a splash of water or stock if the sauce has thickened too much.
For longer storage, freeze the cooked cheeks in their sauce in freezer-safe containers for up to 3 months. Thaw overnight in the refrigerator before reheating.
I’m the mom behind Wise Mom Blogger, where everyday creativity meets real-life motherhood. I share easy DIY crafts, cozy knitting and crochet projects, beginner-friendly sewing ideas, and family-tested recipes—plus quick baking hacks that make homemade feel doable on busy days.