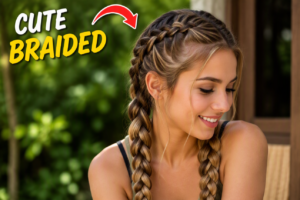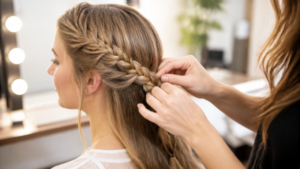

Want to know the secret to achieving perfectly symmetrical double braided pigtails without the salon price tag? Whether you are prepping for a sunny weekend picnic or a casual brunch, mastering these braids adds a fun, polished finish to any outfit. You do not need fancy equipment to get started. With just a few basic tools and a bit of patience, you can create a look that feels both secure and stylish. Let’s look at how you can get this classic style in your own home today.
Quick Questions and Answers
Question: How do you do double braided pigtails at home? Answer: Start by parting the hair down the middle and clipping one side away, then braid each side separately. Most tutorials begin with a clean detangled base, build the braid from the hairline or just behind the ear, and secure each side with an elastic or bobby pin. If you want a fuller look, pull gently on the braid edges after finishing.
Question: What tools do you need for braided pigtails DIY? Answer: Common tools include a comb, small elastics, and sometimes bobby pins. Tutorials that use added braiding hair also mention extension hair and, in one case, a bead tool for finishing the ends. The exact kit depends on whether you are making simple braids, pull-through braids, or braids with added hair.
Question: Can you make double braids with short hair? Answer: Yes, but the finished length may be limited by how much natural hair you can incorporate. One tutorial notes that when the hair is not long enough in a section, you can borrow a tiny bit from another subsection and keep braiding to hide the transition. Added braiding hair is another way to extend length and keep the braid thick.
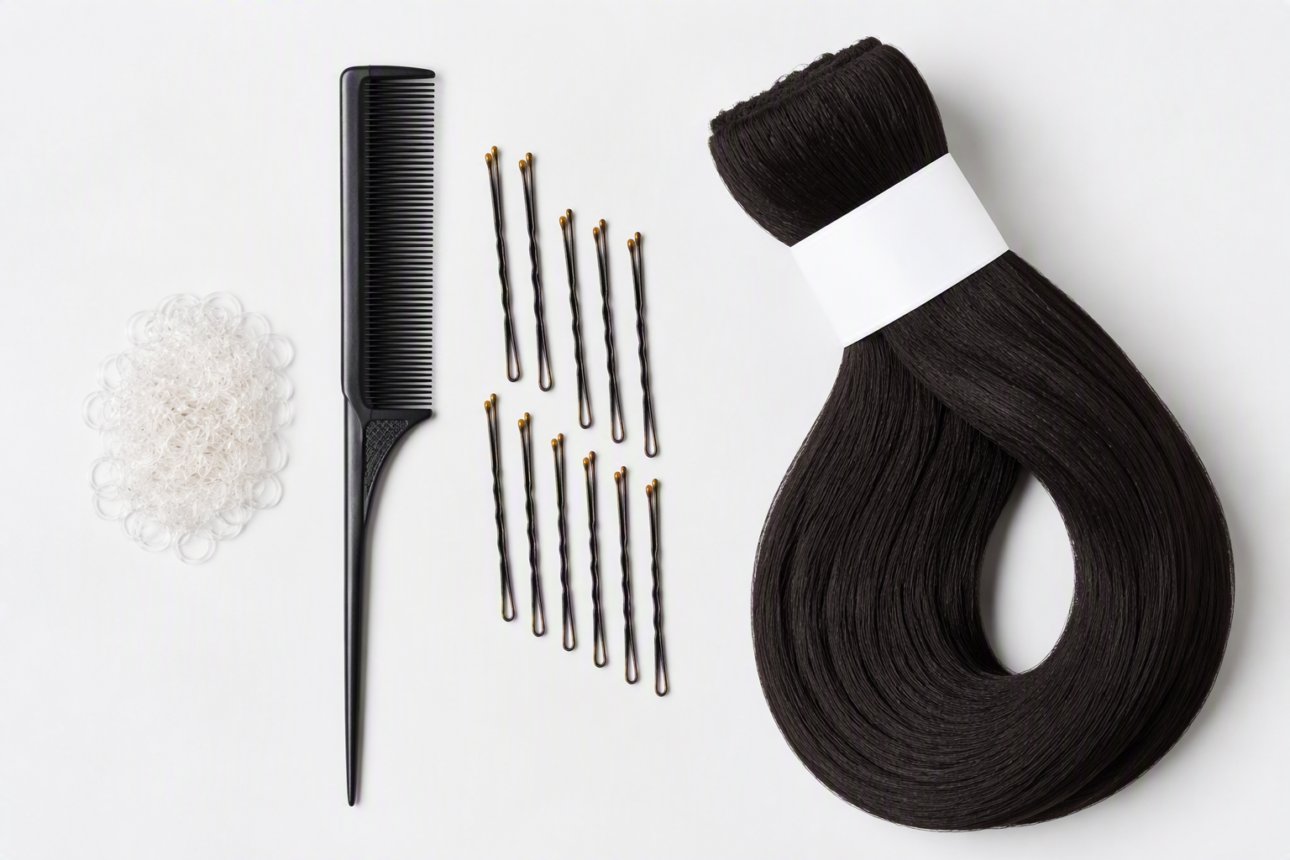
What You Need: Tools and Materials
| Item | Purpose | Notes |
|---|---|---|
| Small hair elastics | Securing the ends | Clear elastics are least visible. |
| Fine-toothed comb | Creating a clean part | Vital for symmetrical sections. |
| Bobby pins | Anchoring loose strands | Essential for fixing flyaways. |
| Braiding hair | Adding length or volume | Optional, use matching color tones. |
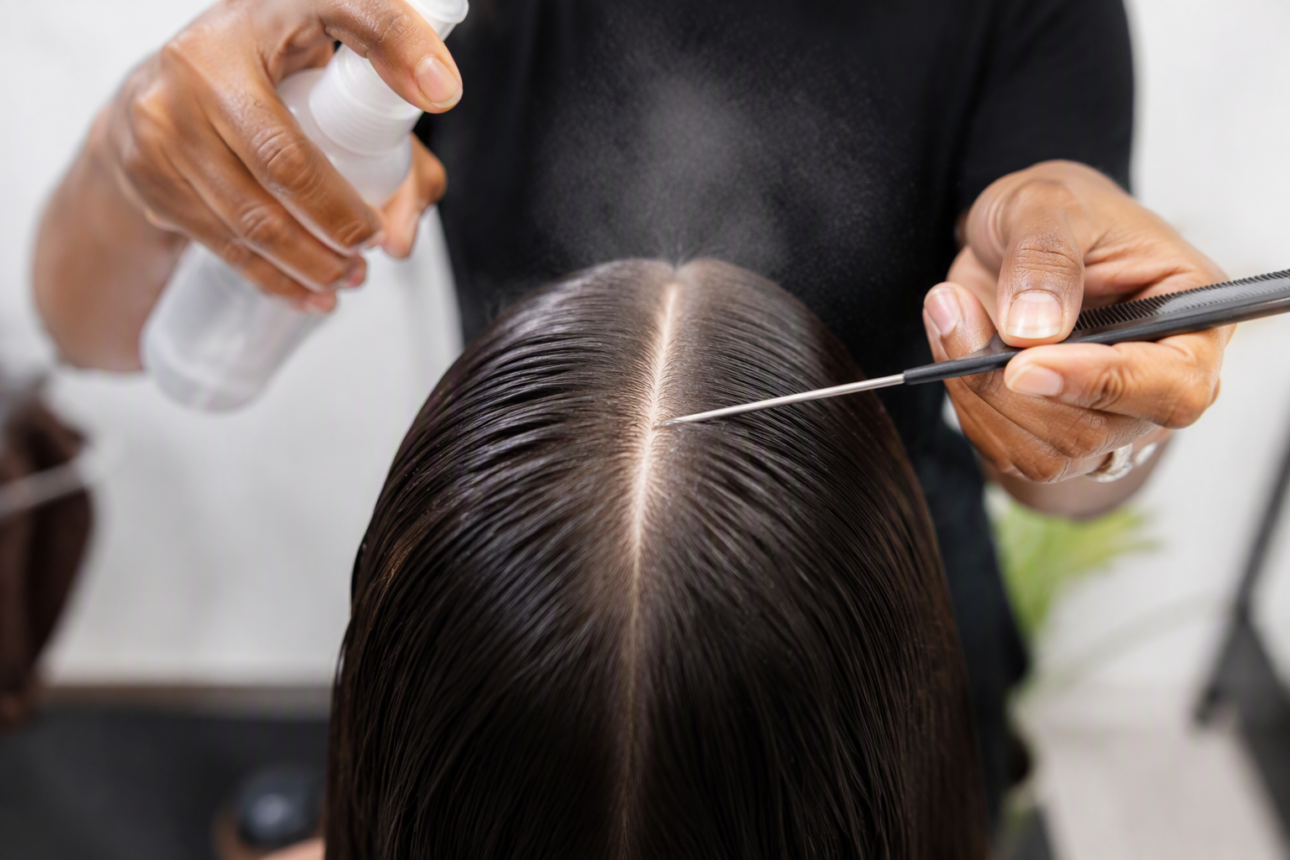
| Water spray bottle | Smoothing hair | Helps control frizz while braiding. |
Step-by-Step: Preparing Your Hair for Braiding
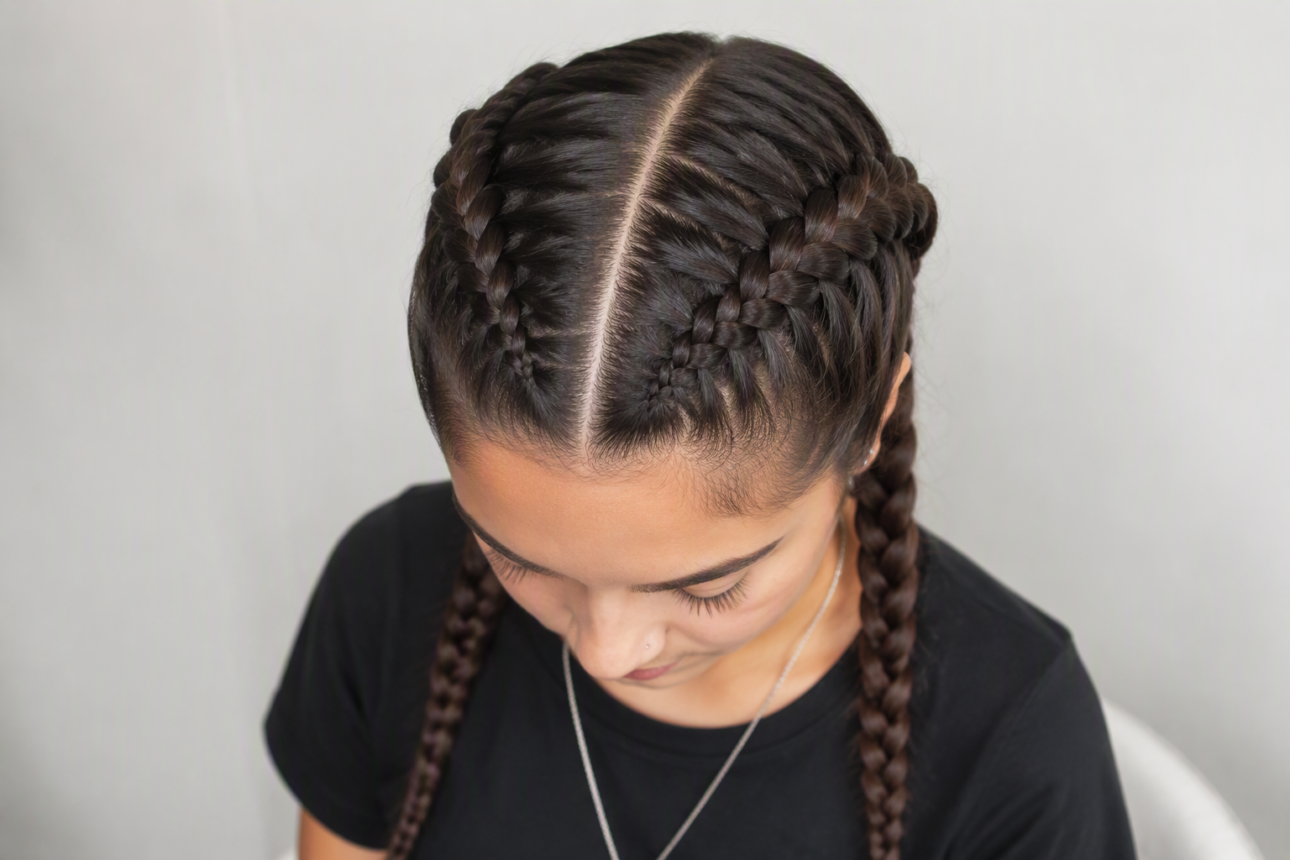
Detangling is the foundation of any good hairstyle. You should start by brushing your hair until it is completely knot-free. This ensures your sections remain crisp throughout the braiding process.
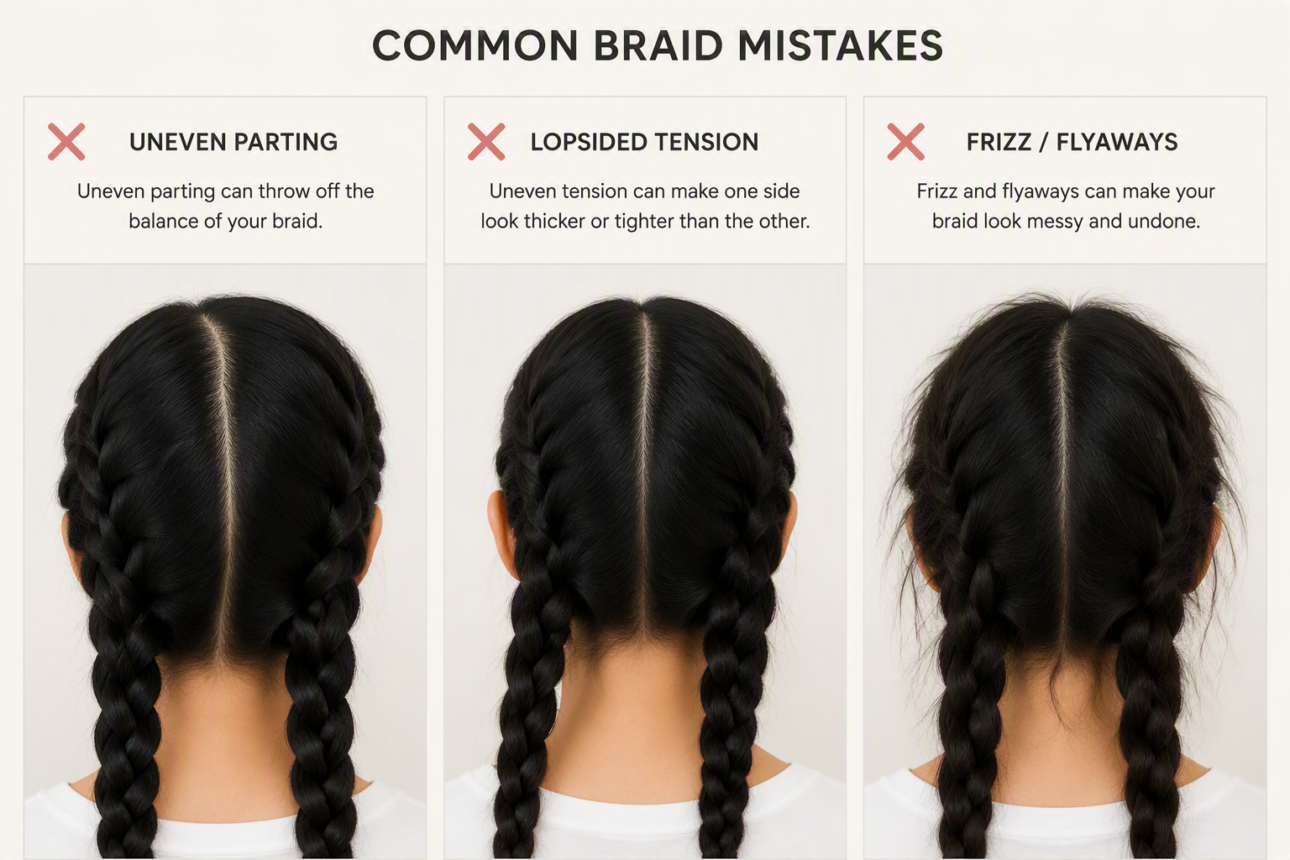
Now, take your fine-toothed comb to create a center part. Start at your forehead and draw the line straight back to the nape of your neck. Take your time here. A crooked part will make the finished pigtails look uneven, which is something even the best stylists try to avoid.
Once you have your two sections, clip one side away to keep it out of your workspace. Apply a light mist of water to the hair you are working on. Research from the American Academy of Dermatology suggests that handling hair gently when damp can reduce breakage. Smoothing your hair this way makes it much easier to keep flyaways in check as you weave the strands.
Step-by-Step: Executing the Double Braid Technique
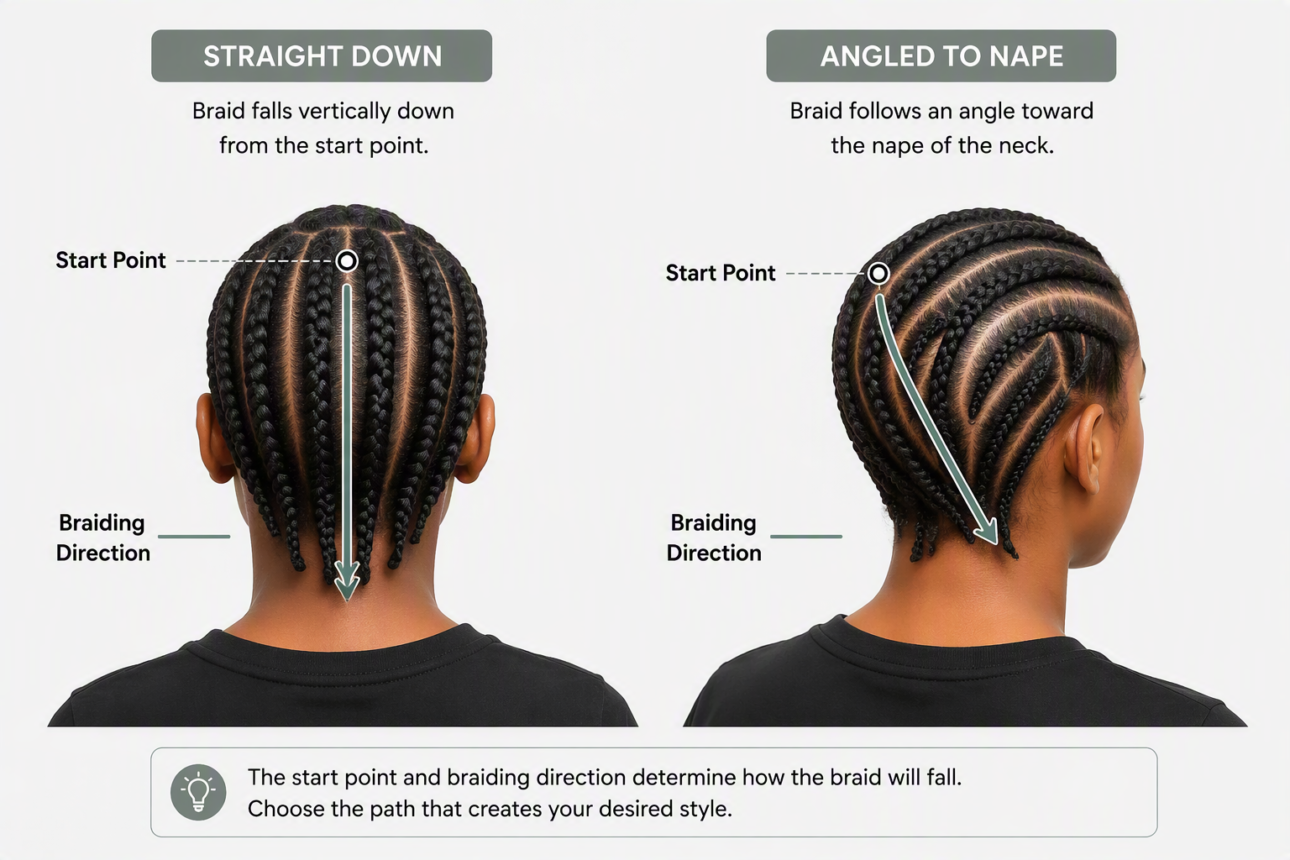
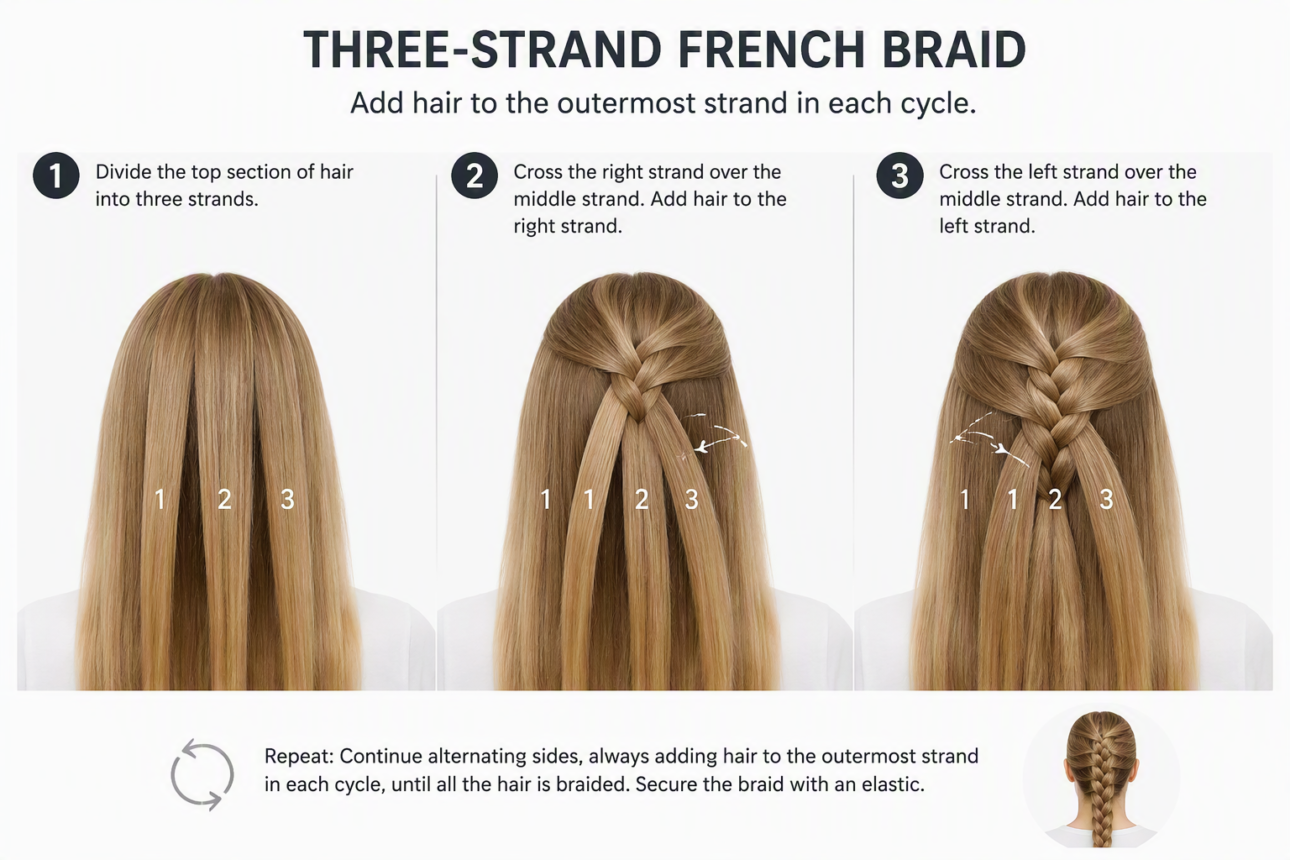
For a classic look, start your braid at the hairline. Divide that first section into three equal strands. If you are doing a Dutch braid, cross the strands under each other rather than over. This makes the braid pop off the scalp.
As you move down your head, consistently add a small amount of new hair to the outermost strand. This is how you lock the braid against your head. Maintain a firm, consistent tension. If you pull one section too tightly compared to the others, the whole braid can look lopsided.
You might find that your hand placement feels awkward at first. If you want an angled look, guide your hands diagonally toward the center of the neck as you braid. Practice makes perfect, and if you enjoy this process, you might also like trying 13 Genius DIY Embroidery Ideas for Beginners to build your creative skills.
For a different approach, consider the pull-through method. Instead of weaving, you secure small ponytails in a chain. Then, you gently stretch the sides of each segment to create volume. It is a fantastic alternative if you find standard three-strand braiding a bit frustrating.
Achieving Volume and Polished Finishes
Once you have finished braiding and secured the ends with an elastic, you want to focus on volume. Many people forget this step, but it makes a massive difference. Gently tug on the outer edges of each braid segment. Start from the bottom and work your way up toward the crown.
Do not pull too hard, or you might undo your work. You are just looking to “pancake” the braid so it looks thicker and more relaxed. If you have extra length, you can also fluff out the tail of the braid.
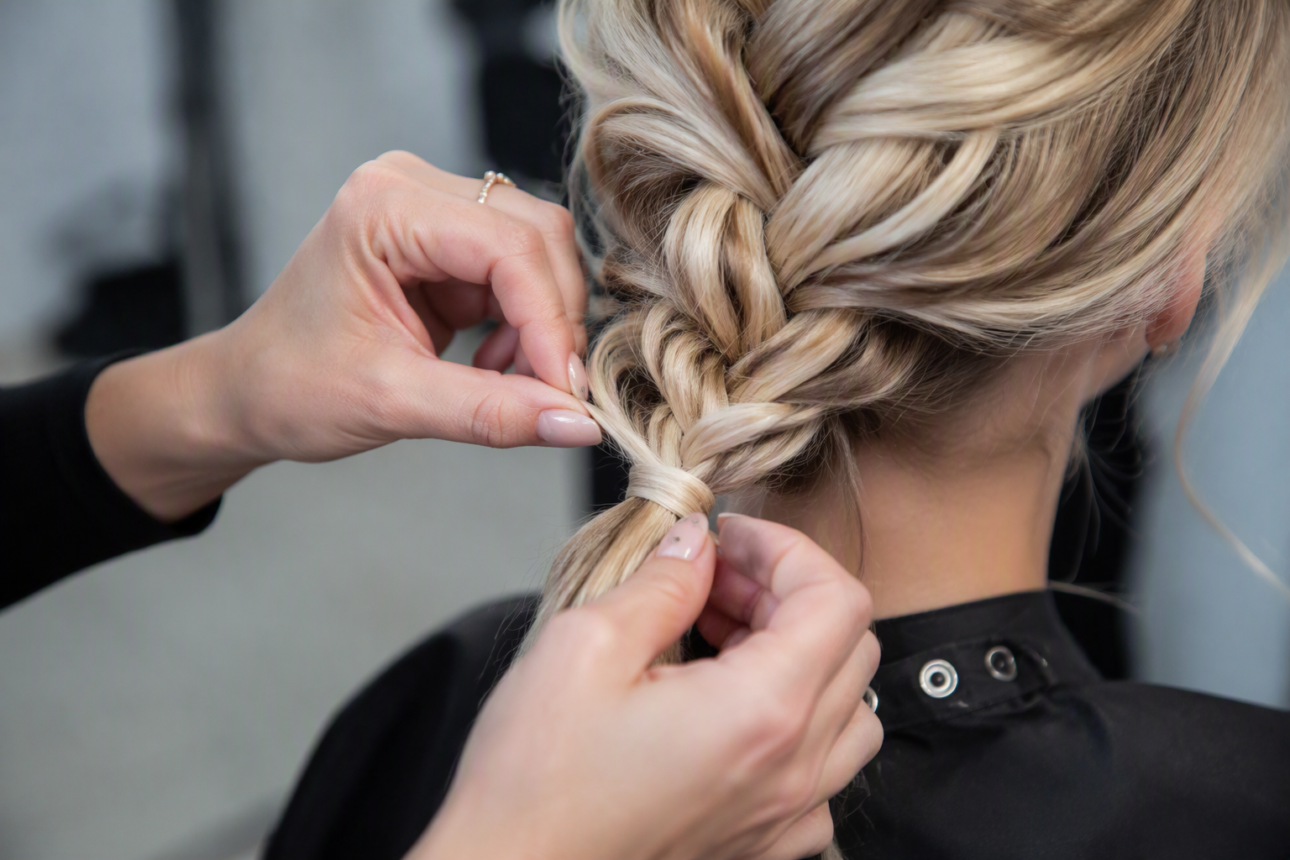
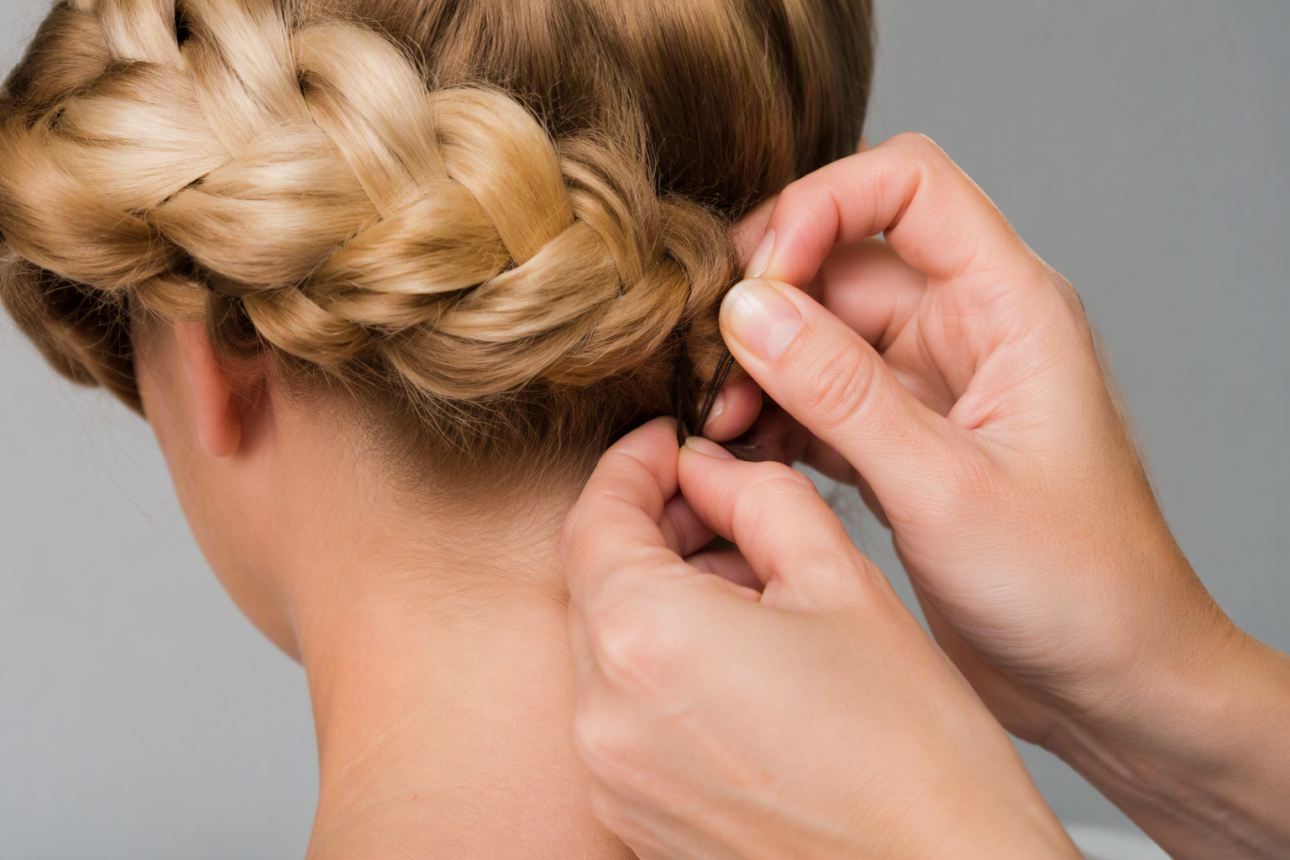
Hiding your hair elastics creates a professional look. Take a small, thin strand of hair from the bottom of your braid. Wrap it tightly around the elastic band until it is completely covered. Use a bobby pin to tuck the end of that strand underneath the braid. It might feel like a minor detail, but it elevates the entire style. Sometimes, simple additions like this are all you need to look like you just left a salon.
| Method | Complexity | Volume Potential | Best For |
|---|---|---|---|
| Standard French | Moderate | Medium | Everyday wear |
| Dutch Braid | High | High | Bold, defined look |
| Pull-Through | Easy | Very High | Thin or fine hair |
Mistakes to Avoid
Uneven sectioning is the most common pitfall. If one pigtail has more hair than the other, the symmetry will be off. Take a moment to compare the thickness of the two sections before you start weaving.
Inconsistent tension also ruins the final result. If your hand strength wavers, your braid will look tight at the top and loose at the bottom. Try to keep your arms at a steady height to maintain a uniform pull on the hair.
Ignoring flyaways at the start is another mistake. You cannot easily fix frizz once the hair is trapped inside a braid. If you have layers or shorter hair, use a bit of smoothing cream or a light mist of water before you begin the process.
Troubleshooting Common Issues
Is your braid losing thickness toward the ends? This often happens with fine hair. You can solve this by incorporating small pieces of synthetic braiding hair. Simply secure the extension at the base of your ponytail and braid it in as your third strand.
If the braid feels too loose at the nape of the neck, do not worry. Use a bobby pin to anchor the base of the braid closer to your scalp. This provides extra support and keeps the pigtail from pulling on your hairline.
What if the sections get tangled mid-braid? Stop immediately. Use the tail end of your comb to reset the strands. Rushing through a tangle will usually lead to bigger knots, so take the extra 30 seconds to smooth it out. This is much easier than starting the entire braid over.
FAQs
Q: Can I do this on short hair?
Yes, but the finished length is limited by how much natural hair you have. If your hair is too short to braid fully, you can use more elastics to secure smaller, tighter sections. This keeps the hair from slipping out while still achieving the pigtail aesthetic.
Q: How do I keep the braids identical?
Consistency is key to matching pigtails. Use your ears as a guide when sectioning to ensure the braids are placed symmetrically. Maintain the same amount of tension on both sides throughout the entire process. If you find one side is naturally looser, try to braid that side slightly tighter to compensate.
Q: Why do my pigtail braids look uneven?
Uneven sectioning and inconsistent tension are usually to blame. The best fix is to split the hair cleanly into equal parts before you start. Check for knots before each step, and ensure your center part is perfectly straight.
Q: How long does double braided pigtails take?
This is a quick style once you have the hang of it. Basic versions often take only 10 to 15 minutes. Complex styles, such as adding extensions or using the pull-through method, will naturally require more time to manage the additional segments.
Q: What is the difference between French and Dutch pigtails?
The main difference is the direction you cross the hair. In French braids, you cross strands over the middle. In Dutch braids, you cross them under. This makes the Dutch braid stand out, while the French braid looks flatter against the head.
Q: How do you make braided pigtails look fuller?
Gently tugging on the edges of each braid after it is secured is the best way to add volume. This technique is often called “pancaking.” Pull-through braids are also naturally fuller because they use a chain of small, separate ponytails.
Q: Should hair be wet or dry for pigtail braids?
Both work well depending on your hair type. Brushing wet hair helps control flyaways, leading to a smoother, tighter braid. Dry hair is often easier to grip if you have very slippery, freshly washed locks, so choose based on how much control you need.
Q: How do you hide elastics in braided pigtails?
Wrapping a small strand of hair around the base of the braid is the easiest trick. Secure the end of that strand with a bobby pin tucked underneath the braid. This hides the elastic completely and gives the style a clean, polished finish.
My Experience With How to Style Double Braided Pigtails the Easy Way
I remember the first time I tried to do double braids on myself. It was a complete disaster, mostly because my arms got tired halfway through and my part was, let’s be honest, zigzagging all over the place. The biggest breakthrough for me wasn’t learning a fancy technique, but rather realizing that using a bit of water to smooth the hair makes everything much easier. If you try to braid dry, fluffy hair, you are basically fighting against friction the whole time.
When I started using bobby pins to secure the base of the pigtail against my head, the whole look finally stayed put for the entire day. It’s a tiny detail, but it stops the braid from feeling like it’s pulling at your scalp. My expert advice? Stop worrying about getting it perfect on the first try. Braiding is muscle memory. If you aren’t happy with how one side looks after a few inches, just undo it and reset. No one expects you to be a professional stylist on your first attempt. It is just hair, after all. Have you tried a Dutch braid yet, or are you sticking to French for now?
Next Steps
Experiment with different braid types like Dutch versus French to see which fits your face shape best. Each style provides a unique texture and volume level that can change your whole look. Practice on a friend or a mannequin head if you want to get your hand placement down without the hassle of working behind your own head. Once you feel comfortable with the basic structure, you can start adding accessories like ribbons or beads for a custom touch. If you have been looking for other beauty tips, you might find that exploring the 11 Best Blonde Eyebrow Makeup Products for a Natural Look helps you complete your overall aesthetic.
Conclusion
Creating double braided pigtails is a fun and manageable way to elevate your look for any occasion. By focusing on clean sectioning, consistent tension, and the right prep work, you can create a style that stays secure and looks professional. Remember that practice is part of the process, and every attempt gets you closer to that perfect, balanced finish.
References
- American Academy of Dermatology. (n.d.). How to style hair. AAD. https://www.aad.org/public/everyday-care/hair-scalp-care/hair/how-to-style-hair
- Mash Elle. (2016, October 20). Double Dutch braids for beginners. Mash Elle. https://mash-elle.com/2016/10/2016-10-double-dutch-braids-beginners.html
- YouTube. (2026). 2 braided pigtails with braiding hair | EXTREMELY beginner friendly!. Little Spoon Farm. https://www.youtube.com/watch?v=4ObfvX22GHA
- YouTube. (2026). DIY: 2 pigtails with braiding hair + color (super quick & easy). Beauty Trends. https://www.youtube.com/watch?v=EP1GYRM66uw
- Instructables. (n.d.). Double Dutch braid: 7 steps. Instructables. https://www.instructables.com/Dutch-Pigtail-Braids/

Sarah Anderson . J
I’m the mom behind Wise Mom Blogger, where everyday creativity meets real-life motherhood. I share easy DIY crafts, cozy knitting and crochet projects, beginner-friendly sewing ideas, and family-tested recipes—plus quick baking hacks that make homemade feel doable on busy days.