Making a handmade beaded bag is a satisfying project that combines structure and color. You will learn a basic right-angle weave or simple loop technique that builds a sturdy mini bag large enough for a phone or small essentials. The process takes several focused sessions but stays beginner-friendly when you use larger beads and strong fishing line.
Quick answer: Gather 8–10 mm beads, 0.5–0.7 mm fishing line, a clasp or magnetic closure, and optional lining. Weave the base, build the sides, join the panels, and finish with a handle or chain. Most mini bags take 4–8 hours depending on size and experience.
What You Need
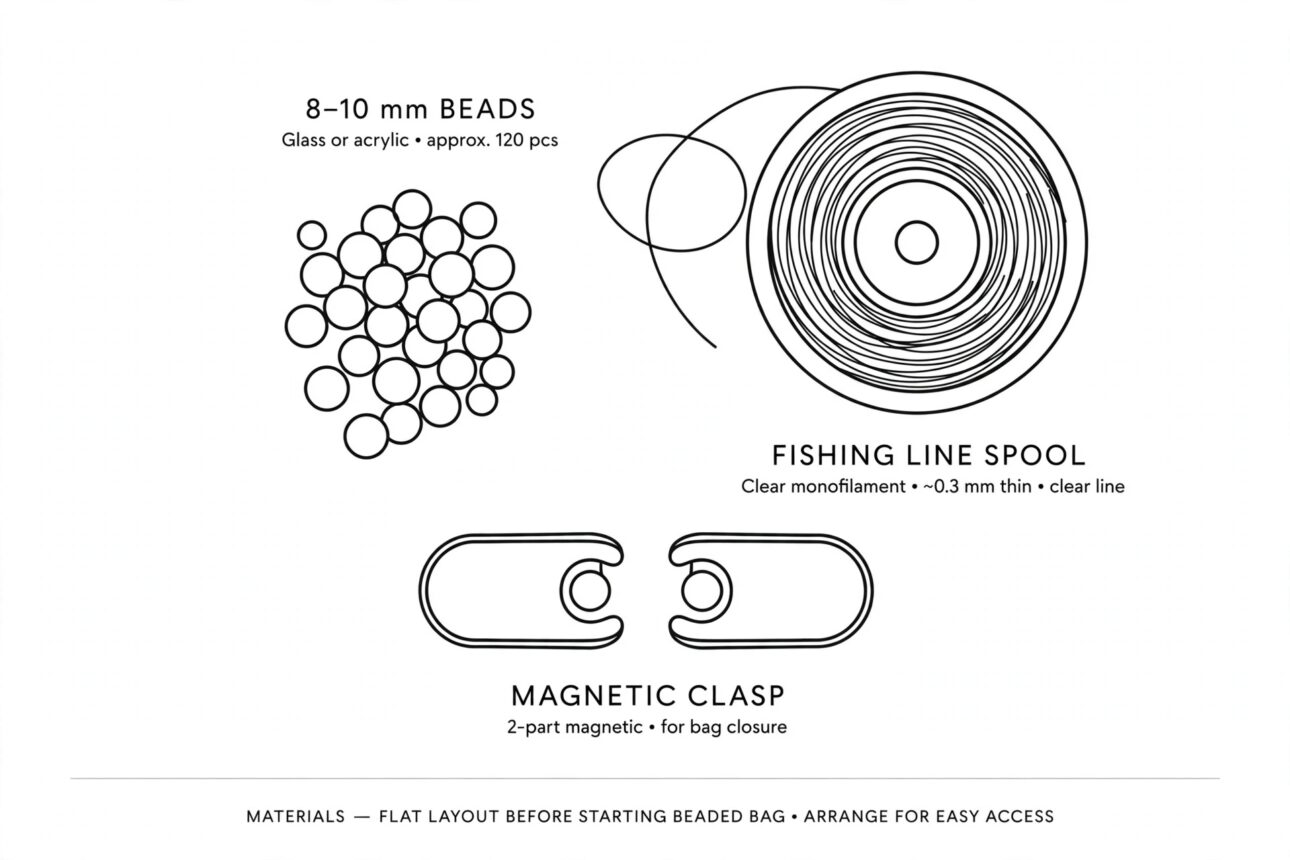
Materials list:
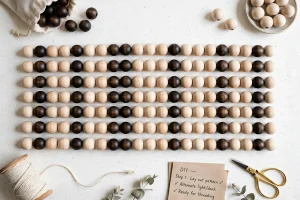
- 800–1200 acrylic or glass beads (8–10 mm) in your chosen colors
- 0.5–0.7 mm clear fishing line or monofilament (at least 20–30 meters)
- Magnetic clasp or small zipper
- Optional felt or fabric lining and chain or beaded handle
- Scissors, bead mat, and optional needle for tighter work
Choose beads with consistent hole size so the line passes smoothly. Larger beads build faster and create a more substantial bag.
Step 1: Prepare the Thread and First Row
Cut a comfortable working length of fishing line (about 1.5–2 meters). String four beads and form a loop by passing the second end through the last bead. Pull snug to create the first square unit. This is the foundation of right-angle weave.
Continue adding beads two at a time, always passing through the previous bead to lock the new unit. Keep tension even so the base stays flat. Aim for a rectangle that matches the desired width and depth of your bag base.
Step 2: Build the Base
Work additional rows until the base reaches the planned size. Most mini bags need a base roughly 15–20 cm long and 7–10 cm deep. Count beads carefully so both long sides match.
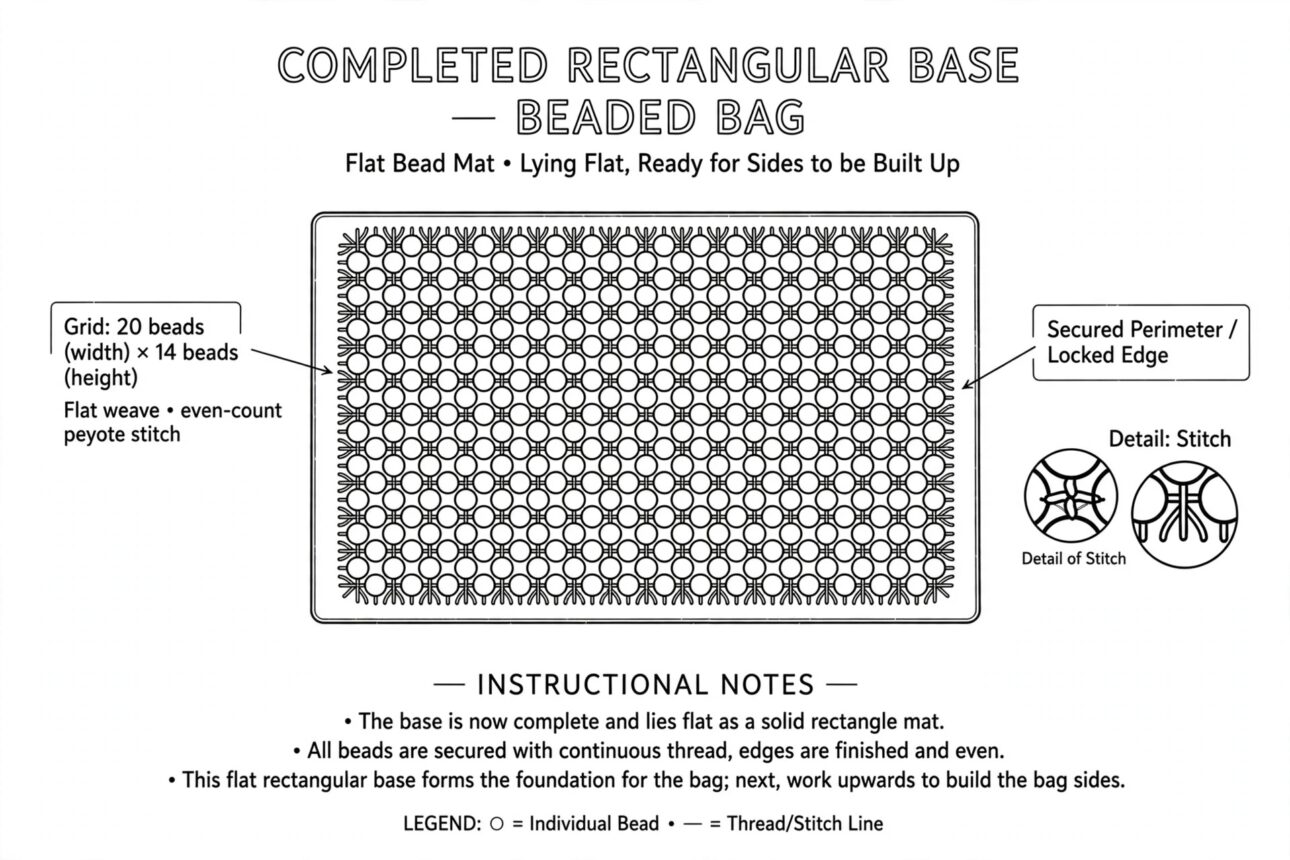
When you need to add new line, overlap the old and new ends through several beads and pull tight. Trim excess later. A consistent base prevents the bag from leaning once the sides are added.
Step 3: Raise the Side Panels
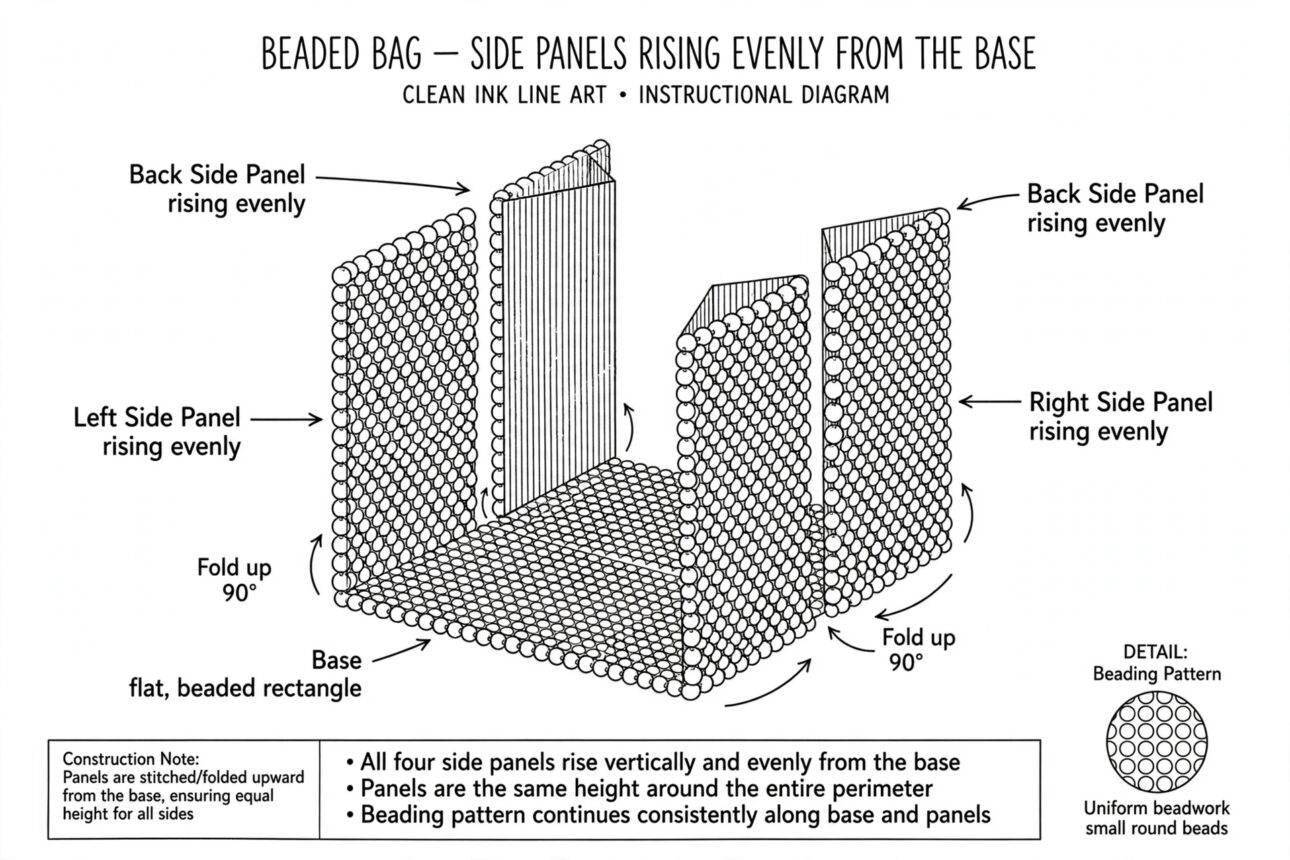
At each long edge of the base, begin working upward. Add beads in the same right-angle weave pattern, turning at the corners carefully. Build the sides to the desired height (usually 10–15 cm for a phone-sized bag).
Keep checking that the sides rise evenly. Uneven tension at this stage shows in the finished shape. Take breaks if your hands tire so the work stays neat.
Step 4: Join the Sides and Shape the Bag
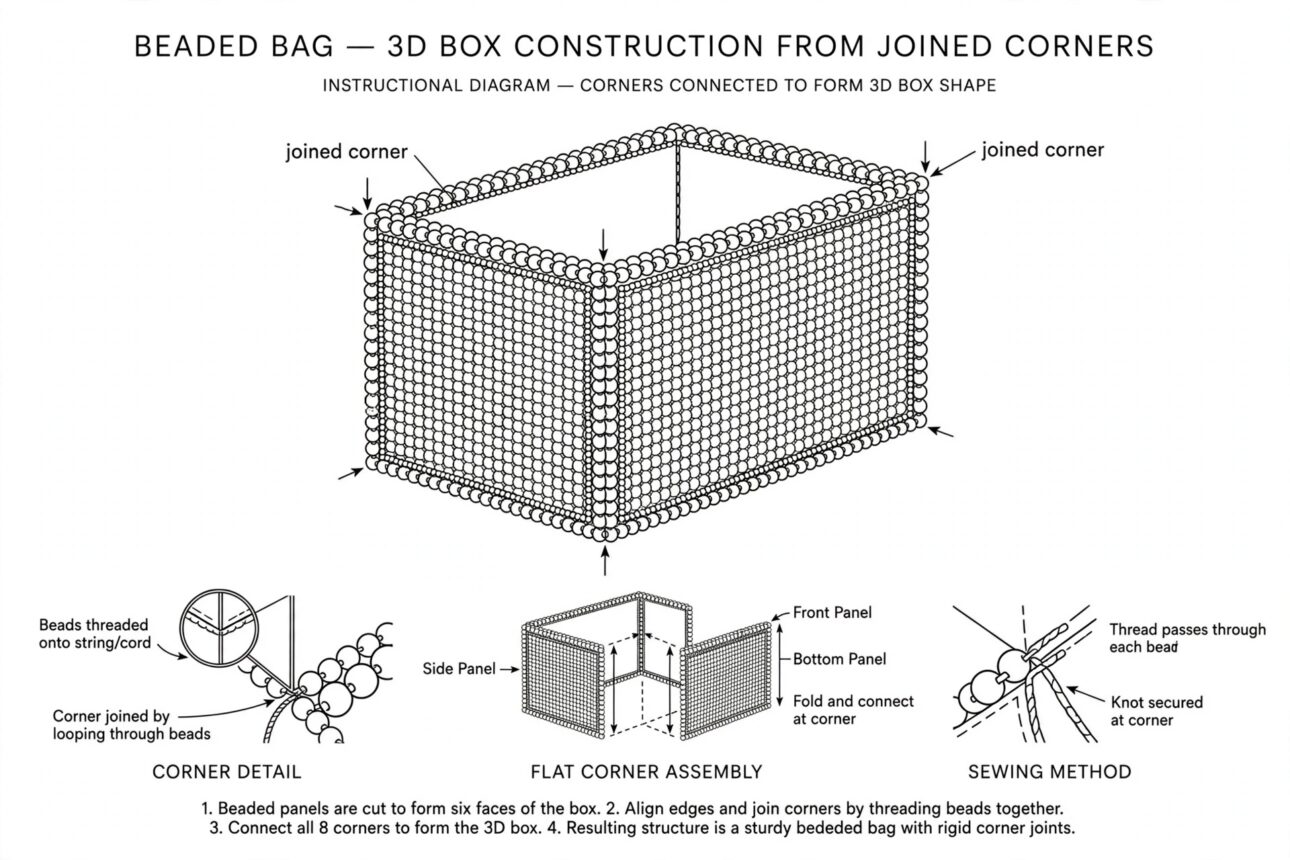
Once both long sides and the short ends reach the same height, join the vertical edges by weaving through corresponding beads. Pull the corners square. The bag should now stand on its own.
Check the overall shape. Adjust tension if any side feels loose. This step locks the structure and prepares the top edge for the closure.
Step 5: Add Closure and Handle
Attach a magnetic clasp by sewing or weaving it securely into the top edge beads. Alternatively, sew a short zipper if you prefer. For the handle, either weave a beaded strap or attach a ready-made chain with jump rings or O-rings.
Test the closure several times. Reinforce any high-stress points with extra passes of line. A comfortable handle length is usually 40–60 cm for a shoulder bag.
Step 6: Finish and Line (Optional)
Trim all excess line close to the beads after securing the ends. If desired, insert a simple felt or fabric lining cut to size and stitched or glued lightly at the top edge. The lining protects contents and hides any internal knots.
Give the finished bag a gentle stretch and reshape if needed. The beads should sit evenly and the structure should feel firm.
FAQ
How long does a beginner beaded bag take?
Plan on 4–8 hours spread over a few sessions. Larger beads and simpler patterns go faster. Detailed color changes or smaller beads add time.
What if the bag feels floppy?
Increase tension on future rows and consider adding a light interfacing or felt lining. Fully woven sides with consistent tension usually stand well on their own.
Can I wash a beaded bag?
Spot clean only. Avoid soaking. The fishing line and beads can usually handle light cleaning, but a full wash risks loosening the weave.
Is right-angle weave the only method?
No. Some makers use netting, peyote, or simple loop techniques. Right-angle weave is popular because it creates a strong, flexible fabric of beads.
How do I choose bead colors?
Start with two or three coordinating colors. Solid or simple stripes are easiest. Save complex motifs for later projects once the structure feels comfortable.
Conclusion
A handmade beaded bag starts with a solid base, even side panels, and a secure finish. Work slowly at the corners and keep tension consistent. Once the structure is complete, the clasp and handle turn the beadwork into a usable accessory. Practice on a small sample if the technique is new, then move to a full-size mini bag.
With a few hours of focused work you can create a unique piece that holds your essentials and shows your color choices. Keep leftover beads for future projects and note the measurements that worked best for your preferred bag size. Enjoy the process and the finished result.
References
- KHelga. “How to make a beaded everyday bag. Step-by-step tutorial.” 2023. https://www.youtube.com/watch?v=9sQSmYmeENw
- B-Sew Inn. “How to Make Beaded Bag: A Step-by-Step Guide.” 2025. https://www.bsewinn.com/blogs/inspiration/how-to-make-beaded-bag
- Crochet & Bead Designs. “Full Beaded Bag Tutorial | Elegant Handmade Purse.” 2025. https://www.youtube.com/watch?v=DMgsRM05_2g
- Beaded Bag. “How to make a perfect bead bag?” 2026. https://beaded-bag.com/

Sarah Anderson . J
I’m the mom behind Wise Mom Blogger, where everyday creativity meets real-life motherhood. I share easy DIY crafts, cozy knitting and crochet projects, beginner-friendly sewing ideas, and family-tested recipes—plus quick baking hacks that make homemade feel doable on busy days.