How often do you reach for your favorite sterling silver piece only to find it dull or tarnished? Sterling silver jewelry tarnishes naturally over time as the metal reacts with sulfur compounds and exposure to lotions, perfumes, and humidity. The good news is that restoring shine doesn’t require expensive professional cleaning or harsh chemicals—most pieces respond beautifully to simple home methods. Whether you own delicate heirloom rings, everyday studs, or bold statement necklaces, understanding the right cleaning techniques and what to skip will keep your silver looking brilliant for years. Let me walk you through the safest, most effective approaches to clean sterling silver at home.
Quick Questions and Answers
Question: Why does sterling silver tarnish so quickly? Sterling silver tarnishes because the silver reacts with sulfur compounds in the air, forming a dark surface film called tarnish. Heat, humidity, and frequent exposure to perfumes, lotions, or household chemicals can speed it up. Regular cleaning and proper storage help slow the process.
Question: Can you clean sterling silver with dish soap? Yes. A gentle dish soap mixed with warm water is one of the safest ways to clean sterling silver. Soak the piece briefly, then use a soft cloth or soft toothbrush to remove dirt, rinse well, and dry completely.
Question: Do baking soda and vinegar really clean silver? Yes, a baking soda and vinegar soak can remove stubborn tarnish from sterling silver. The silver is usually soaked for a few hours, then rinsed and dried. This method is effective, but it is best used carefully on plain silver rather than delicate pieces with gemstones or special finishes.
Key Takeaways
- Warm water and mild dish soap is the safest daily cleaning method for most sterling silver jewelry.
- The aluminum foil and baking soda method works via an electrochemical reaction that lifts heavy tarnish fast.
- Avoid abrasive scrubbers, bleach, harsh toothpaste, and ultrasonic cleaners on delicate or gemstone pieces.
- Timing matters: apply beauty products before putting on jewelry so they don’t react with the metal.
- Monthly polishing with a microfiber cloth keeps tarnish from building up and protects the finish.
What You Need
| Item | Purpose | Notes |
|---|---|---|
| Mild dish soap | Base cleaner for gentle routine maintenance | Avoid degreasing soaps or harsh formulas |
| Warm water | Dissolves dirt and activates soap | Lukewarm is gentler than hot water |
| Soft-bristled toothbrush | Scrubs crevices and intricate areas safely | Use a dedicated brush, not your own |
| Microfiber or silver polishing cloth | Buffs pieces to a shine and removes moisture | Lint-free and non-abrasive; essential for drying |
| Aluminum foil | Base material for the deep-clean foil method | Shiny side must face up to work properly |
| Baking soda | Activates chemical reaction in foil method | Use pure baking soda, not baking powder |
| Salt | Enhances electrochemical reaction in foil method | Table salt or sea salt both work |
| Magnet (optional) | Tests whether jewelry is solid or plated sterling | Helps you verify metal composition |
Step 1: Prepare Your Workspace and Materials
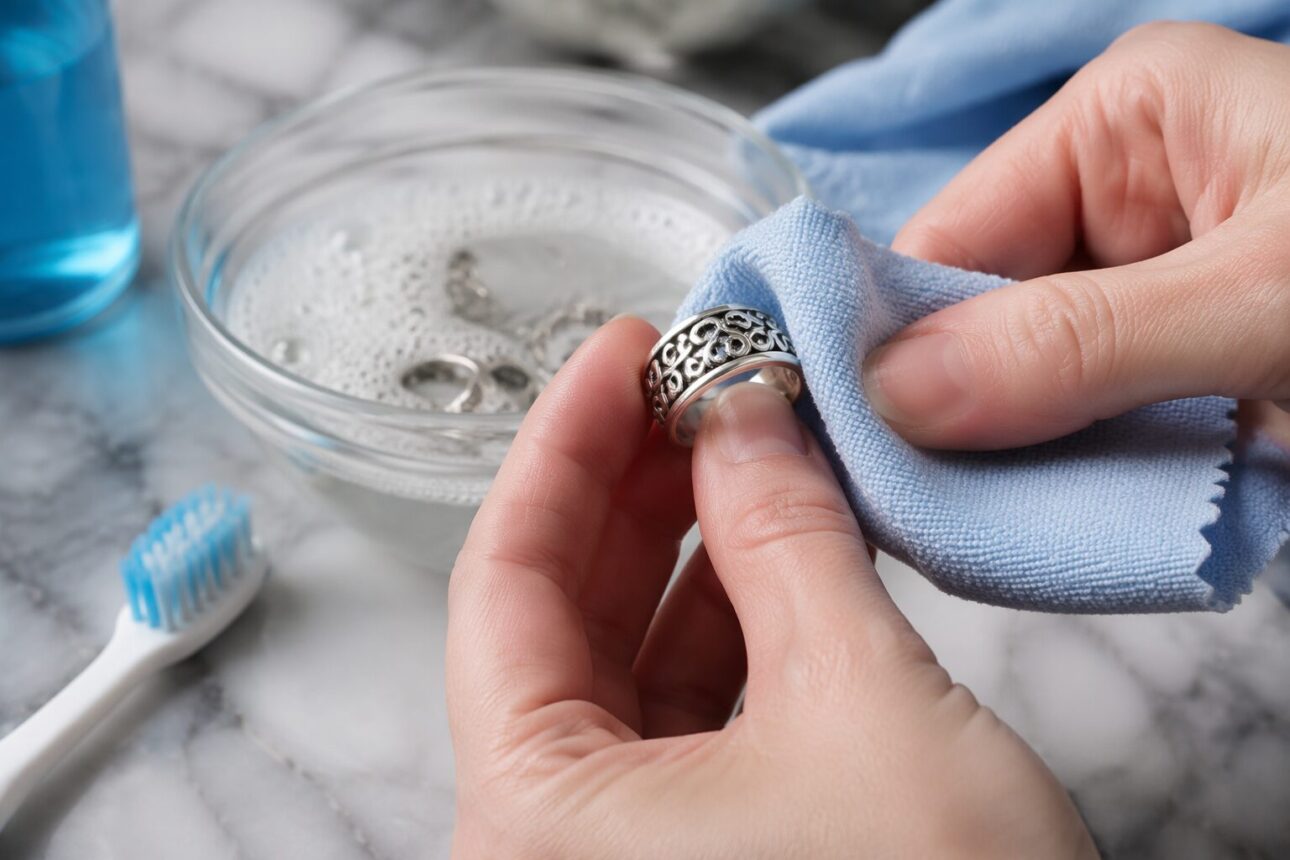
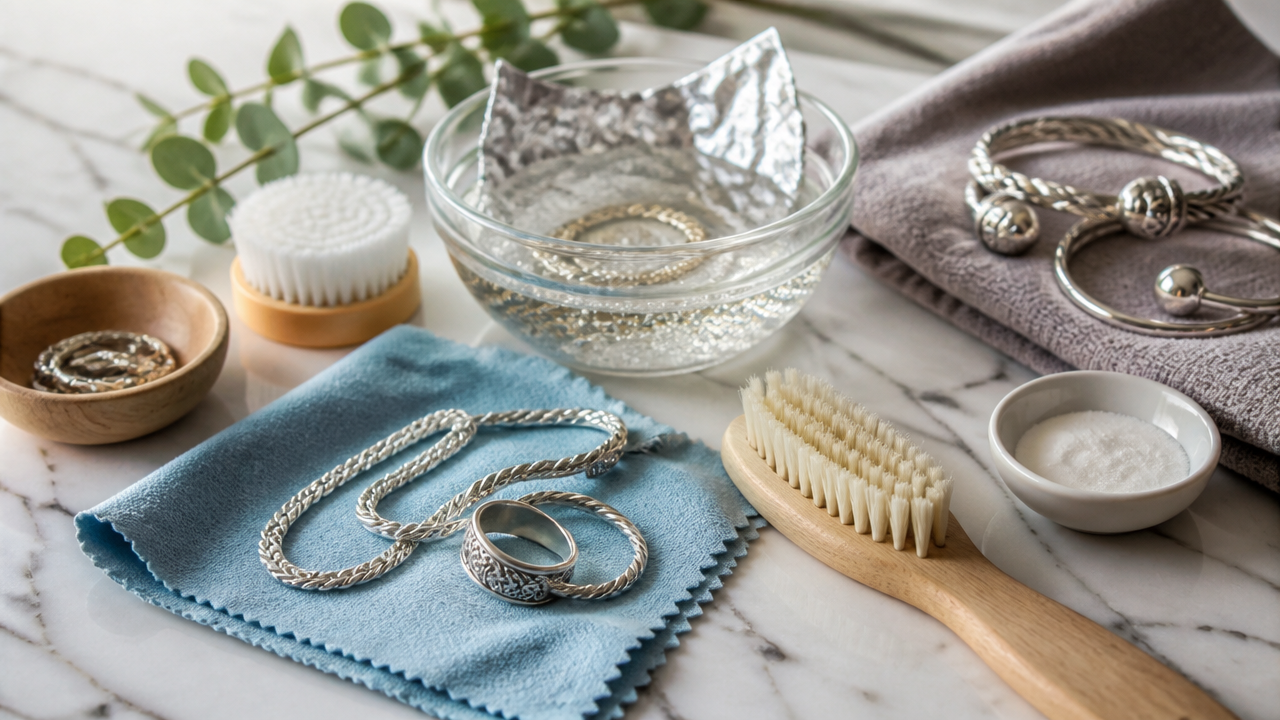
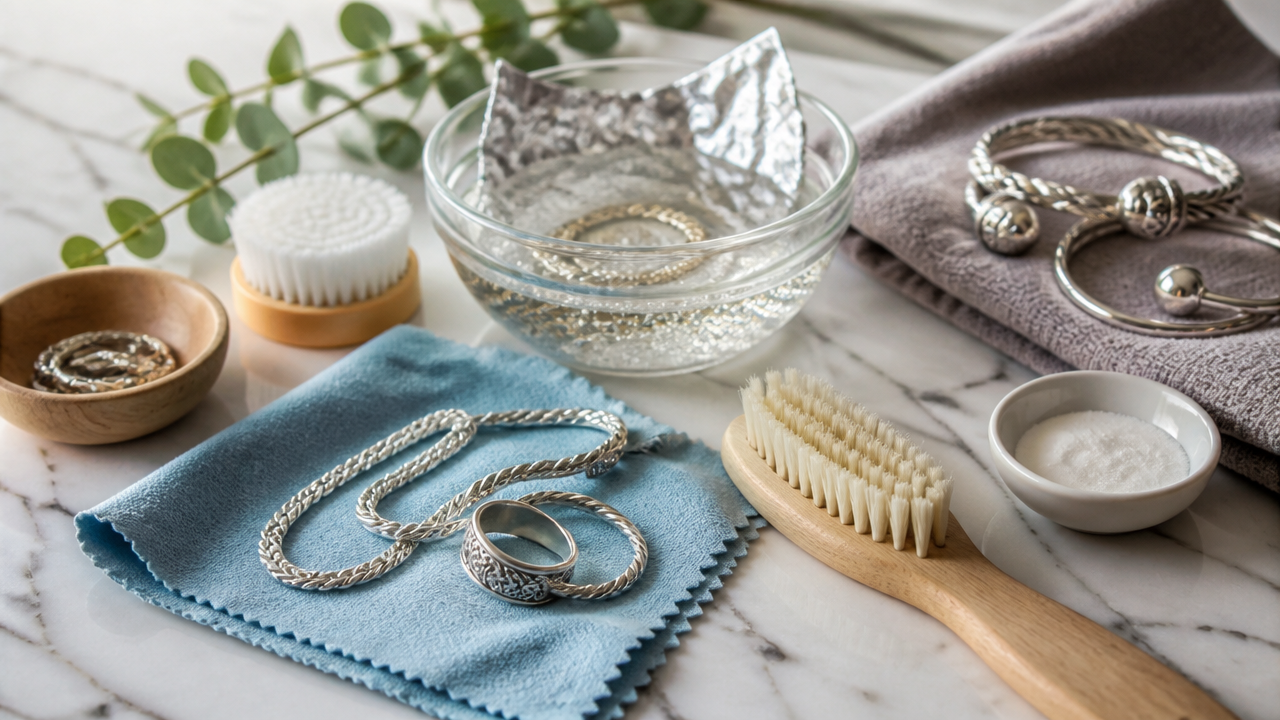
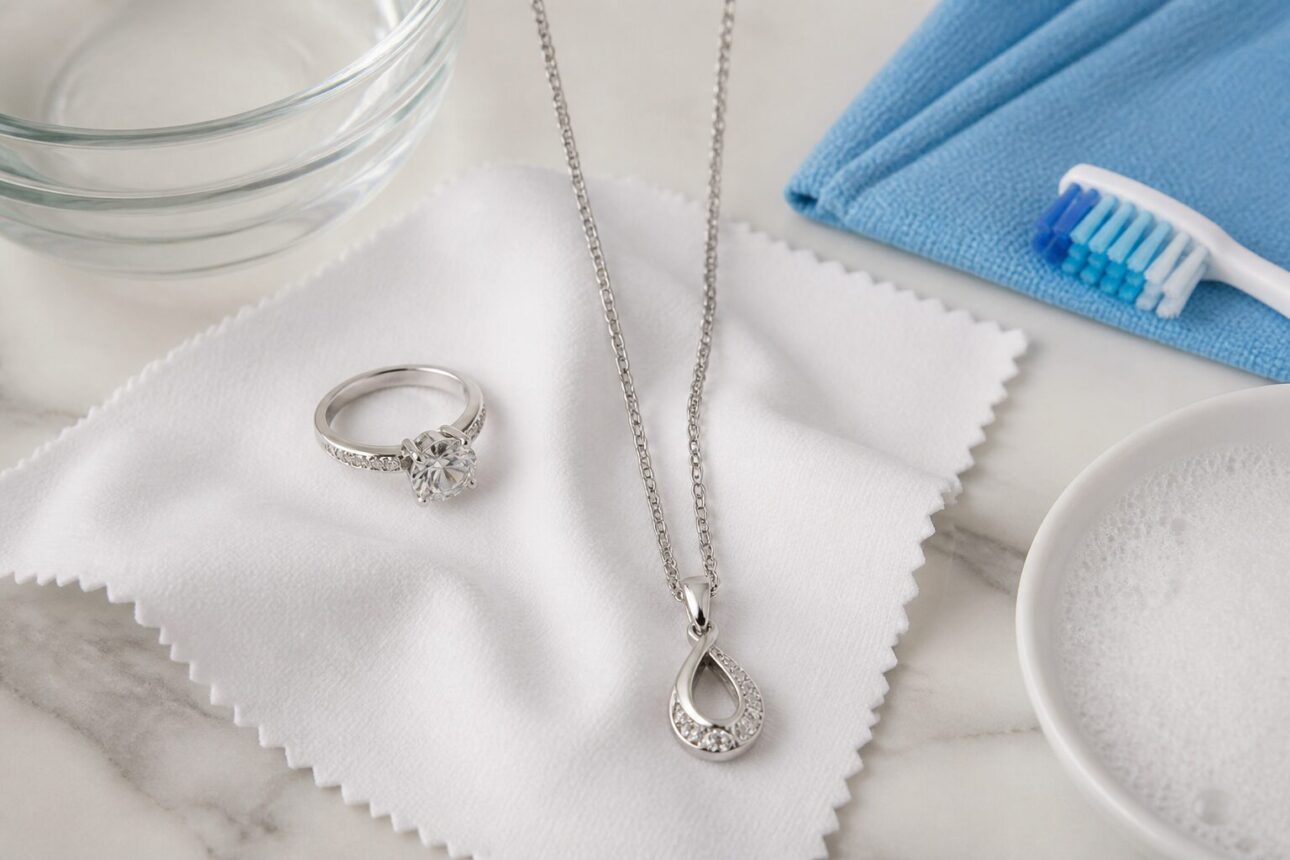
Before you begin, gather all your materials in one spot—this prevents fumbling around mid-clean and keeps your workspace organized. Use a small bathroom or kitchen counter with good lighting, ideally near a sink. Lay down a soft cloth or towel to prevent pieces from rolling or getting scratched if they slip from your hands. Check that your toothbrush is truly soft-bristled; run your finger across the bristles and they should feel gentle, almost feathery. Hard or medium bristles will scratch sterling silver and ruin the polished finish. If you’re using the foil method later, line your pot or heat-safe bowl with aluminum foil now, shiny side facing up—this matters because the tarnish chemically transfers to the aluminum.
Step 2: Fill Your Cleaning Basin with Warm Soapy Water
Step 3: Soak and Assess Your Jewelry
Place your sterling silver pieces in the soapy water and let them sit for 2 to 5 minutes. This soaking time loosens surface dirt, oils, and light tarnish without requiring aggressive scrubbing. While they soak, look closely at each piece. Check for gemstones, pearls, or oxidized (darkened) details that might require gentler handling. If your piece has delicate settings or precious stones, skip vigorous brushing and rely more on the soap and gentle cloth buffing instead. Light tarnish often lifts with just the soak and a soft cloth, so there’s no need to rush to the toothbrush.
Step 4: Gently Scrub Crevices and Detail Areas
Remove one piece from the soapy water and use your soft-bristled toothbrush to gently scrub any intricate areas, including around gemstones, inside rings, or along textured patterns. Work the brush in small circular motions rather than scrubbing back and forth—this is gentler on the metal. Pay special attention to spots where tarnish builds up fastest: the undersides of rings, inside bands, and anywhere skin oils accumulate. If you have a small soft sponge or cloth instead of a toothbrush, those work too. The goal is to dislodge dirt without scratching. You should never hear a grinding sound or feel resistance—if you do, ease up immediately.
Step 5: Rinse Thoroughly and Dry Immediately
Transfer your cleaned piece to a separate bowl or cup of clean, room-temperature water and rinse it well to remove all soap residue. Rinse twice if needed—leftover soap leaves a dull film and can trap moisture. Once rinsed, place the piece on your soft cloth and dry it completely using a clean microfiber or silver polishing cloth. Don’t let it air dry or sit wet, because water spots form and moisture accelerates future tarnish. Rub gently but firmly with the cloth, using circular motions to buff the surface and bring back shine. This drying step is non-negotiable—moisture left behind is one of the biggest culprits behind rapid re-tarnishing.
Step 6: Try the Aluminum Foil and Baking Soda Method for Heavy Tarnish
If basic soap and water doesn’t remove stubborn tarnish, the foil method uses a chemical reaction to lift it fast. Fill a pot with enough water to cover your jewelry by about an inch and bring it to a boil. Line the bottom of the pot with your aluminum foil (shiny side up) and place your tarnished sterling silver pieces directly on the foil. Sprinkle baking soda and salt over the silver—use about 1 tablespoon of baking soda and 1 teaspoon of salt per piece, adjusted for quantity. Pour the boiling water over everything and watch as the tarnish visibly transfers from your jewelry to the aluminum foil in real time. This electrochemical reaction is genuinely satisfying to watch. Let the pieces soak for 5 to 10 minutes depending on how heavy the tarnish is. Once they look clean, carefully remove them (the water is hot), rinse under cool running water to stop the reaction, and dry thoroughly with your microfiber cloth. The foil will look darkened and worn—that’s the tarnish that came off your silver.
Step 7: Polish Your Silver to Final Shine
Once your pieces are clean and dry, use a dedicated silver polishing cloth to buff them to a high shine. These cloths are specially treated to remove any remaining dullness and leave a protective coating that slows future tarnish. Work in circular motions across the entire surface, paying extra attention to any remaining dark spots. If the cloth looks gray or black after buffing, you’re doing it right—you’re removing microscopic tarnish particles. For monthly maintenance (when your silver isn’t heavily tarnished), this polishing cloth alone may be all you need without soaking. Keep one in your jewelry drawer for quick touch-ups before you wear a piece.
Tips for Keeping Sterling Silver Bright
Store your sterling silver in an airtight container or anti-tarnish pouch to minimize exposure to sulfur compounds and humidity. Ziplock bags work fine, and you can toss in a small piece of chalk or a silica packet to absorb moisture. Apply all beauty products—lotions, hair spray, perfume, and makeup—before putting on your jewelry. This timing prevents chemical reactions between the products and the metal. Avoid wearing sterling silver while swimming, showering, or exercising heavily, because chlorine and sweat accelerate tarnish. If you own pieces with gemstones or delicate finishes, store them separately from items that might scratch them. Remove your jewelry before cleaning house or doing dishes, because harsh household cleaners damage sterling silver over time.
A magnet can help you verify what you own. Sterling silver is not magnetic, so if a piece sticks to a magnet, it’s likely silver-plated rather than solid sterling—which means it requires extra caution during cleaning, as aggressive methods can wear through the plating. If you’re uncertain about a piece’s composition, stick with the gentle soap and water method and skip the foil technique.
Consider investing in a professional-grade silver cleaner and cleaning cloth for pieces you wear often. These specialized cloths cost just a few dollars and last for years. They’re formulated to protect the silver while removing tarnish, and they’re worth keeping in your jewelry box for routine maintenance between deeper cleanings.
| Cleaning Method | Effort Level | Best For | Speed | Risk Level |
|---|---|---|---|---|
| Soap and water | Low | Daily maintenance, light tarnish | Slow | Very low |
| Microfiber cloth polish | Very low | Quick touch-ups, weekly use | Very fast | None |
| Baking soda paste | Medium | Light to moderate tarnish | Medium | Low if rinsed well |
| Aluminum foil and baking soda | Medium | Heavy tarnish, plain silver | Fast | Moderate for gemstone pieces |
| Silver dip solution | Low | Heavy tarnish, bulk cleaning | Very fast | High for delicate finishes |
What to Avoid When Cleaning Sterling Silver
Never use bleach or chlorine-based cleaners on sterling silver. These chemicals damage the metal, cause permanent discoloration, and can pit or weaken the structure. Avoid abrasive household scrubbers like steel wool or scouring pads—they leave visible scratches and destroy the polished finish. Whitening toothpaste and regular toothpaste are too abrasive for sterling silver, despite what some old advice suggests; they contain gritty particles designed to scrub teeth, not delicate metal. Don’t use ultrasonic cleaners on pieces with gemstones or pearls, because the vibrations can loosen settings or crack sensitive stones. Silver dip solutions work fast but can damage oxidized details, gemstone adhesive, and plating, so reserve them for plain sterling silver only if you choose to use them at all.
Avoid storing sterling silver in rubber-lined jewelry boxes or plastic bags without anti-tarnish protection. Rubber and some plastics release sulfur compounds that accelerate tarnish. Don’t leave pieces in humid environments like bathrooms without airtight storage. High heat can also damage some silver jewelry, especially if it’s soldered or has gemstone settings, so keep your pieces away from direct sunlight for extended periods and never leave them in hot cars.
Skip the magnet test if you’re not certain what you’re testing, because it can confuse you—you might think a piece is plated when it’s actually just lower-karat alloy. If you’re unsure about a piece’s composition, contact the original jeweler or a professional appraiser.
Troubleshooting: When Your Silver Isn’t Shining
If soap and water didn’t remove the tarnish, the buildup might be heavier than expected. Try the foil and baking soda method next—this almost always works for plain sterling silver. If even the foil method leaves your piece dull, you might be dealing with heavily silver-plated jewelry where the plating has worn through, exposing base metals underneath. Plated pieces can’t be restored to their original shine once plating degrades; a professional replating service is your only option, which can be expensive.
Make sure you’re buffing dry, not wet. If your microfiber cloth is damp or if moisture is still on the jewelry, you won’t see the true shine. Completely dry the piece first, then buff with a dry cloth. Sometimes a cloth that’s been used many times accumulates tarnish residue and stops working effectively—if your cloth looks dark and worn, replace it with a fresh one.
If your jewelry still looks dull after cleaning and buffing, check for scratches or micro-pitting on the surface. This type of damage doesn’t wash away; it requires professional polishing by a jeweler. Very minor scratches often become less noticeable over time as the silver naturally oxidizes evenly. If you’re concerned about damage, get a professional opinion before attempting more aggressive cleaning.
FAQ
Q: Are silver polishing cloths better than liquid cleaners?
For light tarnish, polishing cloths are often the safest option because they clean without soaking or harsh chemicals. They work well for quick touch-ups and reduce the risk of damage to gemstones or plating. Liquid cleaners may work faster on heavy tarnish, but they require more caution.
Q: How do you remove tarnish from sterling silver jewelry?
Start with warm water and a small amount of dish soap, then gently scrub with a soft toothbrush if needed. For heavier tarnish, use a baking soda paste or a baking soda and vinegar soak. Always rinse thoroughly and dry the jewelry completely afterward.
Q: What should you avoid when cleaning sterling silver?
Avoid bleach, chlorine, and whitening toothpaste because they can damage sterling silver. You should also be careful with ultrasonic cleaners, silver dips, and acidic household products on pieces with gemstones, pearls, or oxidized finishes. These can cause discoloration or permanent damage.
Q: How long should sterling silver soak in vinegar?
A vinegar and baking soda soak is usually left on sterling silver for about 2 to 3 hours, depending on how tarnished it is. Lighter tarnish may need less time, while heavier tarnish may need more. After soaking, rinse the piece well and dry it fully.
Q: Will toothpaste clean sterling silver safely?
No, toothpaste is not recommended for sterling silver because it can be abrasive and scratch the surface. Whitening toothpastes are especially risky because they may contain harsher ingredients. A soft cloth, mild soap, or baking soda paste is safer.
Q: Can you use aluminum foil to clean silver?
Yes. The aluminum foil method uses hot water, baking soda, and foil to trigger a chemical reaction that helps lift tarnish from silver. It works well for many plain sterling silver pieces, but it is not the best choice for items with gemstones, oxidized details, or delicate finishes.
Q: What is the best way to keep sterling silver from tarnishing?
Dry sterling silver completely after cleaning and store it in an airtight bag or anti-tarnish pouch. Keep it away from humidity, sulfur exposure, and harsh chemicals like perfume or bleach. Regular gentle cleaning also helps prevent buildup and keeps tarnish from returning as quickly.
My Experience With Sterling Silver Cleaning: Methods That Work, What to Avoid, and Pro Tips
I’ve gone through my share of sterling silver phase in jewelry collecting, and I learned the hard way that rushing the drying step costs you later. The first time I cleaned an heirloom bracelet, I soaked it, scrubbed it beautifully, then let it air dry while I grabbed coffee. Water spots formed within an hour, and I had to re-clean it. Now I treat drying like the main event—microfiber cloth in hand before the piece even comes out of the rinse bowl.
The foil method genuinely shocked me the first time I used it. Watching tarnish visibly leave the silver and transfer to the foil felt like actual chemistry class in real time. But here’s the thing nobody warns you about: silver-plated pieces react differently, and sometimes less dramatically, so knowing your jewelry composition matters before you commit to the deep-clean method.
What I genuinely appreciate about the soap and water approach is how gentle it is on sentimental pieces. No guesswork, no chemical reactions you can’t undo. I’ve found that a soft toothbrush and patience accomplish more than people expect, and most pieces respond without needing anything harsher. The catch is consistency—pieces that get wiped monthly stay shinier than those I only clean when they look bad.
One sharp insight: timing truly is everything. I stopped wearing perfume before putting on jewelry, and the difference in how fast my pieces tarnish is noticeable. It sounds small, but that one habit probably extends the life of finishes by months.
What’s your biggest frustration with tarnished silver—is it heavy buildup that seems permanent, or do pieces tarnish back quickly after cleaning?
Conclusion
Cleaning sterling silver at home is faster, safer, and cheaper than sending pieces to professional cleaners every time. Start with warm soapy water and a soft toothbrush for routine maintenance, then graduate to the aluminum foil and baking soda method when tarnish gets stubborn. Dry immediately after rinsing, polish with a microfiber cloth, and store pieces in airtight containers away from humidity and chemicals. Timing matters too—apply beauty products before jewelry to prevent reactions with the metal. By understanding what works and what damages sterling silver, you’ll keep your jewelry looking brilliant for decades without needing expensive restoration.
The best part about these methods is that they require only common household items you probably already own. If you understand sterling silver value before selling pieces, you’ll appreciate how proper maintenance protects your investment. Monthly polishing takes just a few minutes and prevents heavy tarnish buildup, which means less aggressive cleaning over time. Treat your sterling silver gently, store it smart, and it will stay radiant without costing you extra money or time on professional services.
References
- Finks. (n.d.). Sparkling Solutions: Methods to Clean Sterling Silver Jewelry. https://www.finks.com/blogs/news-and-events/sparkling-solutions-methods-to-clean-sterling-silver-jewelry
- Monica Vinader. (n.d.). 3 Easy Steps to Clean Sterling Silver Jewellery US. https://www.monicavinader.com/us/our-blog/how-to-clean-silver-jewellery
- The Spruce. (n.d.). How to Clean Sterling Silver and Keep It Shining. https://www.thespruce.com/how-to-clean-sterling-silver-5509319
- Better Homes & Gardens. (n.d.). How to Clean Your Silver Jewelry in a Matter of Minutes. https://www.bhg.com/homekeeping/house-cleaning/tips/how-to-clean-silver-jewelry/
- John Hardy. (n.d.). Cleaning & Caring for Sterling Silver Jewelry. https://johnhardy.com/blogs/news/how-to-clean-sterling-silver-jewelry
- WikiHow. (n.d.). How to Clean Sterling Silver Jewelry: 13 Steps (with Pictures). https://www.wikihow.com/Clean-Sterling-Silver-Jewelry
- Linjer Jewelry. (n.d.). How to Clean Sterling Silver at Home: Your Complete Guide. https://www.linjer.co/en-us/blogs/linjer-journal/how-to-clean-sterling-silver-jewelry-at-home-your-complete-guide
- ARM & HAMMER. (n.d.). How to Clean & Polish Silver with Baking Soda. https://www.armandhammer.com/en/articles/how-to-polish-silver

Sarah Anderson . J
I’m the mom behind Wise Mom Blogger, where everyday creativity meets real-life motherhood. I share easy DIY crafts, cozy knitting and crochet projects, beginner-friendly sewing ideas, and family-tested recipes—plus quick baking hacks that make homemade feel doable on busy days.