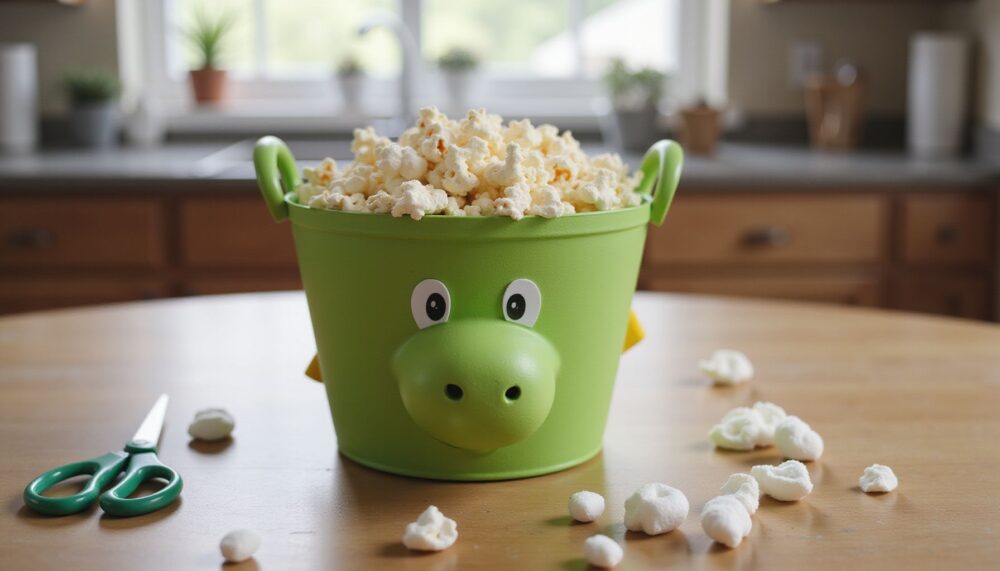
Ever wondered why the official Yoshi popcorn bucket sells out so fast at Disney parks, or whether you could craft your own version at home without spending $45 to $50? Creating a DIY Yoshi popcorn bucket is totally doable, and it’s far cheaper than hunting down the official merchandise. Whether you’re prepping for a movie night, building a gamer room centerpiece, or crafting a unique gift idea, this project delivers a surprisingly polished result in about 90 minutes. The process uses printable digital files, basic craft supplies, and a little patience—no 3D printer or fancy tools required.
Quick Questions and Answers
Question: Why is the Yoshi popcorn bucket so hard to find? The Yoshi popcorn bucket is extremely hard to find due to massive viral demand and limited production runs at Disney parks. Many guests missed out during its initial release because it sold out within hours at select locations.
Question: Can you make a real Yoshi popcorn bucket at home? Yes, you can create a DIY Yoshi popcorn bucket using printed templates, cardstock, glue, and crushed popcorn to mimic the real bucket’s look. This craft project involves scoring paper, folding tabs, and sealing it with matte acrylic for realism.
Question: What size popcorn fits inside the Yoshi bucket? The official Yoshi popcorn bucket holds popcorn equivalent to an extra large size, making it quite spacious for snacks. When making a DIY version, crushed kernels work best to fill the interior without adding too much weight.
What You Need
| Item | Purpose | Notes |
|---|---|---|
| 110 lb cardstock or poster board | Main structural base for the bucket | Sturdier than regular paper; essential for shape stability |
| Printable STL or PDF template file | Digital blueprint for the Yoshi shape | Download from Etsy or Yeggi; DXF format also works for cutting |
| X-acto knife or craft blade | Scoring and precise cutting | Adult supervision required if kids are involved |
| Glue (white craft or spray adhesive) | Bonding paper layers and components | Spray adhesive dries faster; white glue is more forgiving |
| Tiny styrofoam balls | Simulating popcorn texture | Use scissors to snip into smaller pieces for realism |
| Packing peanuts (trimmed) | Substrate filler inside the bucket | Cuts cleanly and fills space without excessive weight |
| Matte acrylic sealant spray | Protecting and finishing the exterior | Creates a durable, realistic sheen; optional but recommended |
| Ruler or straightedge | Precise measuring and scoring | Helps fold lines stay clean and aligned |
| Optional: small LED lights | Internal illumination (for added detail) | Battery-powered or USB-rechargeable versions work well |
Step 1: Download and Prepare Your Digital Template
Grab your digital file from sources like Etsy or Yeggi’s 3D printing library, where you’ll find over 5000 printable Yoshi bucket variations. Download the STL, PDF, or DXF file that features Yoshi holding a green-spotted egg—this is the iconic design that mimics the official bucket. Once downloaded, open the file in your preferred software (Adobe Reader for PDFs, a CAD program for DXF files, or a 3D viewer for STL files).
Print the template at full scale on your 110 lb cardstock. If the design is large and your printer can’t handle it in one shot, print it in sections and tape them together carefully, aligning the edges so seams stay invisible once folded. Cardstock is non-negotiable here—regular printer paper will warp and collapse under the weight of filler materials.
Step 2: Score and Cut Along Template Lines
Before you start cutting, use your X-acto knife and straightedge to score (not cut through) all the fold lines marked on your template. Scoring creates a clean crease without severing the paper, which means your folds will be sharp and professional-looking. This step takes patience, but it’s worth every second—sloppy scoring leads to wrinkled buckets.
Cut out the main body piece and any separate components like the egg shell, tail, or decorative details. Follow your template lines exactly. If your template includes tabs for assembly, leave those attached; you’ll use them to bond the bucket together. Work slowly and let the blade do the cutting—forcing a dull knife is how fingers get hurt.
Step 3: Assemble the Bucket Base Structure
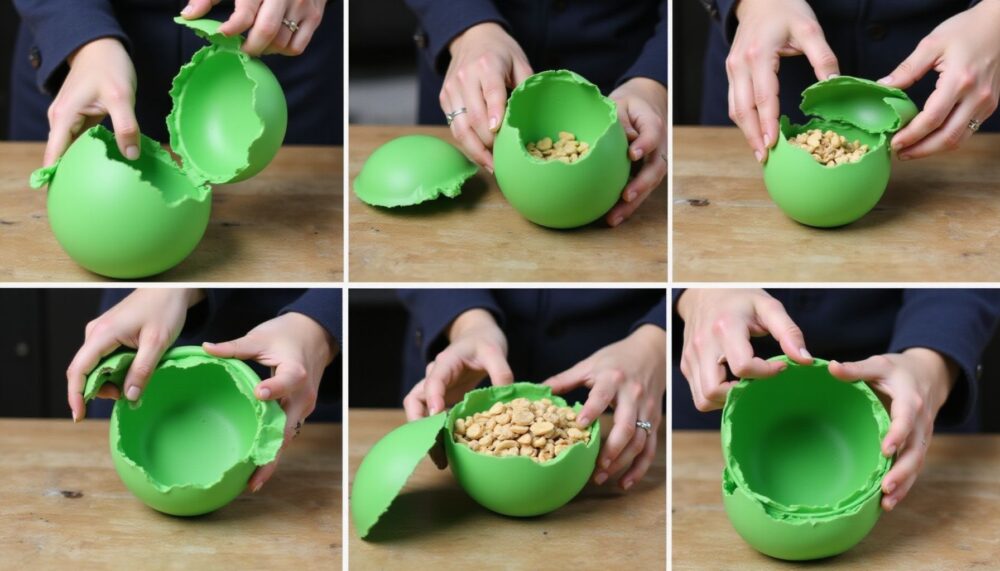
Start folding along your scored lines, bringing the main body into its 3D shape. The iconic Yoshi design has the egg positioned at the front, with the bucket’s body curving around it. Use white craft glue or spray adhesive to bond overlapping sections. If you’re using white glue, apply a thin, even bead along the edge and hold it for 10-15 seconds until set.
Spray adhesive works faster but is messier—use it in a well-ventilated area and follow the product instructions. Once the main body is assembled, attach any secondary components (the egg, tail, or head details) using the same bonding method. Let each section dry completely before moving to the next—rushing this creates weak joints that’ll fail when you add filler material.
Step 4: Prepare Your Popcorn Filler Materials
Real popcorn gets stale and attracts pests, so you’ll simulate it using foam. Grab your tiny styrofoam balls and snip them into smaller, irregular pieces with scissors to mimic popcorn texture. Aim for a mix of sizes—some chunky pieces, some finer crumbles—so it looks genuinely crunchy.
Next, take your packing peanuts and trim them with scissors to fit snugly inside your bucket without forcing. Packing peanuts compress easily, so they won’t strain your glue joints or deform the bucket’s shape. Mix the styrofoam scraps and trimmed peanuts in a bowl so you have a consistent filler ready to layer.
Step 5: Layer Filler and Build Internal Volume
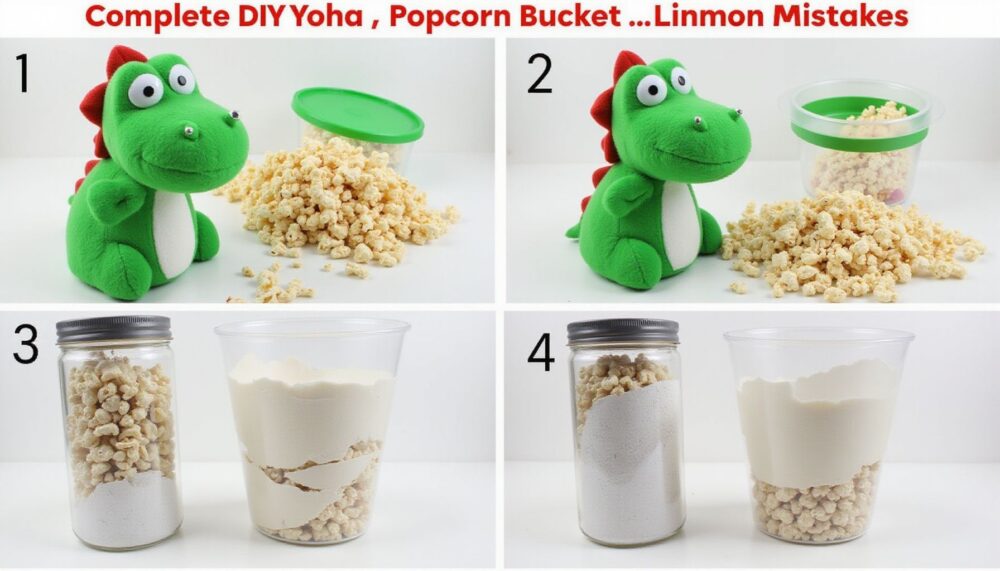
Here’s a key insight: the official bucket isn’t just hollow in the egg section—you can fill it all the way from the egg down through Yoshi’s body and into the tail. Start filling from the bottom of the bucket, layering your foam mixture as you go. Pack it gently so it stays compacted but doesn’t crush the cardstock walls.
Fill until the bucket looks naturally full, just like a real serving of popcorn would sit. If you’re adding LED lights for ambiance, insert them now before you seal the top, running the wires along the interior walls so they stay hidden. Test your lights to make sure they work before you proceed.
Step 6: Seal the Bucket and Apply Finish Coat
Once your filler is in place, close up the top of the bucket by gluing down any remaining flaps or the egg-shell component. Let the adhesive cure for at least 30 minutes so everything bonds securely.
Now comes the magic: spray your bucket with matte acrylic sealant. This protective coat does two things. It waterproofs the cardstock so your bucket doesn’t fall apart if it sits on a humid shelf, and it gives the whole project a finished, professional appearance that looks eerily close to the official merchandise. Apply two thin coats rather than one thick coat—heavy applications can cause drips or pooling. Let each coat dry per the product instructions (usually 1-2 hours).
Tips
Glue choice matters. White craft glue is more forgiving if you need to reposition pieces, but it takes longer to dry. Spray adhesive is faster but doesn’t allow second chances, so be confident before you spray.
Don’t skip the sealant. That matte acrylic coat transforms a craft project into something that looks store-bought. It’s the difference between “I made this” and “where did you get that?”
Trim packing peanuts patiently. Rushing the trimming step leads to uneven filler that bulges the bucket’s sides. Take your time—this is where sloppiness shows.
Test LED lights before sealing. If your lights don’t work after you’ve sealed everything up, you’ll have to peel the whole thing apart. Install them, test them, and only then finalize the bucket.
Store flat if you need to transport it. Unlike the rigid official merchandise, your DIY bucket can be gently flattened if you need to mail it or pack it for travel. Just don’t fold it sharply, or you’ll crease the finished surface.
FAQ
Q: Are there printable templates for a mini Yoshi bucket?
Yes, printable miniature popcorn bucket templates exist that allow you to print on 110 lb cardstock and fold them into a realistic mini bucket. These templates include scoring lines and tabs to help you create a sturdy shape without needing complex tools.
Q: How do you seal a DIY popcorn bucket to keep it looking good?
To seal a DIY popcorn bucket, spray it with a matte acrylic sealant after layering in the crushed popcorn to ensure durability and a finished look. This step protects the paper and popcorn layers while maintaining the bucket’s aesthetic appeal.
Q: Does the Yoshi egg inside the bucket actually contain popcorn?
Yes, the official Yoshi popcorn bucket features an egg shell that opens up to reveal real popcorn inside, equivalent to an extra large serving. This design allows guests to enjoy snacks directly from the character-themed container at Disney parks.
Q: Where can I buy the official Yoshi popcorn bucket now?
The official Yoshi popcorn bucket is occasionally available at Disney park merchandise locations but often sells out quickly due to high demand. Checking Disney’s official app or online store during restock periods may help you find one before it disappears again.
Q: Will Disney release more Yoshi buckets in the future?
Disney has not confirmed a specific date for future releases, but restocks happen periodically due to the bucket’s viral popularity. Fans often monitor social media and Disney news outlets for announcements about new inventory arrivals at park stores.
Q: What materials do I need for a DIY Yoshi popcorn bucket project?
You need 110 lb cardstock, a printable template, glue, an X-acto blade, crushed popcorn, and matte acrylic sealant for a DIY Yoshi bucket. Optional items like beads can be added inside to give the bucket a realistic weight and feel.
Q: Is making a DIY Yoshi popcorn bucket suitable for kids?
Making a DIY Yoshi popcorn bucket is generally suitable for kids, though tasks like using an X-acto blade should be supervised by adults. The folding and gluing steps are manageable for children, making it a fun family craft project.
My Experience With How to Make a Yoshi Popcorn Bucket: Easy Disney DIY Tutorial
I built my first Yoshi bucket on a lazy Saturday afternoon, expecting it to be clunky and definitely not worth the time investment. Wrong on both counts. The surprise was how forgiving the process actually is—there’s real flexibility in how you approach the assembly and filler, so one wonky fold doesn’t torpedo the whole thing.
The styrofoam-and-packing-peanuts combo genuinely looks like popcorn from arm’s length away. I used white craft glue initially and regretted it (slow drying meant babysitting each joint), so I switched to spray adhesive for the secondary pieces. Game changer. The matte acrylic sealant was the moment everything clicked—it transformed my craft project into something I’d actually display without embarrassment.
One real insight: don’t overthink the filler distribution. I spent way too long trying to make it perfectly uniform, but actual popcorn isn’t uniform either. Lumpy and organic-looking actually reads more authentically. If you’re installing LED lights, do it before sealing—future you will be grateful.
The whole project took me about 2 hours (slower than the estimated 1.5, but I’m a perfectionist with a dull X-acto blade). Cost me under $15 in supplies since I already had glue and scissors. For someone tired of refreshing the Disney app hoping for a restock, this DIY path feels way less frustrating.
Have you attempted any foam or cardstock craft projects before, or would this be your first dive into papercraft?
Conclusion
Making a DIY Yoshi popcorn bucket is an achievable project that delivers a satisfying result without requiring 3D printing skills or specialty tools. You’ll spend about 90 minutes and under $20 on materials to create something that mimics the official $45-to-$50 merchandise. The process is methodical but forgiving—each step builds logically on the last, and mistakes are easy to hide with the final sealant coat.
If you’re a Mario fan, a gamer room decorator, or simply tired of the official bucket being perpetually out of stock, this tutorial gives you agency. You’re not waiting for Disney’s next restock or paying resale markups. You’re making something with your own hands that looks polished enough to gift or display proudly.
Print your template, grab your cardstock, and set aside a couple of hours. The hardest part is resisting the urge to open it up and admire it before the glue has fully cured.
References
- Etsy. (2026). Popcorn bucket | super Mario inspired | gamer room decor. https://www.etsy.com/listing/4476378334/yoshi-popcorn-bucket-palomera-slt-super
- El Paso Times. (2026, March 6). First look at Mario Galaxy movie popcorn bucket: Yoshi is. https://www.elpasotimes.com/story/entertainment/movies/2026/03/06/mario-galaxy-movie-popcorn-bucket-first-look-at-yoshi-bucket/89016197007
- TikTok. (n.d.). How to make Yoshi popcorn bucket. https://www.tiktok.com/discover/how-to-make-yoshi-popcorn-bucket
- Yeggi. (n.d.). Yoshi popcorn bucket 3D models to print. https://www.yeggi.com/q/yoshi+popcorn+bucket
- Reddit. (n.d.). I put some LED lights in my Yoshi bucket. https://www.reddit.com/r/PopcornBuckets/comments/1sa0dzk/i_put_some_led_lights_in_my_yoshi_bucket
- Facebook. (n.d.). How to paint a Yoshi popcorn bucket? https://www.facebook.com/groups/1622701634471461/posts/34659494950365370

Sarah Anderson . J
I’m the mom behind Wise Mom Blogger, where everyday creativity meets real-life motherhood. I share easy DIY crafts, cozy knitting and crochet projects, beginner-friendly sewing ideas, and family-tested recipes—plus quick baking hacks that make homemade feel doable on busy days.