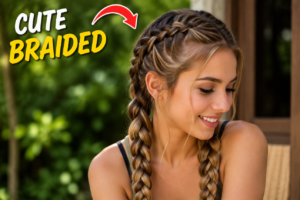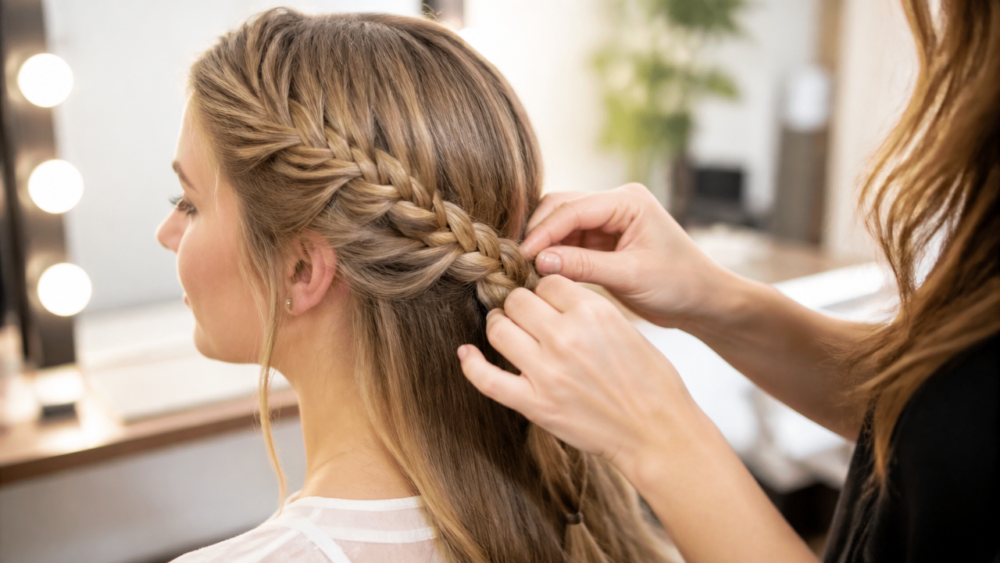
Have you ever wondered what makes a perfect three-strand braid stay in place, or why some styles look professional while others quickly unravel? Whether you are getting ready for a casual weekend outing or preparing for a special summer event, learning how to braid hair provides a practical skill that works for any occasion. Mastering a high-quality, beautiful braid requires only the right technique, a bit of patience, and some simple tools. Starting with a basic braid helps you build the confidence needed for more advanced styles, making it an essential skill to add to your personal style toolkit.
Quick Questions and Answers
Question: How do you braid hair step by step at home? Answer: Start with brushed, tangle-free hair, then divide it into three equal sections. Cross the right section over the middle, then cross the left section over the new middle, repeating this pattern until you reach the end. Secure the braid with a hair tie.
Question: Can you braid wet hair or should it be dry? Answer: Hair can be braided wet or dry, but many guides recommend starting with hair that is clean and tangle-free. Some suggest air-drying or using low heat first for easier handling. Wet hair can be more fragile, so gentle tension helps reduce breakage.
Question: Do you need to brush hair before braiding it? Answer: Yes, brushing first is recommended so the hair is smooth and free of knots. Tangled hair is harder to section evenly and can make the braid look uneven. A detangling spray, gel, or texture spray can also help depending on the style.
Key Takeaways
- Always start with detangled hair to ensure a clean, smooth result.
- Consistency is king; choose to cross sections either over or under and stick to it throughout.
- Practice develops the muscle memory required for more intricate styles like French or Dutch braids.
- Use internal support like texturizing spray if your hair is naturally slippery.
What You Need
| Item | Purpose | Notes |
|---|---|---|
| Detangling Brush | Removes knots | Essential for smooth sections |
| Hair Elastics | Secure the ends | Use clear bands for a seamless look |
| Texturizing Spray | Adds grip | Perfect for slippery or thin hair |
| Hair Oil | Tames flyaways | Use sparingly to avoid greasiness |
Prep Work Before You Start
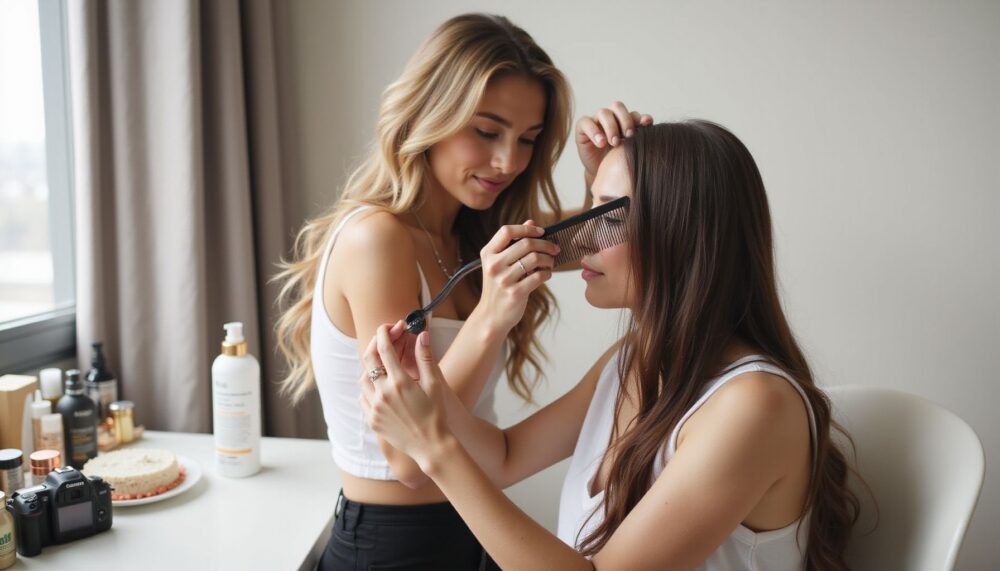
Brushing is the non-negotiable first step. If you begin with knots, your braid will look patchy and feel uncomfortable by the time you reach the bottom. According to AIIR Professional, thorough detangling with a wide-tooth comb is necessary to protect delicate strands.
If your hair is unruly or prone to frizz, applying a tiny amount of hair oil makes it significantly easier to manage. You want the hair to glide through your fingers without snagging. Deciding on your style—like a single back braid or two symmetrical side braids—determines where you should gather your initial sections. If you find this process interesting, you might also like exploring 12 Henna Hand Design Ideas: Easy and Creative.
The Three-Strand Braid: Step-by-Step
Step 1: Sectioning the Hair
Gather all your hair into three equal, manageable parts. I refer to these as the Left, Middle, and Right sections. If you have very long hair, ensure the sections are even by checking in a mirror; uneven chunks will create a lopsided look.
Step 2: The First Cross
Take either the left or right strand and cross it over the middle. As JVN Hair explains, whether you cross over or under doesn’t change the physics of the braid, but you must be consistent. Choosing one direction creates a uniform pattern.
Step 3: Maintaining Tension
Perform that same crossover movement on the opposite side to lock your first link in place. Keep your hands close to your head initially to ensure the base is tight. If you hold the sections too far away, the braid will sag at the top.
Step 4: The Repeat Process
Continue alternating sides. Pull the outer strand into the middle, then pull the next outer strand over that. Keep your momentum steady. For those looking for complementary styles, checking out Nail Designs for Beginners: Step-by-Step Guide can be a great way to pair your look with fresh details.
Step 5: Finishing
Once you reach the desired length, grab your elastic band. Secure the end tightly so the braid doesn’t unravel. Depending on your hair texture, you can gently tug at the outer edges of the loops to make the braid appear fuller or more relaxed.
Common Mistakes to Avoid
Starting with messy hair is the most common reason for a failed braid. Tangled hair forces you to tug harder, which only increases the chance of breakage. Cosmetize notes that adding hair oil can assist in managing that unruly texture.
Inconsistent tension is another major issue. Beginners often braid the top tightly and the bottom loosely, leading to a strange, tapered appearance. Always pull each section with the same amount of pressure as you move down. Finally, never switch between crossing over and crossing under mid-braid. Pick one method and stick to it to keep the pattern visually distinct.
Troubleshooting Your Braid
If your hair is too slippery, a standard braid might feel like it’s sliding apart. Applying a bit of dry shampoo or a texturizing spray adds the necessary grit to help the strands stay put. It acts like a temporary anchor for your hair movements.
Should you notice sections are uneven, do not hesitate to un-braid and restart. It happens to everyone when learning. A mirror is your best friend here; use it to verify that each of the three sections contains roughly the same volume of hair. If the braid feels loose, focus on pulling your hands toward your scalp after each cross-over. This simple physical correction usually resolves the “saggy” braid problem.
FAQ
Q: Are there different types of braids for beginners?
Yes, beginners often start with a basic three-strand braid. Once that is comfortable, French braids and Dutch braids are common next steps. Those styles add hair as you braid, which creates a woven look along the scalp.
Q: How do you make a French braid on yourself?
Begin at the top of the head with three strands, just like a regular braid. Each time you cross an outer strand over the middle, add a small section of hair from the scalp to that strand. Continue this pattern down the head and tie it off at the end.
Q: Does a Dutch braid go over or under strands?
A Dutch braid crosses the outer strands under the middle strand instead of over it. That creates a braid that sits up on top of the hair for a raised, more prominent look. It still uses the same add-hair-as-you-go pattern as a French braid.
Q: Will braiding hair tightly make it last longer?
A firmer braid usually looks neater and can help it stay in place longer. But pulling too tightly can cause scalp tension and discomfort. A balanced tension is best if you want the braid to last without stressing the hair.
Q: When should you secure the braid with a hair tie?
Secure the braid once you have reached the desired length or the ends of the hair. A small elastic is commonly used to hold the braid in place. For many styles, tying it off at the end keeps the sections from unraveling.
Q: What is the easiest braid for beginners to learn first?
The easiest braid to learn first is the basic three-strand braid. It uses a simple repeating motion: cross one outer section over the middle, then the other side over the middle. That pattern builds the foundation for most other braid styles.
Q: Which products help hair braid more smoothly?
Helpful products include detangling spray, texture spray, flyaway spray, and a small amount of gel. These can make the hair easier to section and help create a cleaner finish. They are especially useful if you want a sleeker braid with fewer loose strands.
Next Steps
Once you master the basic three-strand braid, you have the foundation for almost every other style. Muscle memory is what eventually allows you to braid without looking in a mirror. When you are ready for a new challenge, look at 14 Cute Nail Ideas for Summer to see how you can elevate your total look. If your hair needs a break from heat and chemicals, exploring protective styles like cornrows is a smart way to maintain health. Remember, every master braider started with a messy, uneven attempt that they had to undo and try again.
My Experience With how to braid hair
Learning to braid my own hair felt like trying to solve a puzzle while my hands suddenly developed a mind of their own. I remember the frustration of seeing my sections slide out of place as soon as I reached for the next one. The trick I eventually discovered was surprisingly simple: keep the sections closer to your head than you think is necessary, and maintain constant tension. If you hold the hair loosely, the braid looks tired and limp within an hour.
Expert braiders often suggest using a “locking” motion—after each cross-over, I give a tiny, firm tug on the outer sections to secure the bridge. It’s a rhythmic, almost meditative habit once you get the hang of it. I also learned that if your hair is freshly washed and super silky, a little dry shampoo is a lifesaver; it provides the grip needed to stop your fingers from slipping. It isn’t just about the braid; it is about the geometry of how you hold your hands. Have you ever tried to braid your own hair, and what was the hardest part for you to get right?
Conclusion
Mastering the art of the braid takes only consistent, small efforts. By starting with clean hair and focusing on maintaining even tension, you create a professional-looking result every time. Whether you choose a simple side-braid or transition into complex styles, these basics remain the cornerstone of your success. Continue to practice whenever you have a few free minutes, and soon the motion will feel as natural as brushing your hair.
References
- AIIR Professional. (n.d.). How to Braid Hair: The Ultimate Guide for Beginners. https://aiirprofessional.com/blogs/braids/how-to-braid
- JVN Hair. (n.d.). Basic Braids 101: A Step-By-Step Guide To Easy Styles. https://jvnhair.com/blogs/under-the-dryer/basic-braids-101-a-step-by-step-guide-to-easy-styles
- Privé Salon. (n.d.). How to Braid Hair: A Step-by-Step Guide for Beginners. https://www.privesalonorlando.com/blog/how-to-braid-hair-a-step-by-step-guide-for-beginners
- Cosmetize. (2021, September 7). How to Braid Hair for Beginners: Simple Tricks and Tips. https://www.cosmetize.com/blog/2021/09/07/how-to-braid-hair-for-beginners/
- Luxy Hair. (n.d.). How To Braid Your Hair: Beginners Guide To Braiding Your Hair. https://www.luxyhair.com/blogs/hair-blog/how-to-braid-tutorial-for-beginners

Sarah Anderson . J
I’m the mom behind Wise Mom Blogger, where everyday creativity meets real-life motherhood. I share easy DIY crafts, cozy knitting and crochet projects, beginner-friendly sewing ideas, and family-tested recipes—plus quick baking hacks that make homemade feel doable on busy days.