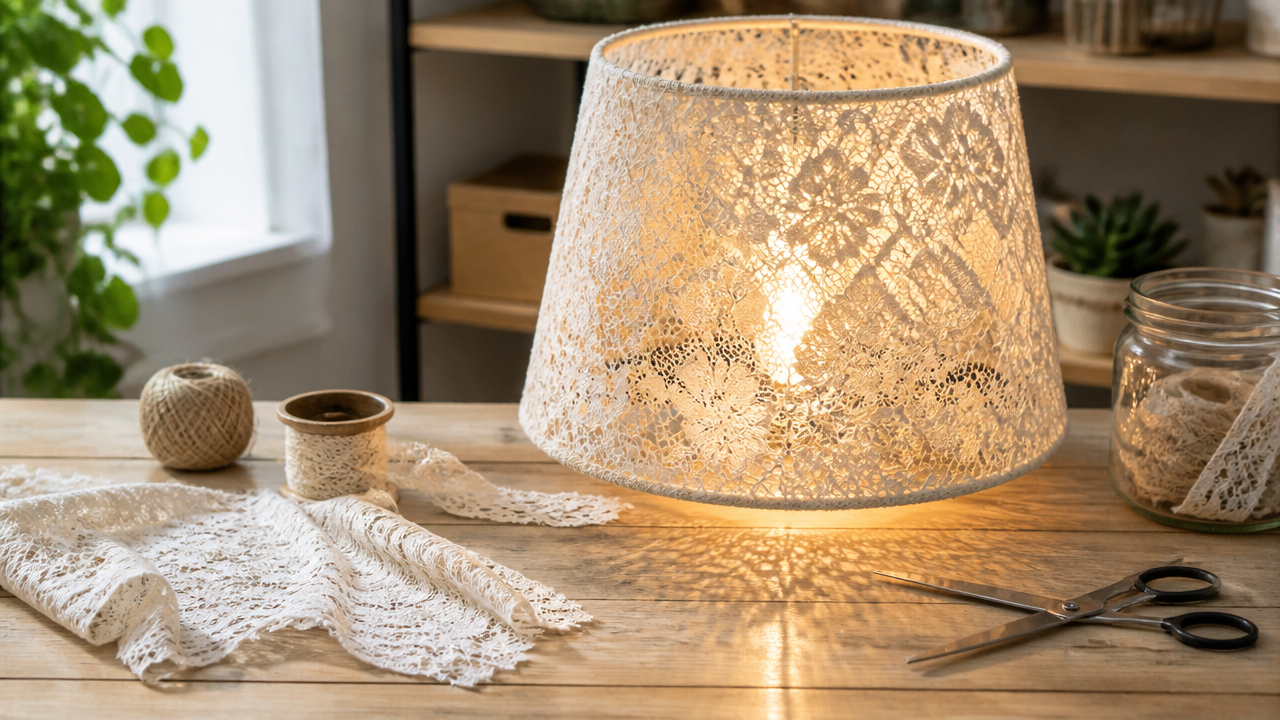
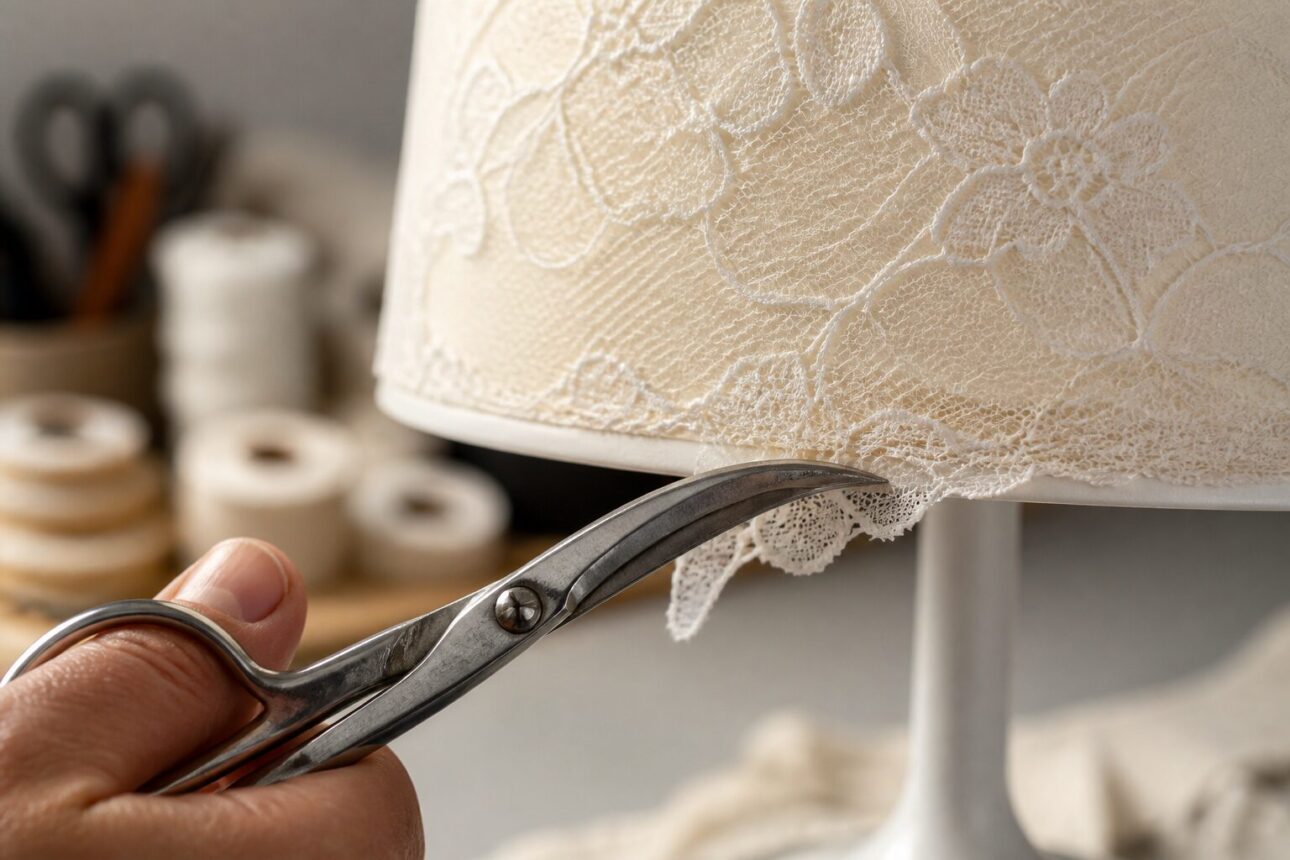
What makes a truly great lace lampshade stand out from every other DIY home decor project you’ve tried? Whether you’re planning a summer patio refresh or preparing for the holidays, the right lace lampshade can instantly elevate any space with a soft, airy glow. This comprehensive guide walks you through the entire process of creating your own custom lace lampshade — from building the frame to adding the delicate fabric finish.
Quick Questions and Answers
Question: How do you make a lace lampshade from scratch?
Answer: Most tutorials start by building or preparing a lampshade frame, then adding a base layer such as paper, fabric, or a wire skeleton before attaching the lace. The lace is usually stitched, tied, or glued into place, and many makers stiffen or dry it at the end so it keeps its shape. A finished shade typically looks delicate but still has a defined cylindrical or lantern form.
Question: What materials do you need for a lace lampshade DIY?
Answer: Common materials include a lampshade frame or rings, lace fabric or crocheted lace, thread or string, and an adhesive such as glue or double-sided tape. Some tutorials also use paper, wire, twill tape, wax, or stiffener depending on whether the project is a full build or a makeover. Basic tools often include scissors, wire cutters, a needle, and a measuring tape.
Question: Can you cover an old lampshade with lace?
Answer: Yes. One common approach is to remove the old fabric, clean off the glue, repaint or prep the frame if needed, and then hand-stitch or glue lace onto the shade. This works well when you want a vintage or textured look without rebuilding the whole lamp structure.
What You Need
Item
Purpose
Notes
Lampshade frame or rings
Structural base
Wire, paperboard, or plastic frames
Lace fabric or crochet lace
Decorative layer
Choose lightweight, semi-sheer lace
Thread, string, or twine
Attachment
For stitching or tying lace in place
Glue or double-sided tape
Adhesive
To secure lace to frame
Scissors
Cutting lace/fabric
Sharp appliqué scissors recommended
Wire cutters
Shaping wire frame
If building from scratch
Measuring tape
Sizing components
Ensure proper fit
Sewing needle
Hand-stitching lace
Optional for a more tailored look
Method 1: Building a Wire and Lace Lantern
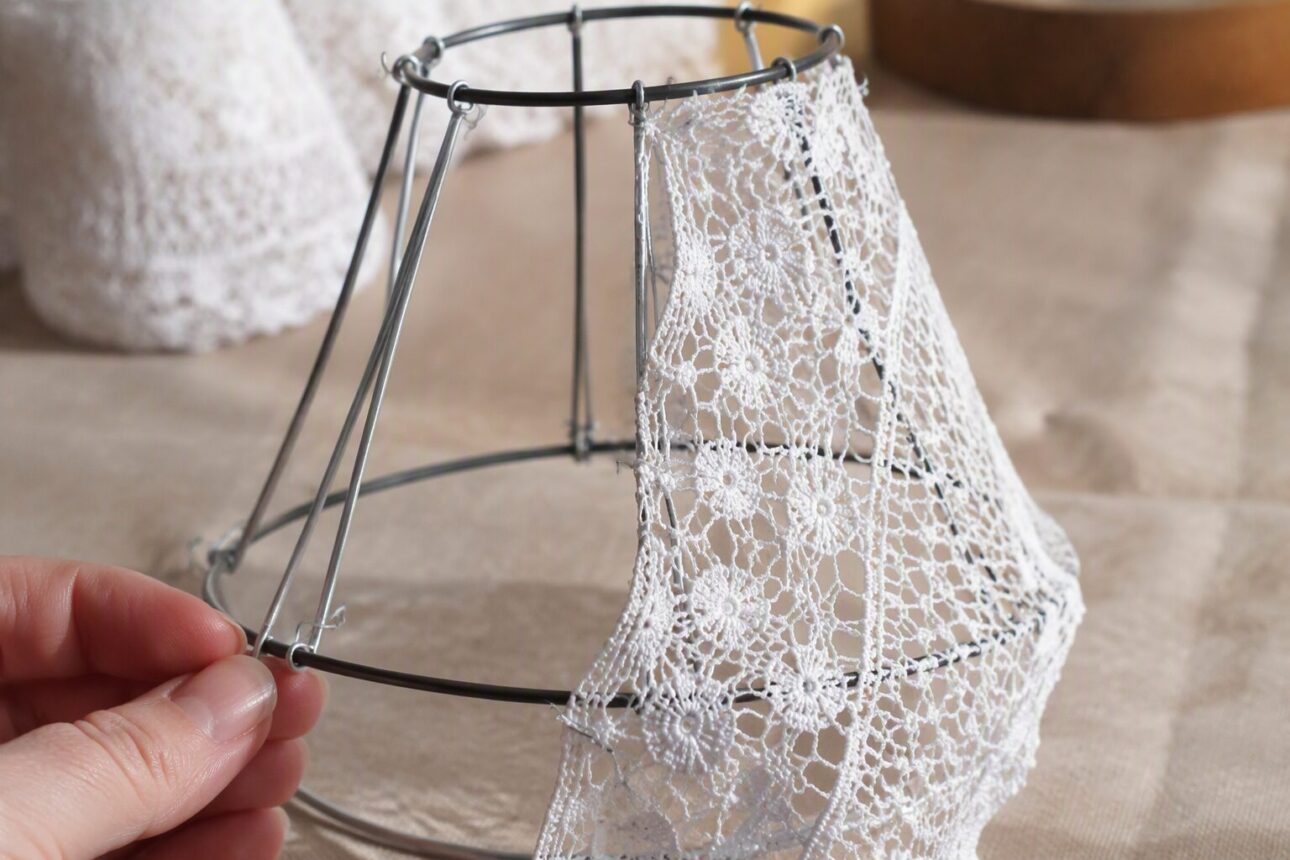
Start by cutting your wire frame components: three 140 cm circles for the structure, four 30 cm side supports, and one 70 cm wire for the handle. [Collective Gen, 2016] Next, cut two lace rectangles to approximately 65 x 44 cm to wrap around the frame. [Collective Gen, 2016] Use 12 cm lengths of string or twine to tie the lace securely to the wire frame, ensuring even tension across the entire structure. [Collective Gen, 2016]
The result is a suspended lantern-style lace shade rather than a traditional drum shape. This method gives you full control over the dimensions and a customizable, sculptural look.
Method 2: The Vintage Makeover Approach
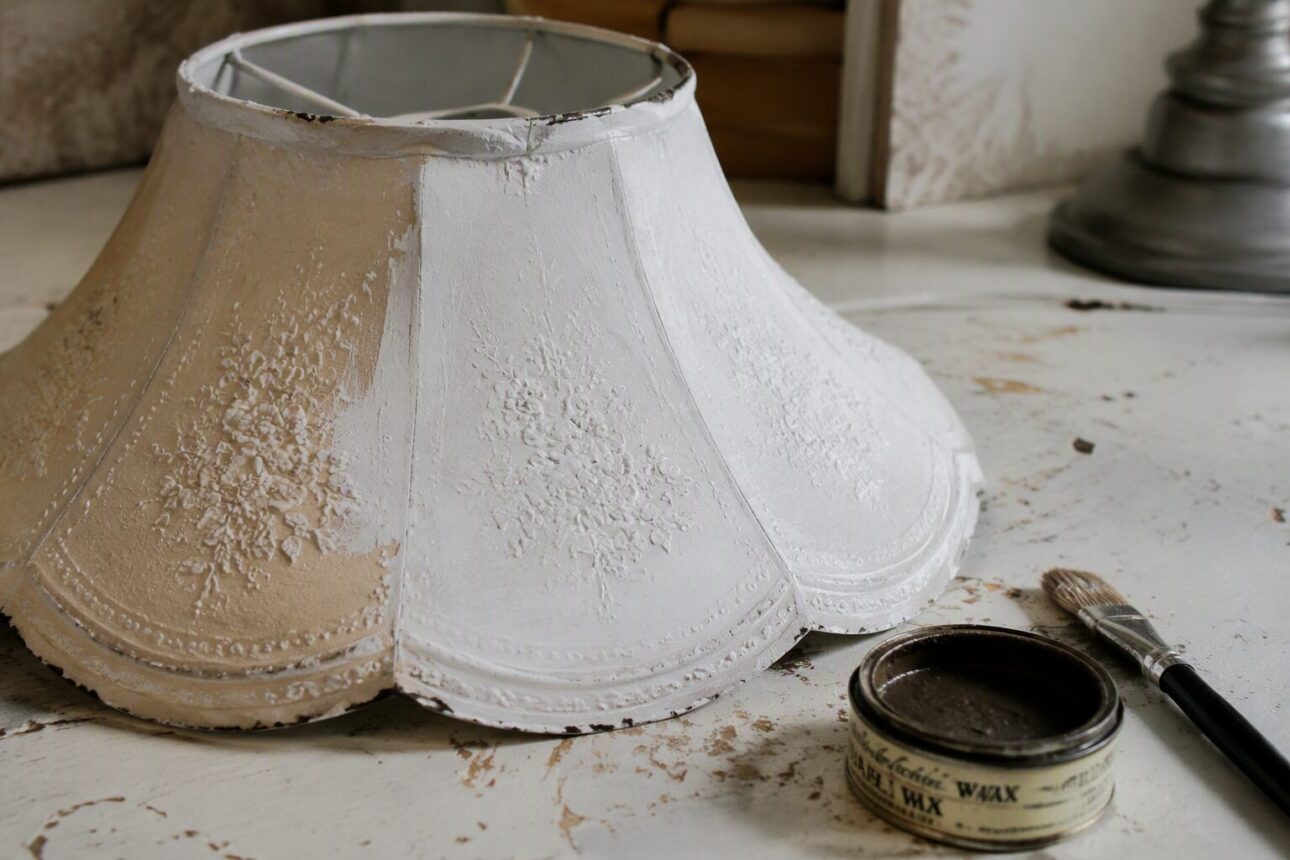
For a more vintage-inspired lace lampshade, begin by stripping the old fabric and adhesive off an existing frame, then sanding it down to prepare the surface. Paint the frame in a soft white shade and apply clear and dark Annie Sloan waxes to achieve an aged, weathered finish. [Rebecca Gather Ye Roses]
Next, hand-stitch scrap lace pieces over the frame, layering them to cover any gaps and create a textured, antique appearance. This makeover approach allows you to breathe new life into an old lampshade without rebuilding the entire structure.
Step-by-Step: Covering a Drum Lampshade
Begin by carefully measuring your lampshade frame and allowing for a 2 cm fabric allowance to fold over the rings. [Annie Sloan] Iron your lace or fabric panels flat to eliminate creases before application.
Peel back the backing paper in 10 cm sections as you apply the adhesive panel to the frame, working methodically to prevent air bubbles. [Annie Sloan] Use bulldog clips to hold the fabric tight against the rings while the glue sets. Finally, tuck the excess fabric under the hoop and use a decorative gimp braid or trim to cover the raw edges for a professional look.
Tips for Stiffening and Shaping
To achieve a sturdy, defined shape, mix a 1:1 ratio of white glue and water. [About Goodness, 2011] Apply the mixture to the lace using a brush while the shade is protected by plastic wrap. Shape the lace by hand while it is still damp, then hang the lamp in a dry, ventilated area (like a balcony) to set overnight. [About Goodness, 2011]
Mistakes to Avoid
Failing to clean old glue and rust off a reused frame, which creates bumps and prevents even adhesion.
Applying adhesive without a “second set of hands” — it is often a two-person job to ensure the fabric stays straight. [Annie Sloan]
Overlapping fabric seams at the join, which shows through the light; instead, aim for a seamless meeting point.
Troubleshooting
Wrinkles or bubbles: Use a plastic burnishing tool or a dry cloth to press the fabric down during application.
Uneven tension: If your lace is sagging, use more string or whip stitches to pull the fabric taut against the frame.
Visible raw edges: Use a fabric-safe trim or gimp braid to hide edges that don’t tuck cleanly under the hoop.
FAQ
Q: Can I use any type of lace?
Yes, but thinner lace requires more structural glue-water stiffener, while heavier lace can be stitched directly to a frame. Experiment to find the right balance of delicacy and support for your desired look.
Q: How do I clean a lace lampshade?
Dust it regularly with a gentle brush; avoid water once the glue stiffener is applied, as it may soften the adhesive. Be very careful when handling a lace shade to preserve its fragile appearance.
Q: What is the easiest lace lampshade project for beginners?
The easiest option is usually a lampshade makeover that adds lace to an existing shade, because the frame is already built. A beginner can also choose a simpler fabric-over-frame method and then add lace trim or panels afterward. Full wire-frame lanterns and stitched lace sculptures require more measuring and shaping skill.
Conclusion
Whether you’re seeking a soft, romantic glow or a bold, textured statement piece, a custom lace lampshade can transform any room. With the right materials, a bit of patience, and these step-by-step techniques, you can create a truly unique lighting accent that reflects your personal style. What DIY lace lampshade ideas are you dreaming up next?
References
Collective Gen. (2016). DIY Wire and Lace Lampshade / Lantern. https://collectivegen.com/2016/08/diy-wire-and-lace-lampshade-lantern/
About Goodness. (2011). Lace Lampshade DIY Tutorial. https://aboutgoodness.wordpress.com/2011/11/08/lace-lampshade-diy-tutorial-2-0/
Rebecca Gather Ye Roses. (2013). A Gathering Place: Vintage Lace Lampshade Tutorial. http://rebecca-gatheryeroses.blogspot.com/2013/04/vintage-lace-lampshade-tutorial-for-you.html
Annie Sloan. (n.d.). How to Make a DIY Lampshade – Techniques. https://www.anniesloan.com/us/techniques/how-to-make-your-own-lampshade/
Architectural Digest. (n.d.). 5 DIY Lampshade Projects You Can Do This Weekend. https://www.architecturaldigest.com/story/diy-lampshade-projects-you-can-do-this-weekend
My Experience With How to Make a Lace Lampshade at Home
As a longtime DIY enthusiast, I’ve tackled my fair share of home decor projects over the years. But creating a custom lace lampshade from scratch was a particularly satisfying challenge. I decided to go with the wire-frame lantern approach, as I loved the idea of a more sculptural, suspended silhouette.
The hardest part for me was getting the lace tensioned just right as I tied it to the frame — I definitely could have used an extra set of hands there. And the glue-water mixture to stiffen the lace was a bit trickier than I expected, requiring some trial and error to find the perfect consistency. But once I got the hang of it, the rest of the assembly went smoothly.
The final result exceeded my expectations. That soft, glowing light filtering through the lace is just magical, and I love how the vintage-inspired look complements my living room decor. Truthfully, I’m a little reluctant to turn the lamp on sometimes, because I enjoy admiring the artful drape of the lace even when it’s not lit.
Have you tackled a similar lace lampshade project before? I’d love to hear about your experience and any tips you might have to share. The creative process is half the fun, in my opinion!
Sarah Anderson . J
I’m the mom behind Wise Mom Blogger, where everyday creativity meets real-life motherhood. I share easy DIY crafts, cozy knitting and crochet projects, beginner-friendly sewing ideas, and family-tested recipes—plus quick baking hacks that make homemade feel doable on busy days.