Making soap at home is part science and part creativity. Once the basic process clicks, it’s easy to swap oils, colors, and scents to build a whole shelf of custom bars. This list covers nine handmade soap recipes ranging from a beginner-friendly bar with just a few oils to more detailed options with milk, herbs, and exfoliants, each with a quick rundown of how to make it.
Quick answer: The easiest handmade soap recipes for beginners use a simple three-oil cold process base, while more advanced options add milk, herbs, exfoliants, or layered colors. Start with a basic recipe, then build up to the more detailed ones once the process feels familiar.
| Element | Effort Level | Notes |
|---|---|---|
| Basic 3-oil cold process bar | Standard | Good starting recipe |
| Milk-based soap | Varies | Needs slow, careful lye mixing |
| Working with lye | Caution | Requires gloves and eye protection |
| Melt-and-pour bases | Standard | No lye handling needed |
| Soap Recipe | Skill Level | Method |
|---|---|---|
| Basic Three-Oil Bar | Beginner | Cold process |
| Goat Milk Soap | Intermediate | Cold process |
| Oatmeal Honey Bar | Beginner | Cold process |
| Lavender Herbal Soap | Beginner | Cold process |
| Coconut Oil Soap | Beginner | Cold process |
| Charcoal Detox Bar | Intermediate | Cold process |
| Shea Butter Soap | Intermediate | Cold process |
| Melt-and-Pour Glycerin Bar | Beginner | Melt and pour |
| Layered Swirl Soap | Advanced | Cold process |
Rough difficulty comparison
1. Basic Three-Oil Bar
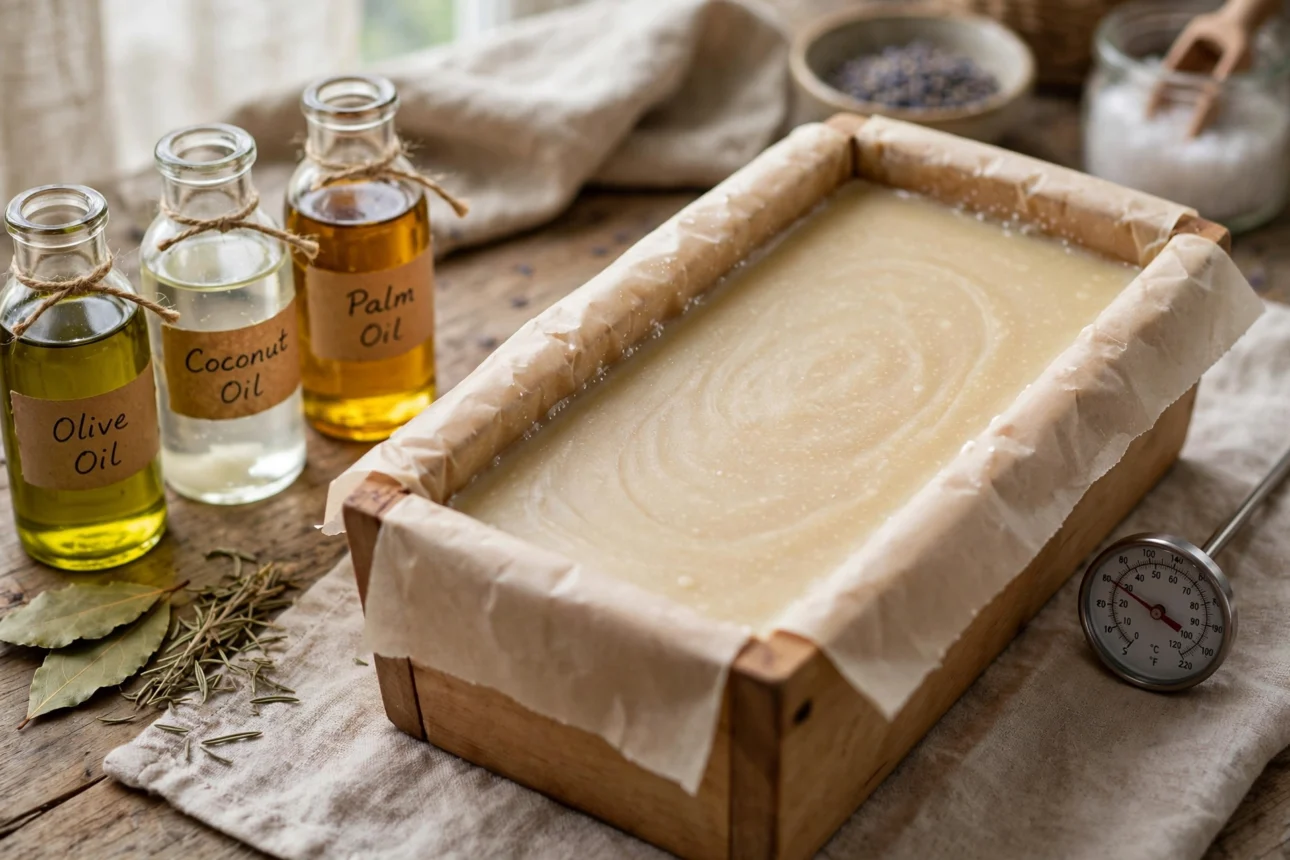
This recipe uses coconut oil, olive oil, and palm oil, usually in roughly equal parts, mixed with lye and water. It’s one of the most common starter formulas since each oil brings something different to the finished bar.
Coconut oil gives cleansing power and big bubbles, olive oil keeps the bar mild and creamy, and palm oil adds firmness. This combination matters because it teaches the basic cold process technique without needing unusual ingredients. Once this ratio feels familiar, it’s easy to swap in a different oil for one of the three to see how the bar changes.
Quick steps: mix lye into water and let it cool, melt and combine the three oils, slowly stir the lye water into the oils until it thickens slightly, pour into a mold, then let it sit covered for 24 hours before unmolding and curing for about four weeks.
2. Goat Milk Soap
Goat milk soap swaps some or all of the water in a basic recipe for goat milk, which adds a creamy texture and is often praised for being gentle on sensitive skin.
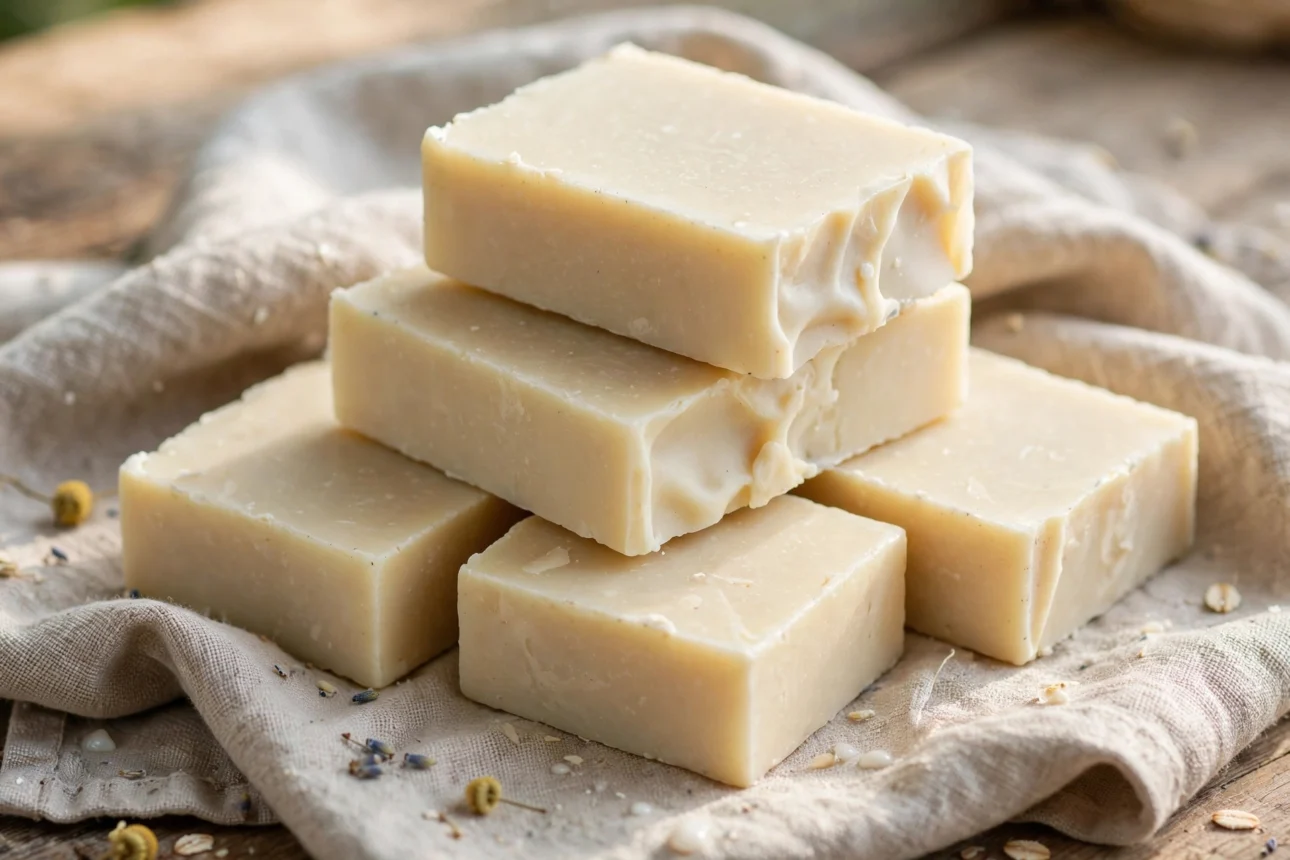
This recipe matters for anyone with dry or reactive skin, since the milk’s natural fats and proteins add extra conditioning that plain water-based soap doesn’t offer. The natural sugars in milk also tend to give the bar a warm, caramel-like color as it cures.
Quick steps: freeze the milk into cubes first, then slowly add lye to the frozen milk instead of liquid milk to prevent scorching, mix with your oils as usual, pour, and cure for about four to six weeks.
3. Oatmeal Honey Bar
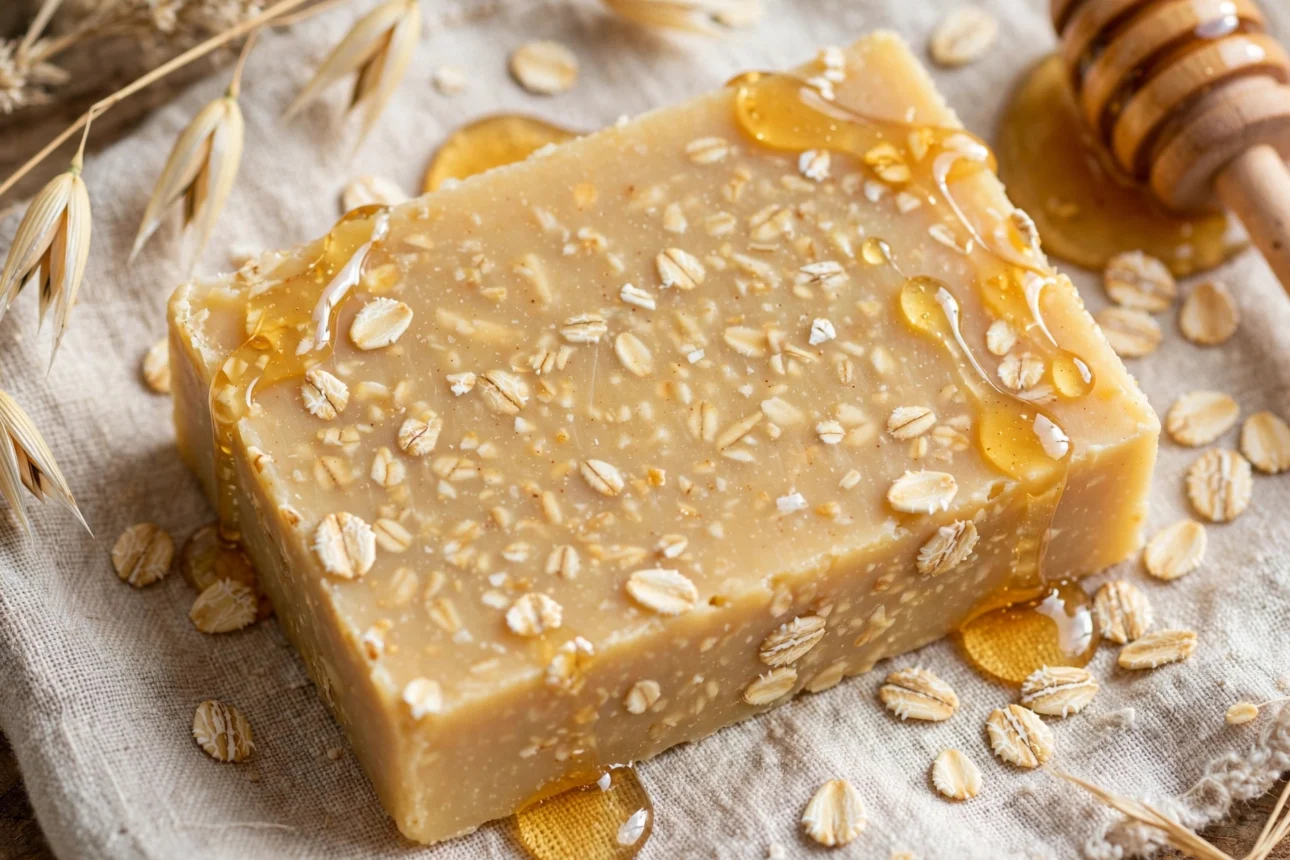
Ground oatmeal and a spoonful of honey are stirred into a basic soap base right before pouring, giving the bar a light exfoliating texture along with a subtly sweet, warm scent.
This idea matters because oatmeal is known for soothing irritated or sensitive skin, which makes this bar a popular pick for gift-giving or for family members with skin sensitivities. Colloidal oatmeal, which is ground extra fine, blends in more smoothly than regular rolled oats.
Quick steps: prepare your base recipe as usual, stir in finely ground oatmeal and a tablespoon of honey once the mixture starts to thicken, pour into molds quickly since honey can speed up heating, then cure as normal.
4. Lavender Herbal Soap
This bar blends lavender essential oil with dried lavender buds sprinkled on top or lightly mixed in, giving the finished soap both a calming scent and a natural, herbal look.
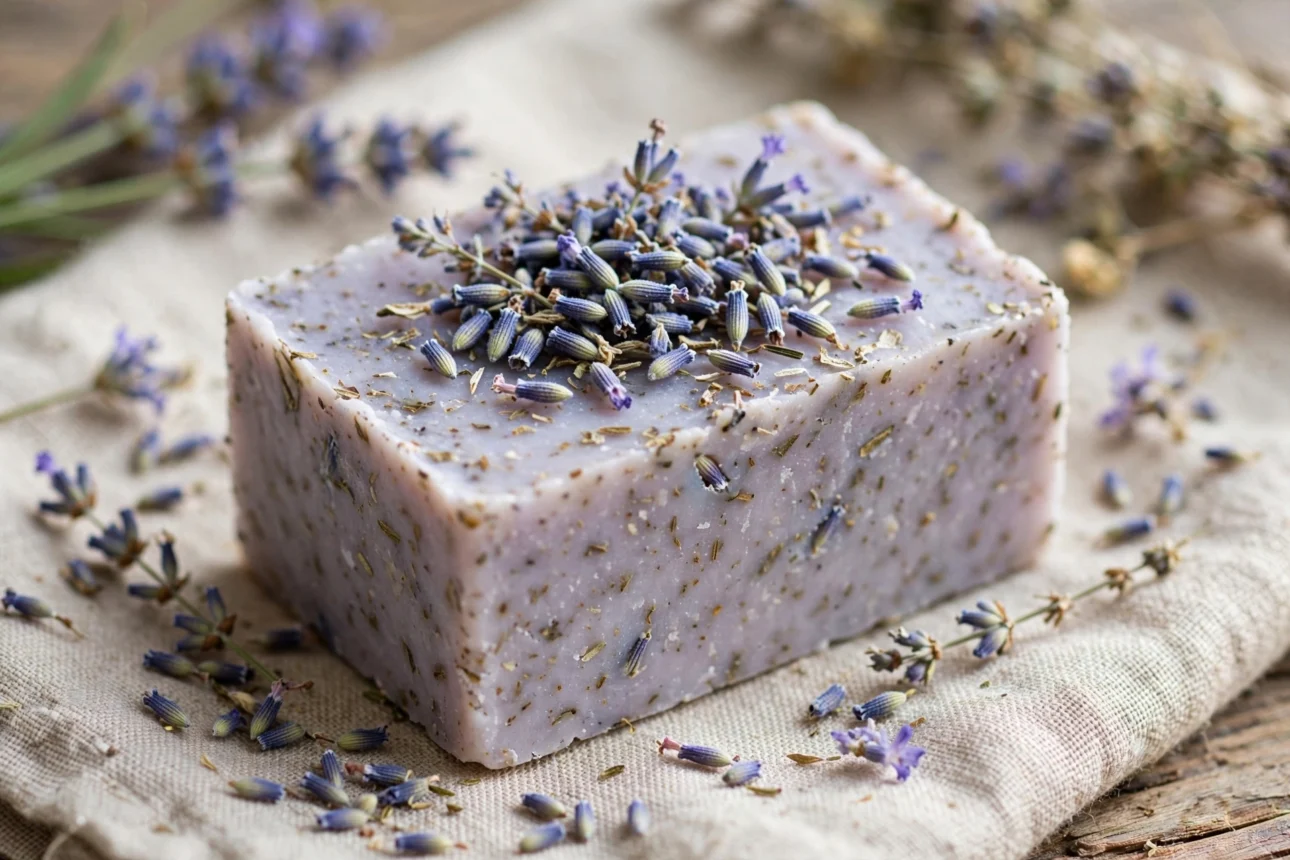
This recipe matters for anyone getting comfortable adding herbs and essential oils to a soap base, since lavender is generally forgiving and holds its scent well through the curing process. It’s a good recipe to practice measuring essential oil ratios before moving on to stronger scents.
Quick steps: make your base recipe, stir in lavender essential oil at light trace, pour into the mold, then sprinkle a few dried lavender buds on top before it fully sets.
5. Coconut Oil Soap
This bar uses coconut oil as close to the only oil in the recipe, which produces a hard, long-lasting bar with a strong, bubbly lather.
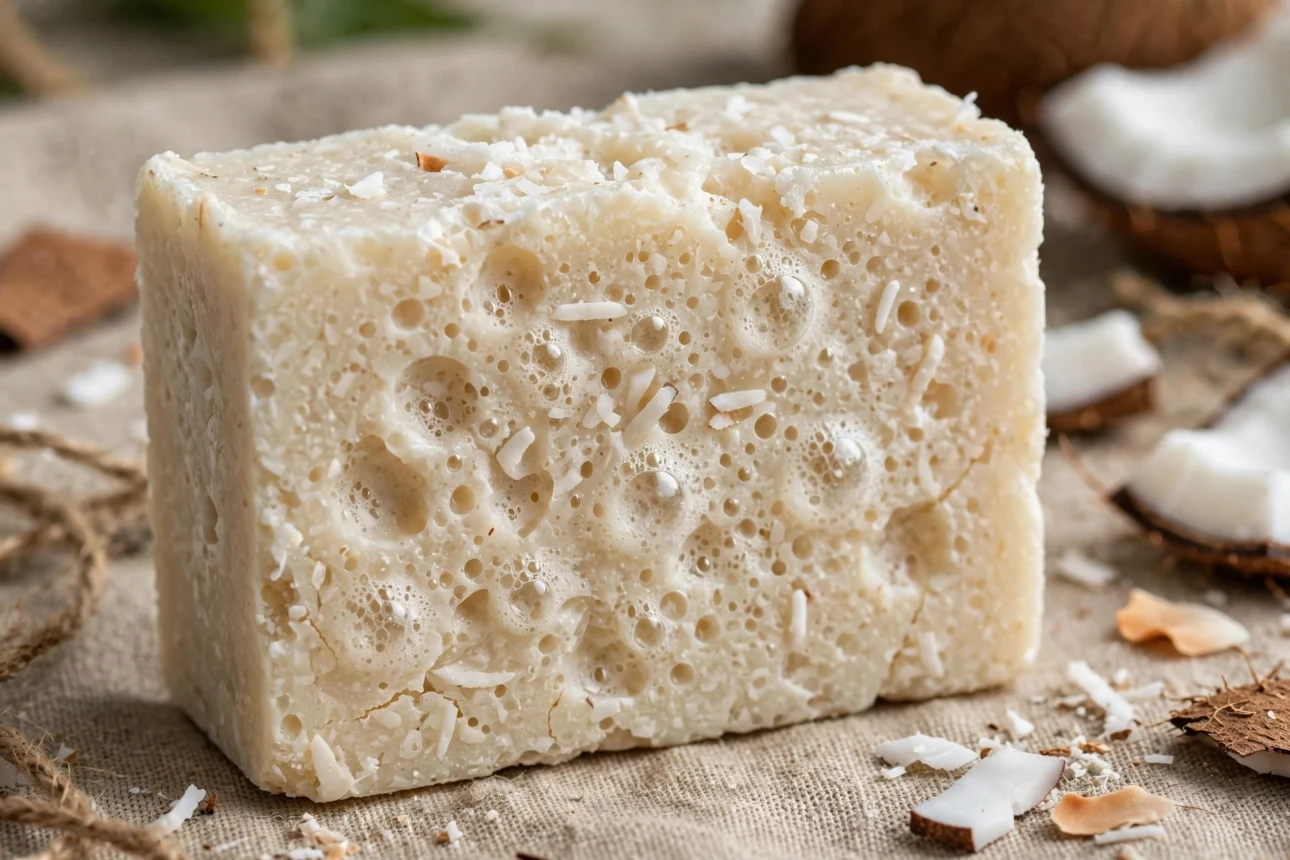
This recipe matters as one of the simplest single-oil formulas to learn, though it’s worth noting that soap made from close to 100 percent coconut oil can feel a bit drying for some skin types.
Quick steps: mix lye and water and let it cool, melt the coconut oil, slowly combine the two while stirring until it reaches a light trace, pour into a mold, and cure for four weeks.
6. Charcoal Detox Bar
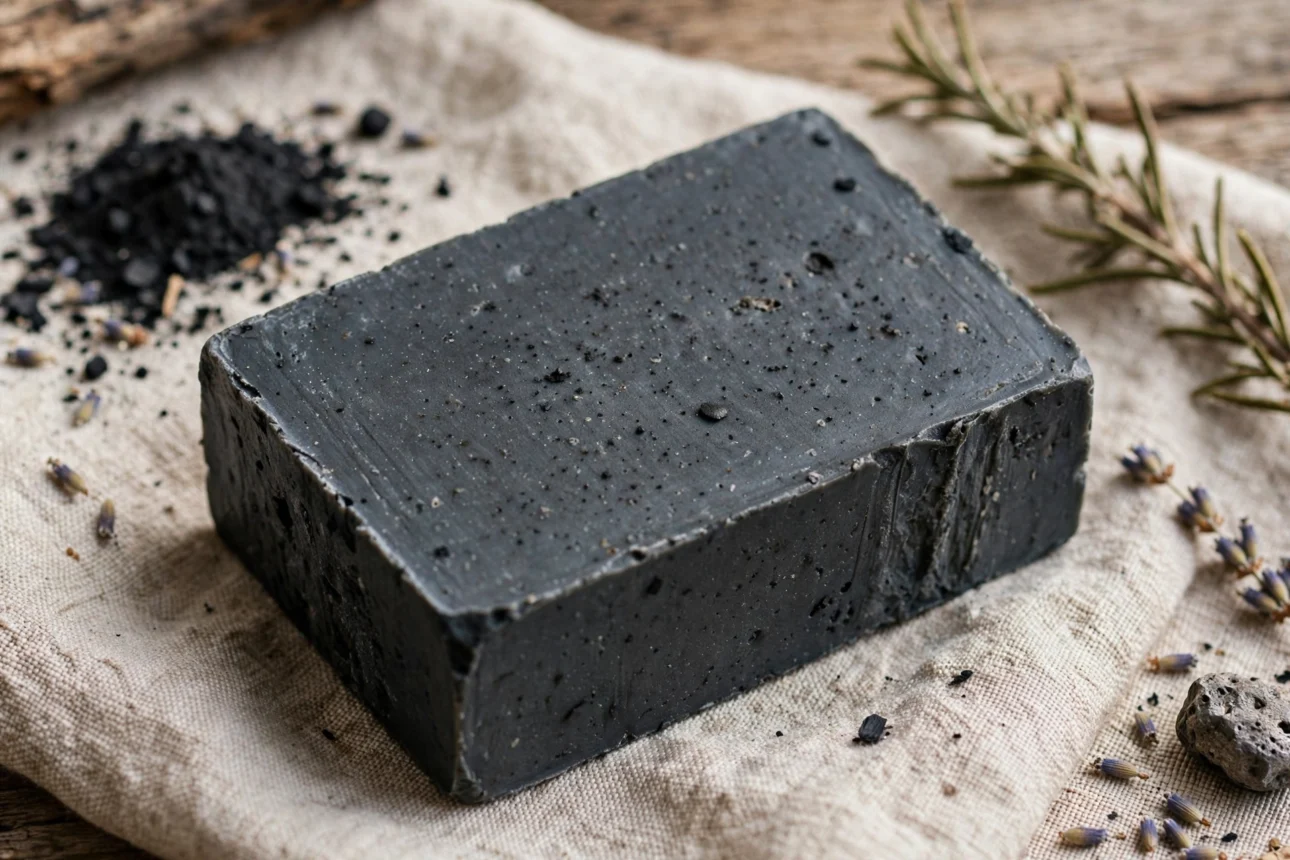
Activated charcoal powder is stirred into a basic soap base, giving the bar a deep gray or black color along with a reputation for helping draw out impurities from the skin.
This recipe matters for anyone who wants to work with natural colorants, since charcoal is easy to source and gives a dramatic, striking look compared to a plain white bar.
Quick steps: mix your base recipe, stir in a teaspoon or two of activated charcoal at light trace until the color is even, pour into a mold, and cure as usual.
7. Shea Butter Soap
Shea butter replaces part of the oil blend in a basic recipe, adding extra richness and a noticeably creamy, moisturizing finish to the bar once it’s cured.
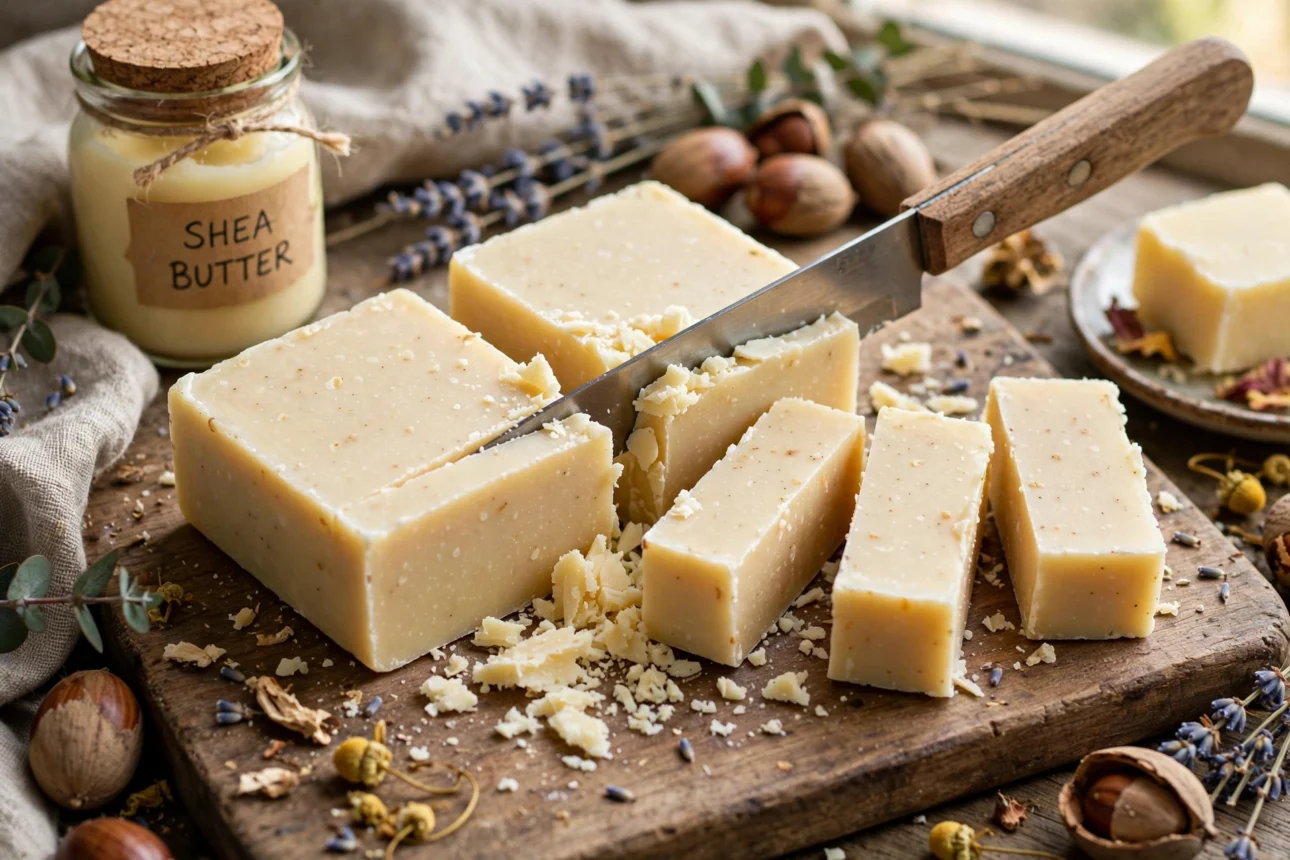
This recipe matters for dry climates or winter months, since shea butter is known for leaving a light, protective layer on the skin that plain oils alone don’t quite match.
Quick steps: melt shea butter along with your other oils, combine with the cooled lye water as usual, stir to a light trace, pour into a mold, and cure for about four weeks.
8. Melt-and-Pour Glycerin Bar
This method skips lye entirely by starting with a pre-made glycerin soap base that’s simply melted, customized, and poured into a mold, which makes it the fastest recipe on this list.
This recipe matters for beginners or for making soap with kids, since there’s no caustic lye handling involved and the finished bar is ready to use within hours instead of weeks.
Quick steps: cut the glycerin base into cubes and melt it in a microwave or double boiler, stir in a few drops of essential oil and optional color, pour into a mold, and let it cool until firm.
9. Layered Swirl Soap
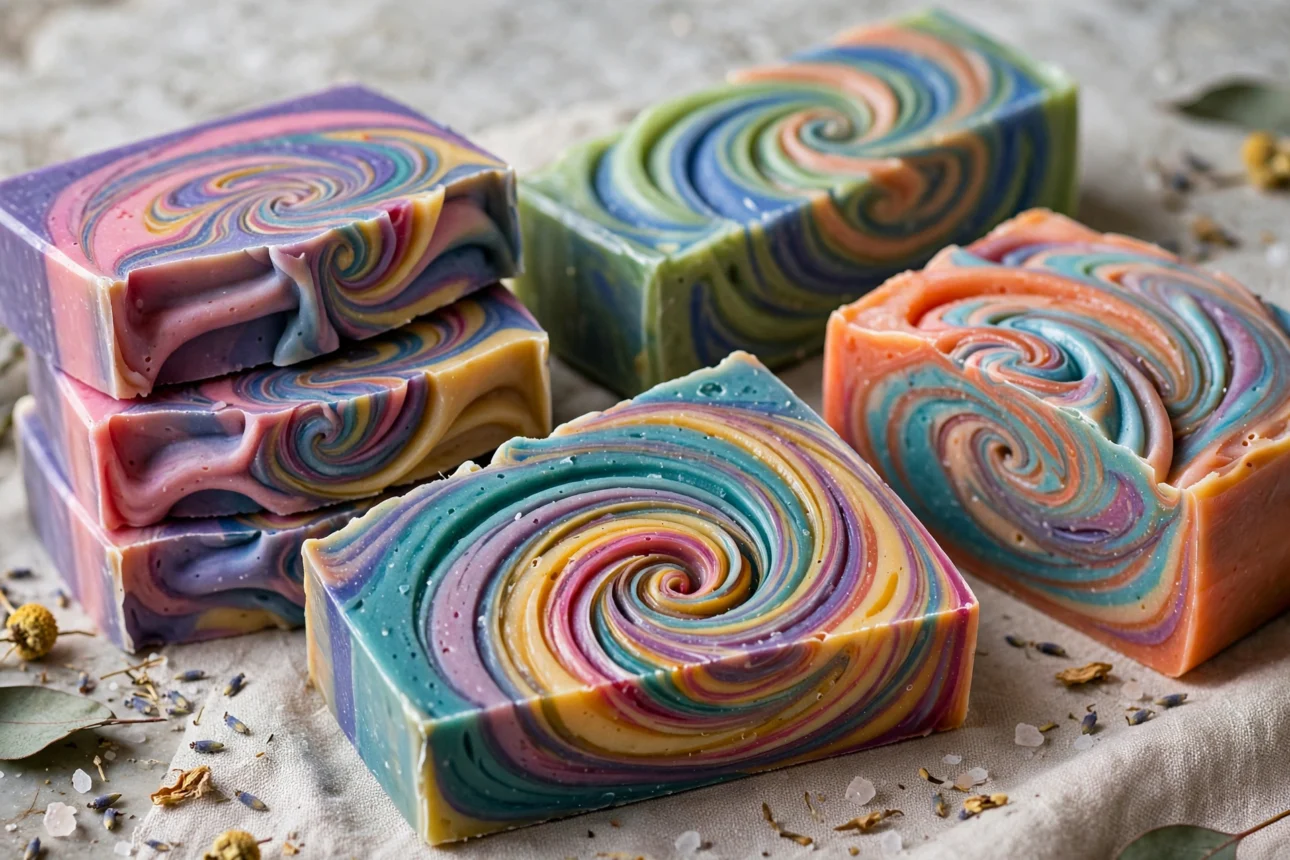
This recipe splits a single soap batch into separate colored portions, then pours them in layers or swirls them together in the mold for a marbled, decorative look.
This idea matters for soap makers who’ve mastered a basic recipe and want to move into more decorative techniques, since it uses the same base formula but adds a design step.
Quick steps: prepare your base recipe, divide it into two or three containers, mix a different color into each, pour the portions into the mold in layers or swirl them gently with a skewer, then cure as usual.
Tips for Soap-Making Success
Weigh ingredients instead of measuring by volume. Soap making is closer to baking than cooking, and small differences in oil or lye amounts can throw off the entire batch, so a kitchen scale is worth the small investment.
Keep separate equipment for soap making that never touches food. Pots, spoons, and containers used with lye shouldn’t go back into the kitchen rotation, even after washing, since trace amounts can linger.
Don’t rush the cure time, even when a bar looks and feels solid early on. The extra weeks allow excess water to evaporate, which makes the bar milder, harder, and longer-lasting once it’s finally ready to use.
FAQ
Is handmade soap safe if I’ve never worked with lye before?
It can be, as long as gloves and eye protection are used, the work area is well ventilated, and lye is always added to water rather than water added to lye. Melt-and-pour recipes are a lye-free alternative for anyone who wants to skip that step.
How long does handmade soap need to cure?
Cold process soap typically needs about four to six weeks to cure fully. Melt-and-pour soap skips this step entirely and is ready to use once it hardens in the mold.
Can I customize any of these recipes with different scents?
Yes, essential oils or skin-safe fragrance oils can generally be swapped into any of these recipes. Just add them at light trace so the scent doesn’t fade or change during saponification.
Which recipe is best for beginners?
The basic three-oil bar or a melt-and-pour glycerin bar are both good starting points, since neither requires unusual ingredients or advanced technique.
Conclusion
Handmade soap recipes range from a five-minute melt-and-pour project to a full cold process bar with layered colors and specialty additions. Starting with a basic three-oil recipe builds the core skills needed for everything else on this list, from working with lye safely to reaching the right trace before pouring. Once that foundation feels comfortable, adding milk, oatmeal, charcoal, or herbs is mostly a matter of stirring in one new ingredient at the right moment. Pick one recipe that matches the skill level and ingredients on hand, then build from there.
References
- Lovely Greens, “Easy Soap Recipes for Beginners”
- Soap Queen, “Back to Basics: Simple and Gentle Cold Process Soap”
- A Pumpkin and a Princess, “Handmade Soap Recipes”
- The Nerdy Farm Wife, “How to Make a Simple Natural Homemade Soap”
- Practical Self Reliance, “Easy Soap Making Recipes for Beginners”
- Elly’s Everyday, “Soap Tutorial and Recipe for Absolute Beginners”
- DIY Natural, “How to Make Soap: Homemade Soap Recipe for Hand and Body”

Sarah Anderson . J
I’m the mom behind Wise Mom Blogger, where everyday creativity meets real-life motherhood. I share easy DIY crafts, cozy knitting and crochet projects, beginner-friendly sewing ideas, and family-tested recipes—plus quick baking hacks that make homemade feel doable on busy days.