Moist vanilla cake is the kind of cake that slices cleanly, feels tender, and tastes like real vanilla—not just “sweet.” If you’ve ever had a vanilla cake that turned out dry or crumbly, this guide is your fix—and it’s easier than you think. You’ll learn how to build a moist crumb with smart ingredient choices like sour cream and (optional) a touch of oil. You’ll also pick between a classic creaming method, a sour-cream tender option, or a reverse creaming method for extra softness. This recipe flow works whether you want a layer cake or cupcakes, so you can make it for birthdays, brunch, or “just because.” By the end, you’ll know exactly how to mix, bake, cool, and store so your cake stays delicious longer. Let’s bake a vanilla cake you’ll want to repeat.
Key Takeaways
- “Moist” vanilla cake comes from the right balance of fat + moisture (butter, optional oil, and/or sour cream) and careful mixing.
- Baking powder gives lift, but overmixing or overbaking can make the cake tough or dry.
- Choose your tenderness method: classic creaming, sour-cream tenderizing, or reverse creaming.
- Cool fully before frosting for the best texture and cleaner layers.
- Storage (and freezing) helps keep the crumb soft after baking.
Quick Answer
Use a vanilla cake base with flour + baking powder + salt, plus eggs and vanilla for structure and flavor. For extra moisture, add sour cream (and optionally a bit of oil). Bake until the center is set and a toothpick/tester comes out clean or with a few moist crumbs. Cool fully, then frost.
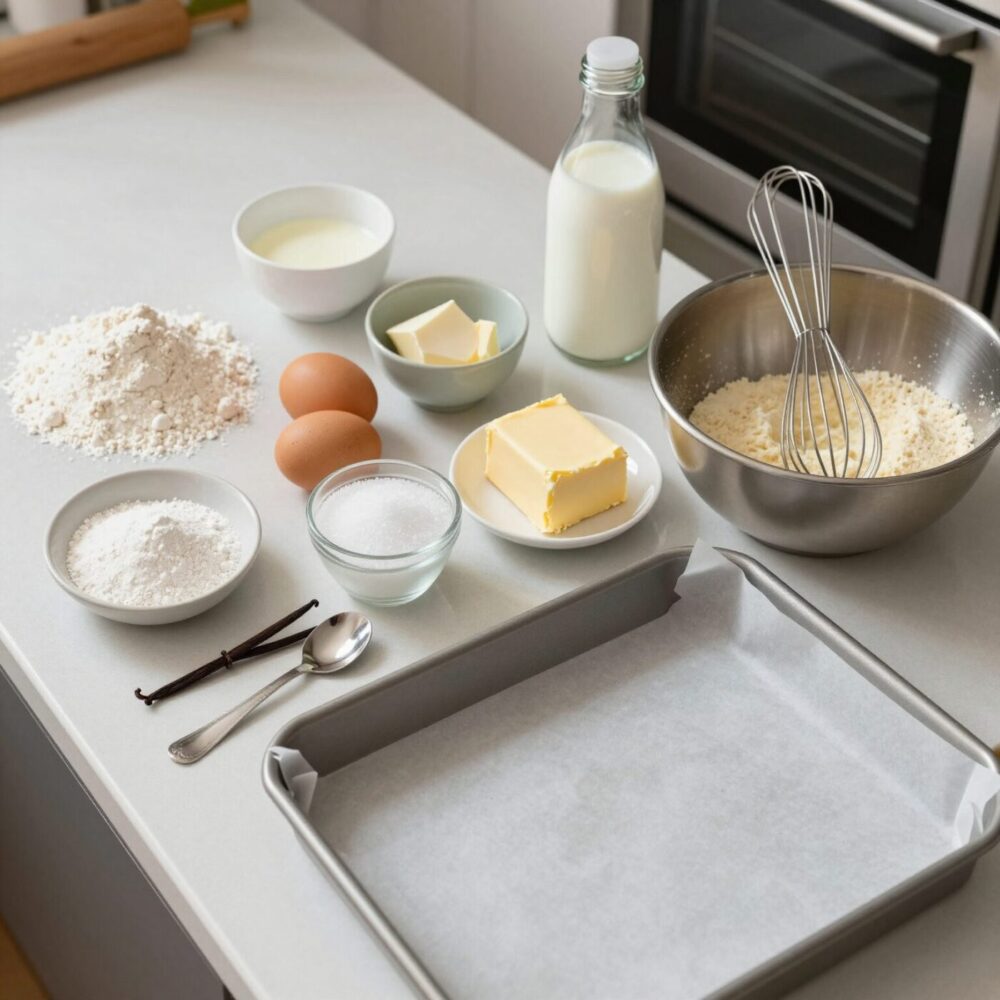
What You Need
| Item | Purpose | Notes |
|---|---|---|
| All-purpose flour | Builds cake structure | Spoon into measuring cup; level off for best results |
| Baking powder | Helps the cake rise | Check freshness; old baking powder can cause density |
| Fine salt | Balances sweetness | Salt makes vanilla taste more “vanilla” |
| Unsalted butter | Adds richness and moisture | Use room temperature for smooth creaming |
| Granulated sugar | Sweetness + moisture retention | Cream with butter for a light crumb |
| Eggs | Emulsifies batter and stabilizes crumb | Room temp mixes more smoothly |
| Vanilla extract (or vanilla paste) | Signature vanilla flavor | Use good-quality vanilla for best taste |
| Optional neutral oil (or extra fat) | Boosts softness and moisture | Keeps crumb tender, especially in cupcakes |
| Sour cream (recommended) | Tenderizing moisture | Helps create a delicate, soft crumb |
| Milk (optional, if batter feels too thick) | Adjusts batter consistency | Add 1–2 tbsp at a time as needed |
| Baking pans (2 round 8-inch or one 9×13) | Shape and bake the cake | Line bottoms with parchment for easy release |
| Parchment paper | Prevents sticking | Use for pan bottoms |
| Mixing bowls + whisk/spatula | Combines ingredients | Avoid overmixing once flour is added |
| Electric mixer (helpful) | Creams and blends | Not required, but it helps for smooth batter |
| Oven + thermometer (optional) | Even baking | Ovens vary—an oven thermometer helps |
Step 1: Gather Ingredients and Prep Your Oven
- Preheat your oven to 350°F (175°C).
- Prepare your pan(s):
– For layer cake: grease two 8-inch round pans and line the bottoms with parchment. – For a single cake: use a 9×13 pan or similar size, grease and line if you want easy release.
- Set out ingredients so they’re closer to room temperature—especially butter and eggs. This helps them blend smoothly and reduces batter lumps.
Step 2: Choose Your Moisture Method (Pick One)
You’ll get great results with any of these. Here’s what each one does best:
Option A: Classic Creaming Method (Simple and Reliable)
- Cream butter + sugar, then add eggs + vanilla.
- Mix in oil (optional) and blend in dry ingredients.
- Great if you want a straightforward workflow and a classic vanilla crumb.
Option B: Sour-Cream Tenderizing (Ultra Soft and Delicate)
- Still cream butter + sugar, but sour cream plays the tender role.
- Mixing sour cream into the batter gives a tender, moist bite.
- This is a favorite for “soft layer cake” results.
Option C: Reverse Creaming Method (Very Soft, Flexible Base)
- Combine dry ingredients with butter first (until it looks like damp sand).
- Then add liquids (eggs/vanilla, and sour cream if using).
- Reverse creaming can help reduce toughness and improve softness—especially when paired with vanilla frosting.
For this recipe, follow the steps in the flow below and you’ll incorporate sour cream for the moist, tender texture. If you want the reverse creaming technique, see the notes inside the next steps.
Step 3: Whisk the Dry Ingredients

- In a medium bowl, whisk together:
– flour – baking powder – salt
- Whisking breaks up any lumps and spreads the leavening evenly.
Step 4: Mix the Wet Ingredients (Butter + Sugar, Then Eggs + Vanilla)

- In a large bowl, beat room-temperature butter and sugar until lighter in color and fluffy—about 2–4 minutes.
- Add eggs, one at a time, mixing well after each addition.
- Mix in vanilla.
- Add sour cream (and oil, if using). Mix just until blended.
Texture tip: The batter should look smooth and thick-but-pourable. If it feels extremely thick, add 1–2 tablespoons of milk to loosen it.
Step 5: Combine Wet and Dry—Without Overmixing
- Add the dry ingredients to the wet ingredients.
- Mix gently with a spatula or mixer on low just until you don’t see dry flour.
- Stop. Overmixing after flour goes in can make cake tough and less tender.
Easy visual check: The batter should be uniform, with no dry streaks, but still look soft and slightly airy.
Step 6: Bake Until the Center Is Set
- Divide batter evenly between pans (tap pans lightly to release big air bubbles).
- Bake:
– 8-inch layer pans: usually 25–35 minutes – 9×13 pan: often 30–40 minutes
- Start checking early. Your cake is done when:
– the top is lightly golden, – edges pull slightly away from the pan, – and a tester/toothpick in the center comes out clean or with a few moist crumbs (not wet batter).
Oven tip: Try not to open the oven much in the first 20 minutes. Sudden temperature changes can affect rising.
Step 7: Cool, Level (If Needed), and Get Ready to Frost
- Cool cakes in the pan for 10–15 minutes.
- Turn out onto a rack and cool completely.
- If your layers have domed tops, use a serrated knife to level them so the frosting sits evenly.
Important: Frosting a warm cake can melt frosting and make layers slide.
Step 8: Bake-Time and Texture Checks (How to Know It’ll Be Moist)
Here’s how to protect that “moist vanilla cake” result:
Avoid dryness
- Don’t overbake. Use the tester check and remove cakes as soon as they’re done.
- Sour cream and/or oil helps keep the crumb tender and soft.
Achieve a consistent crumb
- Mix only until combined once flour is added.
- Use room-temperature ingredients to avoid lumps and uneven baking.
Watch timing and temperature
- If your oven runs hot or cold, start checking a few minutes earlier or later than the typical time.
- Let cakes cool fully before frosting—this is when crumb texture settles.
Tips
- Boost vanilla flavor: Use vanilla extract or vanilla paste. Vanilla bean paste gives stronger flavor and tiny specks (pretty in buttercream).
- Add a little warmth: Some bakers add a splash of vanilla and a teaspoon of milk if the batter looks too thick—texture matters.
- For cupcakes: Use the same batter. Fill liners about two-thirds full and bake around 16–22 minutes. Check with a tester at the earlier end.
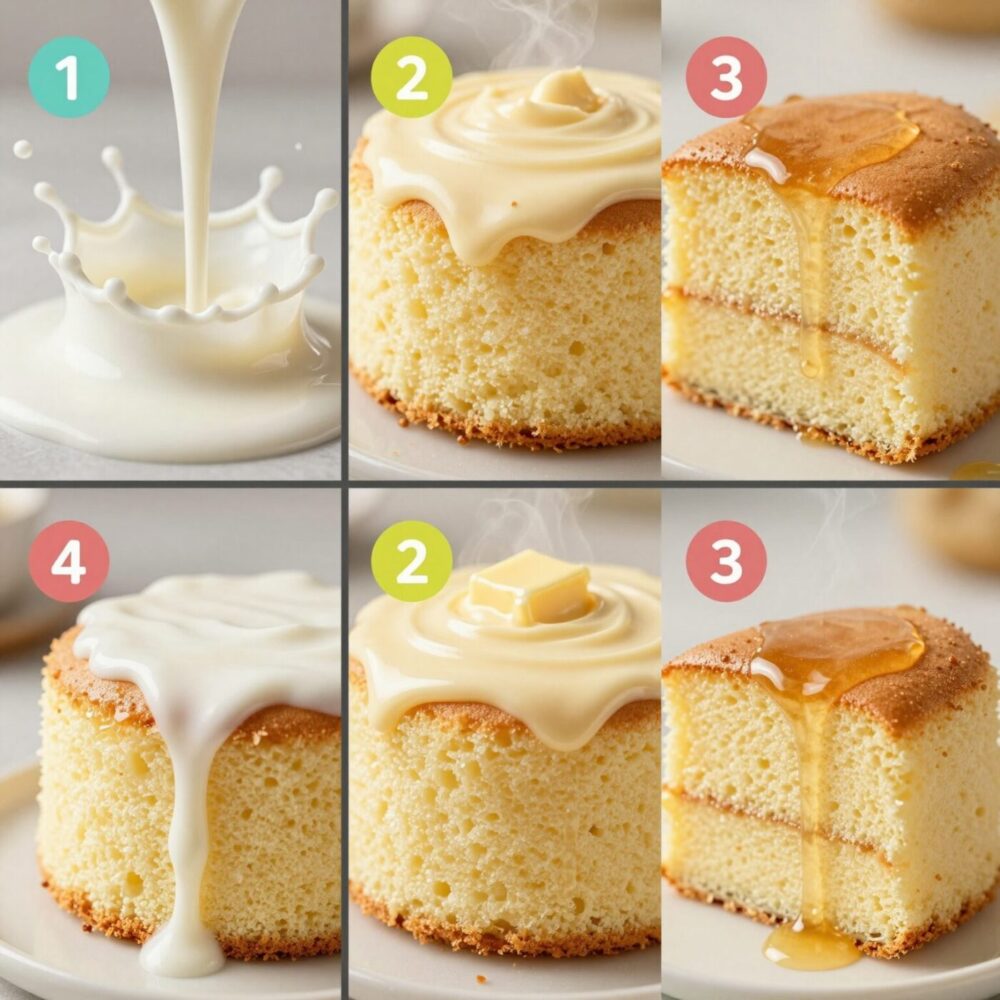
- Make it a “base cake”: This vanilla cake works with lots of fillings—berry jam, lemon curd, chocolate ganache, or simple whipped cream.
- Moisture trick for layers: After cooling, you can brush layers lightly with a simple syrup (equal parts sugar + water, warmed until dissolved, then cooled). This is optional, but it makes slices feel extra juicy.
- Storage for best texture:
– If frosting is buttercream: refrigerate if needed, but allow to come to room temp before serving for best softness. – If frosting is cream-cheese or whipped: follow your frosting’s storage needs, usually refrigeration.
FAQ
What does “moist” mean in a vanilla cake?
“Moist” usually means the cake has a soft, tender crumb that stays pleasant to eat for days, not a dry, crumbly texture. It comes from moisture-friendly ingredients (like sour cream and sometimes oil) plus careful mixing and not overbaking.
Can I make this recipe without sour cream?
Yes. You can replace sour cream with an equal amount of:
- plain full-fat yogurt, or
- buttermilk (for a slightly tangier flavor),
- or you can omit it and lean on butter + a bit of oil for softness.
If you skip sour cream entirely, watch baking time closely to avoid dryness.
What’s the difference between classic creaming and reverse creaming?
- Classic creaming: creaming butter and sugar first adds air and structure.
- Reverse creaming: you mix butter into dry ingredients first, then add liquids—this can help create a very soft, fine crumb.
Both work; reverse creaming is just a different “order,” which can make the cake feel extra tender.
How do I stop my vanilla cake from turning out dense?
Dense cake often comes from one of these:
- baking powder that’s old,
- overmixing after adding flour,
- or underbaking.
Use fresh baking powder, mix gently once flour is in, and test early.
My cake sank in the middle. What happened?
Sinking usually means the center wasn’t fully set. Common causes:
- underbaking,
- opening the oven too early,
- too much batter in a deep pan,
- or leavening that wasn’t active.
Check doneness with a tester and bake until the center is set.
How long does moist vanilla cake stay fresh?
With proper storage, it typically stays good for 3–4 days at room temp if your kitchen isn’t too warm, or up to 5–7 days refrigerated depending on frosting. Keep it covered to prevent drying.
Can I freeze this vanilla cake?
Yes:
- Cool completely.
- Wrap layers tightly (plastic wrap + foil).
- Freeze up to 2–3 months.
- Thaw in the fridge overnight, then bring to room temperature before frosting if you can.
Conclusion
A moist vanilla cake is all about building a tender crumb from the ground up—using the right flour + leavening foundation, eggs and vanilla for flavor and stability, and moisture helpers like sour cream (and optional oil). Mix with confidence, but don’t overmix once flour is in, and bake only until the center is set. Whether you make layers or cupcakes, this approach gives you a cake that stays soft, smells amazing, and slices beautifully every time. Now pick your preferred method, follow the steps, and enjoy a vanilla cake that tastes like a bakery classic at home.
Sarah Anderson . J
I’m the mom behind Wise Mom Blogger, where everyday creativity meets real-life motherhood. I share easy DIY crafts, cozy knitting and crochet projects, beginner-friendly sewing ideas, and family-tested recipes—plus quick baking hacks that make homemade feel doable on busy days.


