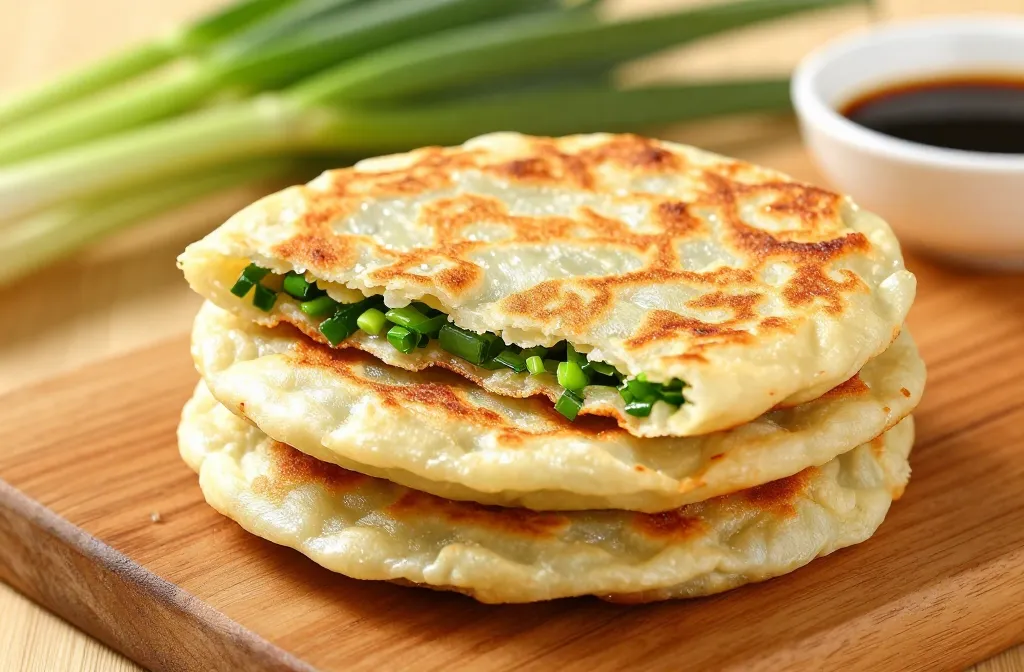
Ever dream of biting into a perfectly crispy, savory, and utterly addictive scallion pancake, just like the ones from your favorite dim sum spot? Well, get ready, because I’m about to spill all the secrets. Forget store-bought, these homemade beauties are shockingly easy to make and will absolutely blow your mind. Prepare for a new kitchen obsession!
1. The Dough Whisperer’s Guide: Crafting Your Flaky Foundation
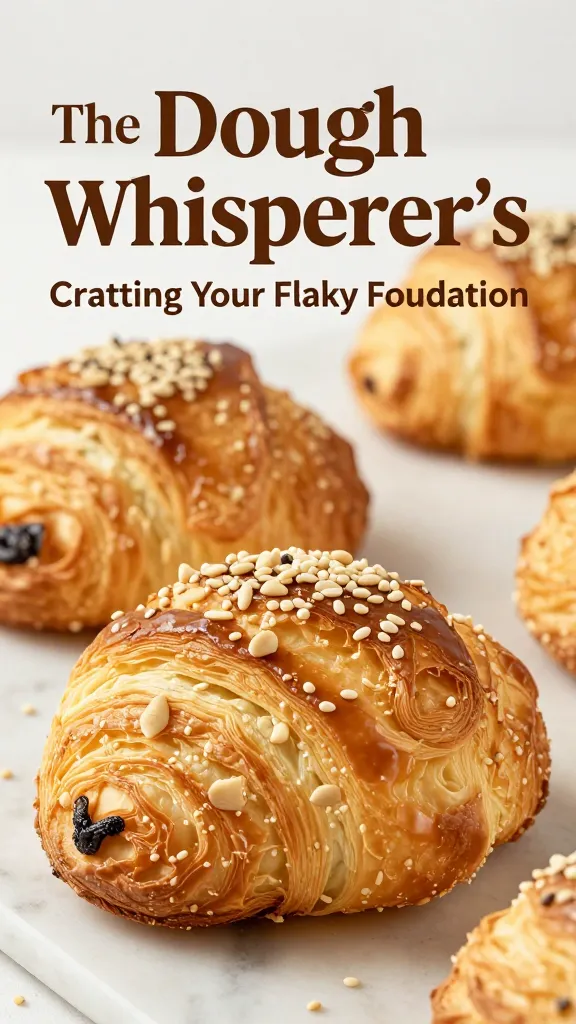
Okay, let’s be real, the dough is the heart and soul of any good scallion pancake. Don’t let it intimidate you; it’s surprisingly forgiving! The secret to that incredible chewiness and flakiness? Hot water, my friend. It relaxes the gluten in the flour, making it easier to work with and giving you that dreamy texture.
Key Ingredients for Dough Nirvana:
- All-purpose flour: About 2 cups (250g). This is your canvas!
- Boiling water: Roughly 3/4 cup (180ml). Seriously, make sure it’s hot enough to make tea.
- Cold water: A splash, maybe 2 tablespoons (30ml). This helps bring it all together without making it too sticky.
- Salt: 1/2 teaspoon. Because even dough needs a little seasoning.
Mixing and Kneading Like a Pro:
First things first, grab a large bowl. Add your flour and salt, giving them a quick whisk to combine. Now, slowly pour in the boiling water, stirring with chopsticks or a wooden spoon. You’ll see shaggy clumps forming – that’s totally normal. Once it’s cool enough to touch, ditch the spoon and get your hands in there!
Knead the dough for about 5-7 minutes. It should become smooth and elastic, like a baby’s bottom (but less squishy, hopefully). If it feels too dry, add a tiny bit more cold water, a teaspoon at a time. If it’s too sticky, a sprinkle of flour. You’re aiming for a soft, pliable dough that bounces back when you poke it.
Once your dough is looking fabulous, shape it into a ball, lightly oil the bowl, and cover it with plastic wrap or a damp towel. Let it rest for at least 30 minutes, or even an hour. This resting period is crucial; it allows the gluten to relax even further, making the dough super easy to roll out thinly later. Trust me, patience is a virtue here!
A well-rested dough is the first step to achieving those glorious, crispy layers. It makes all the difference in the world, transforming a simple pancake into a culinary masterpiece.
2. Scallion Prep: Green Gold Galore for Flavor Explosion
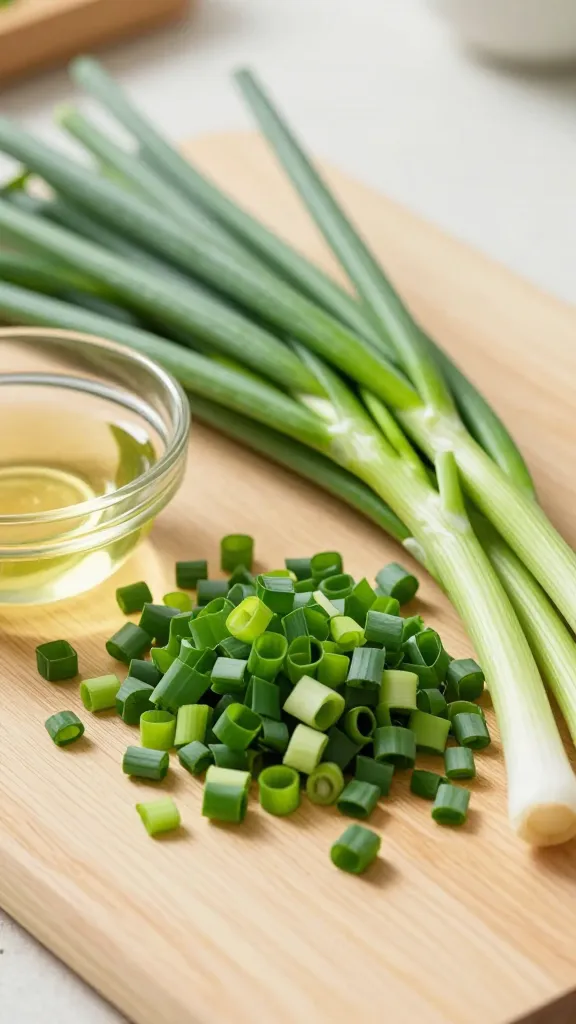
The name isn’t “plain flour pancakes,” is it? The scallions are the star of the show, bringing that fresh, oniony bite and beautiful green flecks. Don’t skimp on them! This step is super straightforward, but getting it right means maximum flavor in every bite.
What You’ll Need for Your Green Goodness:
- Scallions (green onions): One large bunch, about 8-10 stalks. The more the merrier, IMO!
- Neutral oil: 2-3 tablespoons (like vegetable, canola, or grapeseed oil). This is for the “filling” paste.
- Salt: 1/2 teaspoon, or to taste.
- White pepper: 1/4 teaspoon. A little goes a long way for that authentic flavor.
Chopping and Creating the Flavor Paste:
First, wash your scallions thoroughly and pat them dry. Then, trim off the root ends and any wilted tips. Now for the fun part: chop them finely! You want nice, small rounds so they distribute evenly throughout the pancake layers. Don’t be afraid to use both the white and green parts; they both pack a punch.
In a small bowl, combine your finely chopped scallions with the neutral oil, salt, and white pepper. Give it a good stir. This creates a savory, aromatic paste that you’ll spread over your dough. The oil helps carry the flavor and creates a barrier between the dough layers, which is key for that incredible flakiness we’re chasing.
Some people like to heat the oil slightly before pouring it over the scallions to “bloom” the flavor, but honestly, for these pancakes, just mixing it fresh works perfectly and keeps things simple. This vibrant green mixture is going to infuse every single layer of your pancake with deliciousness. Get excited!
This simple scallion mixture isn’t just for flavor; it’s a critical component for achieving those distinct, savory layers in your finished pancake. It’s the secret sauce (literally!) to making them utterly irresistible.
3. The Art of the Roll: Layering Up for Maximum Flakiness
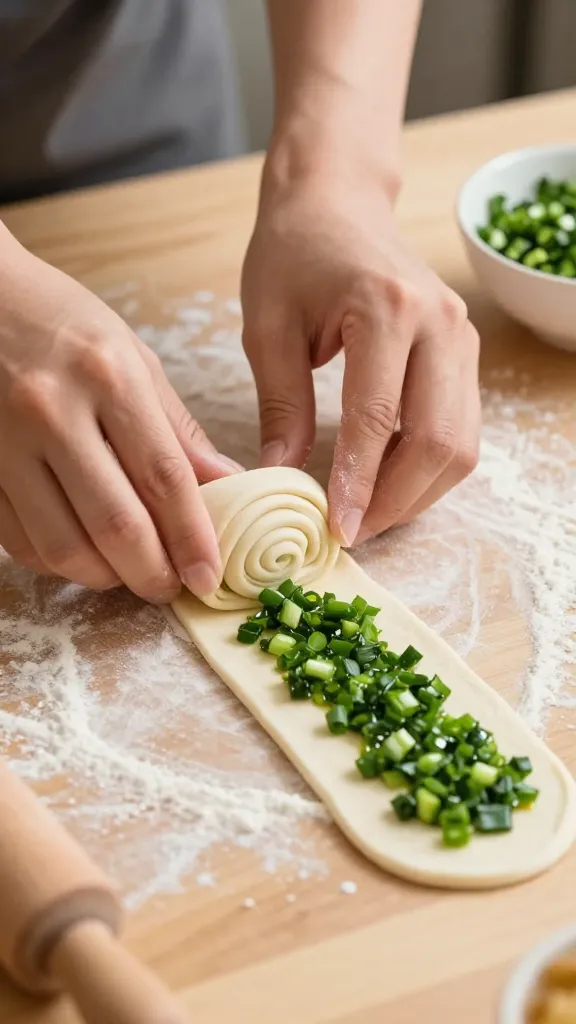
Alright, this is where the magic happens and those beautiful layers are born! Don’t worry, it’s not as tricky as it looks. The basic idea is to roll the dough thin, spread your scallion mixture, roll it up, and then coil it. This creates multiple internal layers that puff up and separate when cooked, giving you that ultimate flaky texture.
Rolling It Out Thin:
Take your rested dough and divide it into 4 equal pieces. Lightly flour your work surface and your rolling pin. Take one piece of dough and roll it out into a very thin rectangle, roughly 8×12 inches. Think paper-thin! The thinner you roll it, the more layers you’ll get, so really go for it. If the dough springs back, let it rest for a minute, then continue rolling. This is where that proper dough resting earlier really pays off.
The Swirl Technique for Layers:
Once you have your super-thin rectangle, it’s time for the scallion goodness. Spread about a quarter of your scallion-oil mixture evenly over the entire surface of the dough, leaving a small border around the edges. Don’t be shy, but don’t drown it either.
Now, here’s the fun part: starting from one of the longer sides, tightly roll up the dough into a log. You want it snug, but not so tight that it tears. Once you have a log, gently stretch it out a bit, making it slightly longer and thinner. This helps create even more layers.
Finally, coil the log into a spiral, like a snail shell. Tuck the end underneath the coil. Gently press it down into a disc. Repeat this process for the remaining three dough pieces. You now have four beautiful, layered dough spirals ready for their final roll!
Let these coiled discs rest for another 10-15 minutes. This again relaxes the dough and makes it easier to roll into the final pancake shape without tearing. When ready, gently roll each coiled disc into a flat pancake, about 6-8 inches in diameter and about 1/4 inch thick. Try to keep them round, but honestly, rustic shapes taste just as good!
This layering technique is the secret sauce for those irresistible flaky textures. It’s what separates a good scallion pancake from an absolutely mind-blowing one. Seriously, you’ve got this!
4. Fry Me Up, Buttercup: Cooking to Golden Perfection
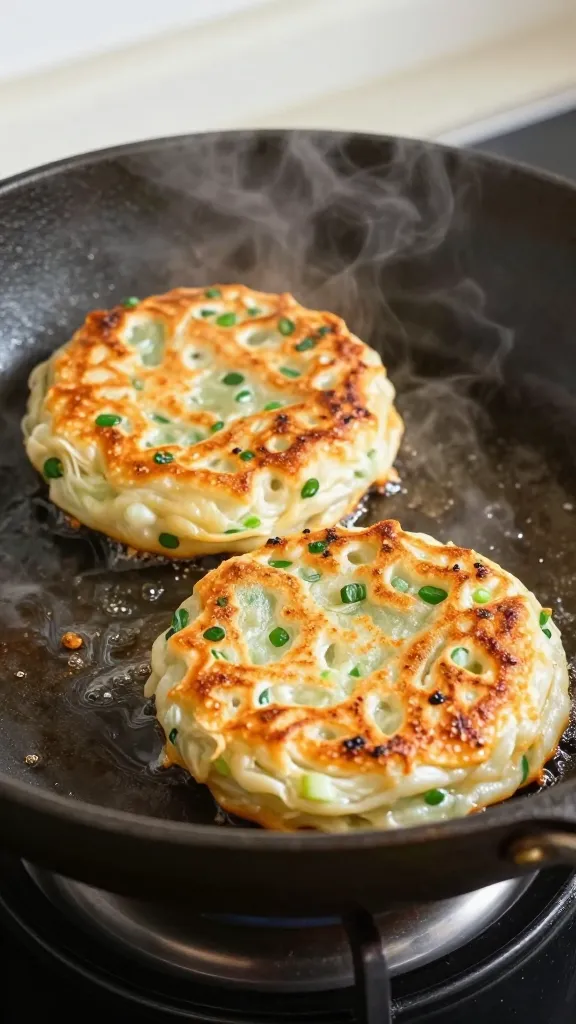
You’ve done all the hard work, now it’s time for the glorious transformation! Frying these beauties is where they get their signature golden-brown crispiness and that incredible aroma that will make your neighbors jealous. This step is all about heat control and a little bit of patience.
Pan Power and Oil Control:
Grab your favorite large non-stick skillet or cast-iron pan. A heavy-bottomed pan works best for even heat distribution. Place it over medium heat. You want it hot enough to sizzle, but not so hot that it burns the outside before the inside cooks through. Add about 1-2 tablespoons of neutral oil to the pan, just enough to coat the bottom generously. Swirl it around to ensure even coverage.
The Sizzle and Flip Technique:
Once the oil is shimmering (but not smoking!), carefully place one of your rolled pancakes into the hot pan. Don’t overcrowd the pan; usually, one or two at a time works best, depending on your pan size. Let it cook for about 3-4 minutes on the first side, or until it’s beautifully golden brown and crispy. Peek underneath to check the color.
Now for the flip! Use a spatula to carefully turn the pancake over. Cook the second side for another 3-4 minutes, pressing down gently with your spatula occasionally. This helps ensure even contact with the pan and encourages those layers to separate and crisp up. You’ll hear that satisfying sizzle and see the pancake puffing up slightly – that’s a good sign!
Repeat this process for all your pancakes, adding a little more oil to the pan if needed between batches. Keep the cooked pancakes warm on a wire rack in a low oven (around 200°F/90°C) if you’re making a big batch. This ensures they stay crispy until serving. The goal here is a deep golden-brown exterior and a tender, flaky interior. The smell alone will be enough to make your mouth water!
The right frying technique is what takes your scallion pancakes from good to absolutely phenomenal. It’s all about creating that perfect crispy crust that cracks open to reveal soft, savory layers within.
5. Dipping Delights & Serving Secrets: The Grand Finale!
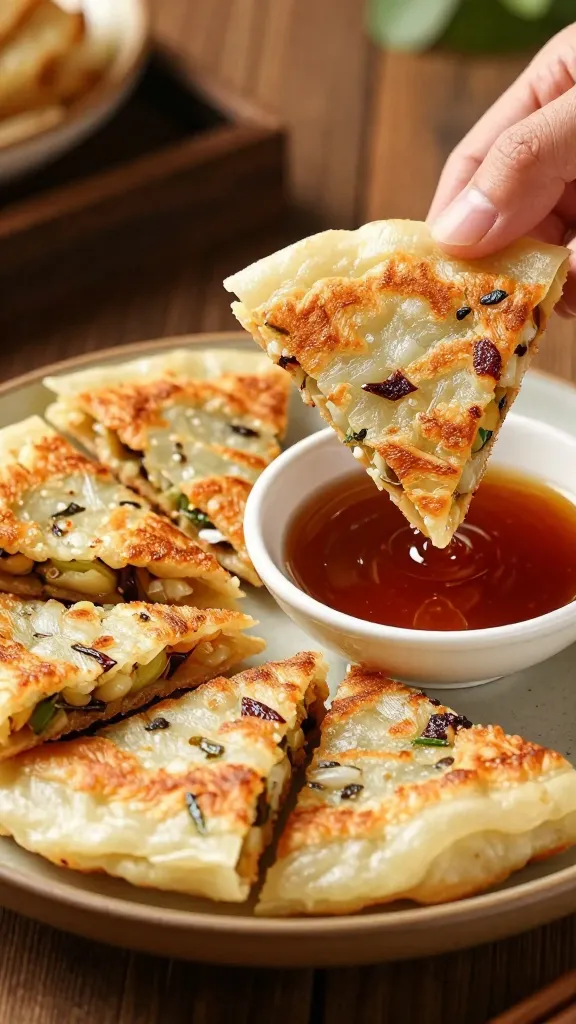
You’ve made them, you’ve cooked them, now it’s time to devour them! While these crispy wonders are fantastic on their own, a killer dipping sauce elevates the entire experience. Think of it as the perfect sidekick to your superhero pancake.
DIY Dipping Sauce for the Win:
Forget fancy store-bought stuff; a simple homemade dipping sauce is incredibly easy and customizable. Here’s my go-to recipe:
- Soy sauce: 2 tablespoons (low sodium if you prefer).
- Rice vinegar: 1 tablespoon. Adds a lovely tang.
- Sesame oil: 1 teaspoon. For that nutty, aromatic finish.
- Chili oil (optional, but highly recommended!): 1/2 – 1 teaspoon, or to taste. Gives it a fantastic kick.
- A pinch of sugar: Just a tiny bit to balance the flavors.
- Optional additions: A sprinkle of toasted sesame seeds, a tiny bit of minced garlic, or some finely chopped fresh cilantro.
Whisk all these ingredients together in a small bowl. Taste and adjust to your liking. Want more heat? Add more chili oil. Prefer it tangier? A little more vinegar. This sauce is incredibly versatile and truly brings out the best in the scallion pancakes.
Serving Suggestions: Pairings for Perfection:
Once your pancakes are cooked, transfer them to a cutting board. The traditional way to serve them is to cut them into wedges or strips. I usually stack them and cut them into quarters like a pizza. This makes them easy to pick up and dip!
Serve them immediately while they’re still hot and crispy. They make an amazing appetizer, a fantastic side dish to stir-fries or roasted meats, or even a light meal on their own. Seriously, I’ve eaten these for breakfast, lunch, and dinner. No judgment here!
These pancakes are pure comfort food, perfect for a cozy night in, entertaining friends, or just treating yourself. The combination of crispy exterior, chewy interior, and savory scallion flavor is just unbeatable. Enjoy every single bite!
There you have it, folks! Your complete guide to making the most incredible homemade Chinese scallion pancakes. You’ve got all the tips and tricks to achieve that perfect crispy, flaky, savory goodness. Go forth, conquer your kitchen, and prepare to impress everyone (especially yourself!) with these utterly delicious creations. Happy cooking!
Sarah Anderson . J
I’m the mom behind Wise Mom Blogger, where everyday creativity meets real-life motherhood. I share easy DIY crafts, cozy knitting and crochet projects, beginner-friendly sewing ideas, and family-tested recipes—plus quick baking hacks that make homemade feel doable on busy days.
