Let me tell you about the first time I attempted a roast leg of lamb. I was hosting Easter dinner, feeling wildly ambitious, and convinced myself that if I could roast a chicken, I could definitely handle a leg of lamb. Spoiler alert: that first attempt was… educational. The meat was tough, the timing was off, and I may have set off the smoke alarm twice. But after years of trial and error, watching countless tutorials (like Jamie Oliver’s incredible technique and the Greek-style method from Dimitra’s Dishes), I’ve finally perfected my roast leg of lamb dinner, and honestly, it’s become my signature dish.
The thing about lamb is that it has this reputation for being fancy and intimidating, but I promise you, it’s actually one of the most forgiving meats to work with. Once you understand a few key principles, you’ll be turning out restaurant-quality lamb dinners that’ll have your guests asking for your secret. And the best part? Most of the work is just waiting around while the oven does its thing. You’ll look like a culinary genius with minimal actual effort.
Choosing Your Lamb
First things first, let’s talk about buying the lamb. I always go for a bone-in leg of lamb, usually around 5-6 pounds. The bone adds so much flavor, and it also helps the meat cook more evenly. I learned this tip earlier. Some people prefer boneless because it’s easier to carve, and that’s totally fine too, but you’ll need to adjust your cooking time slightly.
When I’m at the butcher counter, I look for lamb that has a nice pink color with white fat marbling throughout. The fat is crucial, don’t let anyone tell you otherwise. It keeps the meat moist and adds incredible flavor. I also ask my butcher to trim off the excessive outer fat layer, leaving about a quarter-inch. This gives you that perfect balance where the meat stays juicy without being greasy.
One more thing: room temperature is your friend. I take my lamb out of the fridge a solid hour before I plan to cook it. Cold meat going into a hot oven cooks unevenly, you’ll end up with overcooked edges and a raw center.
🥩 Easter Roast Leg of Lamb
- 1 leg of lamb (bone-in preferred, 4–5 lb)
- 5–6 cloves garlic, sliced
- 3 tbsp olive oil
- 2 tbsp fresh rosemary, finely chopped
- 1 tbsp fresh thyme
- 1 tbsp Dijon mustard
- 1½ tsp sea salt
- 1 tsp black pepper
- Zest of 1 lemon
🌱 Spring Roasted Vegetables (Easter Style)
- 1½ lb baby potatoes
- 1 bunch carrots, peeled and cut
- 1 cup asparagus or green beans
- 1 red onion, quartered
- 2 tbsp olive oil
- 1 tsp salt
- ½ tsp black pepper
- 1 tsp fresh thyme or rosemary
🍃 Classic Easter Mint Sauce (Optional)
- ½ cup fresh mint leaves, finely chopped
- 2 tbsp sugar or honey
- 3 tbsp white wine vinegar
- ¼ cup warm water
- Pinch of salt
The Marinade That Changed Everything
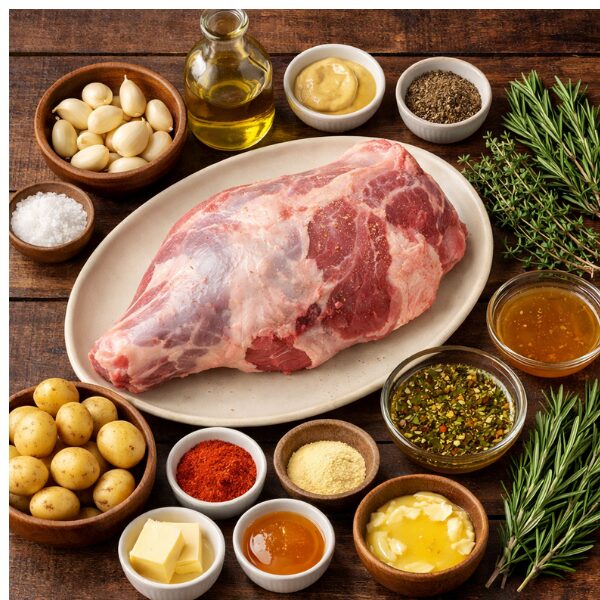
Now, let’s talk about the flavor bomb that is my marinade. I spent years experimenting with different combinations, and this one is absolutely perfect. You’ll need fresh rosemary, fresh thyme, lots of garlic, olive oil, lemon juice, Dijon mustard, salt, and black pepper. I know some recipes call for dried herbs, but please, please use fresh if you can. The difference is night and day.
Here’s what I do: I finely chop about three tablespoons of fresh rosemary and two tablespoons of fresh thyme. Then I mince up six fat cloves of garlic. Yes, six. We’re not making friends here, we’re making delicious lamb. I mix all of this with half a cup of good olive oil, the juice of one lemon, two tablespoons of Dijon mustard, and a generous amount of salt and pepper. I’m talking at least a tablespoon of salt and a teaspoon of pepper.
The trick is to really massage this marinade into every nook and cranny of the lamb. I use my hands and get right in there, making sure the meat is completely coated. If you have time, you can let it marinate for a few hours or even overnight in the fridge, but honestly, even thirty minutes makes a huge difference.
Getting Creative with the Preparation
One technique I absolutely love, is making small incisions all over the lamb and stuffing them with garlic slices and rosemary sprigs. This infuses the meat from the inside out, creating these incredible pockets of flavor throughout. The first time I tried this, my guests couldn’t stop raving about it.
I take a sharp paring knife and make about a dozen shallow cuts, maybe half an inch deep, all over the lamb. Then I slide thin slices of garlic and small sprigs of fresh rosemary into each cut. It looks impressive, smells amazing, and honestly makes you feel like a professional chef even if you’re just winging it in your home kitchen.
The Roasting Process
Here’s where patience becomes your virtue. I preheat my oven to 450°F, and I mean really let it preheat for at least 20 minutes. A hot oven is essential for getting that beautiful caramelized crust on the outside.
I place the lamb on a roasting rack in a large pan. The rack is important because it allows air to circulate all around the meat, helping it cook evenly. Before it goes in the oven, I drizzle a little more olive oil on top and give it one final sprinkle of salt.
Now here’s my method: I blast it at 450°F for the first 15 minutes. This creates that gorgeous golden-brown crust. Then I reduce the temperature to 325°F and continue roasting. The general rule I follow is about 15-20 minutes per pound for medium-rare. For a 5-pound leg, that’s roughly 75-100 minutes total, including that initial high-heat blast.
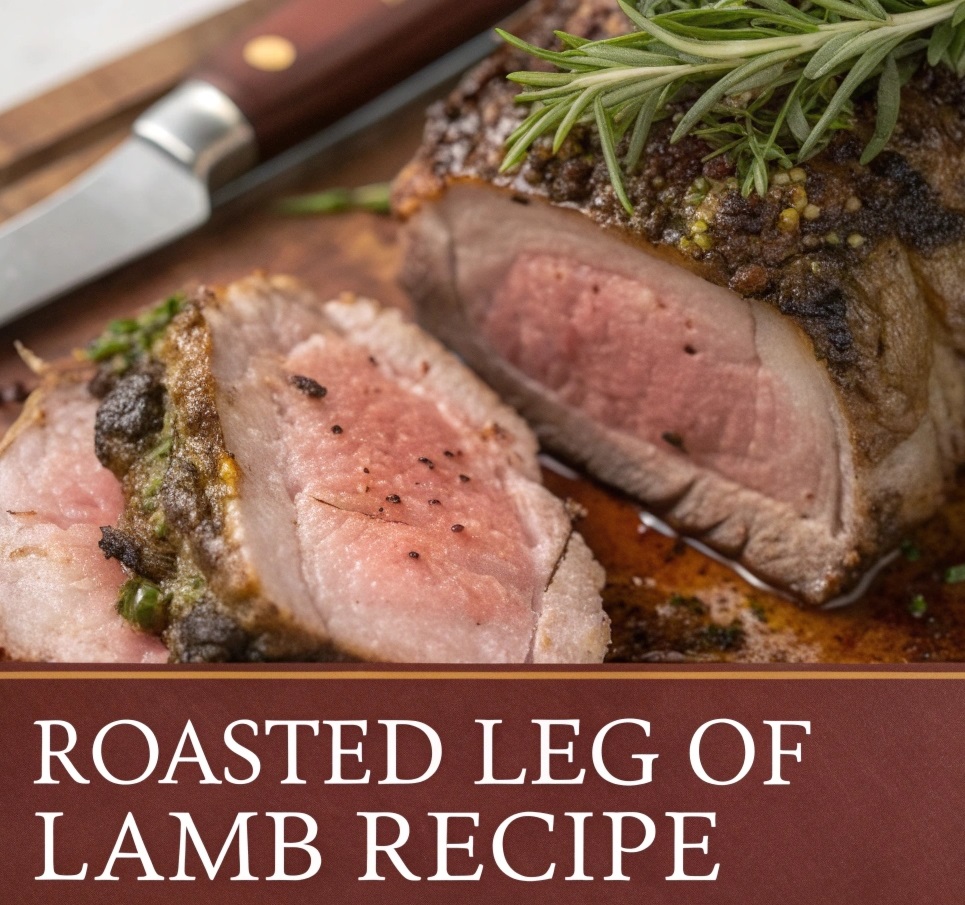
But here’s the thing: every oven is different, and every piece of lamb is slightly different. The only way to know for sure when it’s done is to use a meat thermometer. I aim for 135°F for medium-rare, which is my personal sweet spot. The meat will continue cooking while it rests, so it’ll reach about 140-145°F by the time you carve it.
The Resting Period (Don’t Skip This!)
This is probably the most important step that beginners overlook. When that lamb comes out of the oven and it smells absolutely divine, every fiber of your being wants to carve into it immediately. Don’t do it! I’ve made this mistake too many times to count in my early days.
I transfer the lamb to a cutting board and tent it loosely with aluminum foil. Then I let it rest for at least 20-25 minutes. I know it seems like forever when you’re hungry, but this resting period allows the juices to redistribute throughout the meat. If you cut into it too early, all those beautiful juices will run out onto the cutting board instead of staying in the meat where they belong.
The Side Dishes
While the lamb is roasting, I usually prepare roasted potatoes in the same pan. You can place quartered potatoes around the lamb about 45 minutes before it’s done. They soak up all those incredible drippings and become crispy and golden on the outside, creamy on the inside.
I also love serving it with roasted vegetables, a fresh Greek salad, mint sauce (which you can make by mixing chopped fresh mint, white wine vinegar, and a touch of sugar), and some crusty bread to soak up the pan juices. The combination of flavors is absolutely phenomenal.
Making the Gravy
Don’t you dare throw away those pan drippings! While the lamb rests, I make the most incredible gravy. I pour off most of the fat from the roasting pan, leaving about two tablespoons. Then I place the pan directly on the stovetop over medium heat (make sure your roasting pan is stovetop-safe first).
I add a tablespoon of flour and whisk it into the drippings, letting it cook for about a minute. Then I slowly pour in two cups of beef or lamb stock, whisking constantly to prevent lumps. I scrape up all those beautiful browned bits from the bottom of the pan, that’s where all the flavor lives. Let it simmer for about five minutes until it thickens, season with salt and pepper, and you’ve got yourself a rich, flavorful gravy.
Carving and Serving
When it’s finally time to carve, I use a sharp carving knife and cut against the grain in thin slices. The bone makes this a little tricky if you’ve never done it before.
The presentation is everything. I arrange the slices on a large serving platter, drizzle some of that gorgeous gravy over the top, garnish with fresh rosemary sprigs and lemon wedges, and watch as everyone’s eyes light up.
My Final Thoughts
After years of making this dish, I can tell you that roast leg of lamb has become my go-to for any special occasion. It’s impressive enough for holidays but simple enough that I don’t stress about it anymore. The key lessons I’ve learned: don’t skip the marinating, invest in a good meat thermometer, and for the love of all that’s holy, let it rest before carving.
Every time I serve this, someone asks me how I made it so tender and flavorful. The secret? There is no secret. It’s just good quality lamb, plenty of garlic and herbs, proper temperature control, and a little patience. The first time might feel intimidating, but I promise you, by the third or fourth time, you’ll be doing it with your eyes closed.
Now, whenever Easter rolls around or someone has a birthday worth celebrating, everyone automatically assumes I’m bringing the lamb. And you know what? I’m perfectly fine with that. It’s become my signature, my culinary calling card, and I love seeing people’s faces when they take that first bite of perfectly cooked, herb-crusted, melt-in-your-mouth lamb.
So go ahead, give it a try. Your first attempt might not be perfect, mine certainly wasn’t, but you’ll learn something every time. And before you know it, you’ll be the person everyone turns to when they need a show-stopping dinner that’ll have guests talking about it for weeks.
Sarah Anderson . J
I’m the mom behind Wise Mom Blogger, where everyday creativity meets real-life motherhood. I share easy DIY crafts, cozy knitting and crochet projects, beginner-friendly sewing ideas, and family-tested recipes—plus quick baking hacks that make homemade feel doable on busy days.