There’s something magical about a warm bowl of cream of chicken soup—creamy, savory, and cozy enough to make any day feel better. When I make it at home, I control the ingredients, skip the mystery additives, and get that rich “from-the-restaurant” texture without a ton of fuss. This soup is perfect for weeknight dinners, family casseroles, holiday meal prep, or anytime you need a quick, hearty base for comfort food. Once you try homemade, you’ll never look at canned soup the same way—because this one tastes like real cooking, not a shortcut. Let’s make it together.
Key Takeaways
- Homemade cream of chicken soup is easy and uses simple pantry staples plus chicken stock (or broth).
- You can thicken it with a quick roux (butter + flour) for smooth, creamy results.
- It’s great for serving as soup, or using as the creamy base in casseroles.
- You can customize the flavor with herbs, veggies, and cooking methods (stovetop or Instant Pot).
- Homemade keeps well and freezes nicely for future meals.
Quick Answer
To make homemade cream of chicken soup, I sauté onions and (optional) celery and carrots, cook a little garlic, whisk in flour to make a roux, then slowly add chicken broth. After simmering until thick, I stir in cooked shredded chicken and cream (or milk), plus salt, pepper, and herbs. The result is thick, smooth, and creamy—ideal for bowls or casseroles.
What You Need
| Item | Purpose | Notes |
|---|---|---|
| Chicken broth (or stock) | Main liquid and flavor base | Use low-sodium if you want to control salt |
| Unsalted butter | Builds roux for thickness | Any butter works; unsalted helps you season better |
| All-purpose flour | Thickener | Creates smooth, creamy texture |
| Onion (diced) | Savory flavor | Yellow or white onion both work |
| Celery (diced, optional) | Classic soup flavor | Adds a “homestyle” taste |
| Carrot (diced, optional) | Sweetness and body | Optional but really good |
| Garlic (minced) | Extra flavor | Use fresh if possible |
| Cooked shredded chicken | Protein and hearty texture | Rotisserie chicken saves time |
| Heavy cream or half-and-half (or milk) | Creamy finish | For lighter soup, use half-and-half or whole milk |
| Salt | Brings out flavor | Add gradually, taste as you go |
| Black pepper | Warm, savory taste | Freshly ground is best |
| Dried thyme or poultry seasoning | Classic seasoning | Start with small amounts—easy to adjust |
| Bay leaf (optional) | Extra depth | Remove before serving |
| Fresh parsley (optional) | Bright garnish | Makes it look and taste fresh |
Step 1: Gather and prep your ingredients

I like to start by measuring everything out first, because once you begin stirring and whisking, things move quickly. Dice the onion (and celery and carrot if using), mince the garlic, and shred your cooked chicken. If you’re short on time, rotisserie chicken is totally fine—just make sure it’s already cooked and you remove the skin and bones.
Step 2: Make a quick roux (the secret to creamy thickness)

In a large pot over medium heat, I melt butter. Then I add the onion (and celery/carrots if using) and cook until the onion looks soft and a little translucent—usually about 5 minutes. Next, I add the garlic and cook for about 30 seconds (just until fragrant).
Now comes the key move: I sprinkle in flour and whisk constantly for about 1 minute. This is the roux step. It cooks the flour so your soup won’t taste “floury,” and it helps thicken everything smoothly.
Step 3: Slowly whisk in chicken broth to avoid lumps
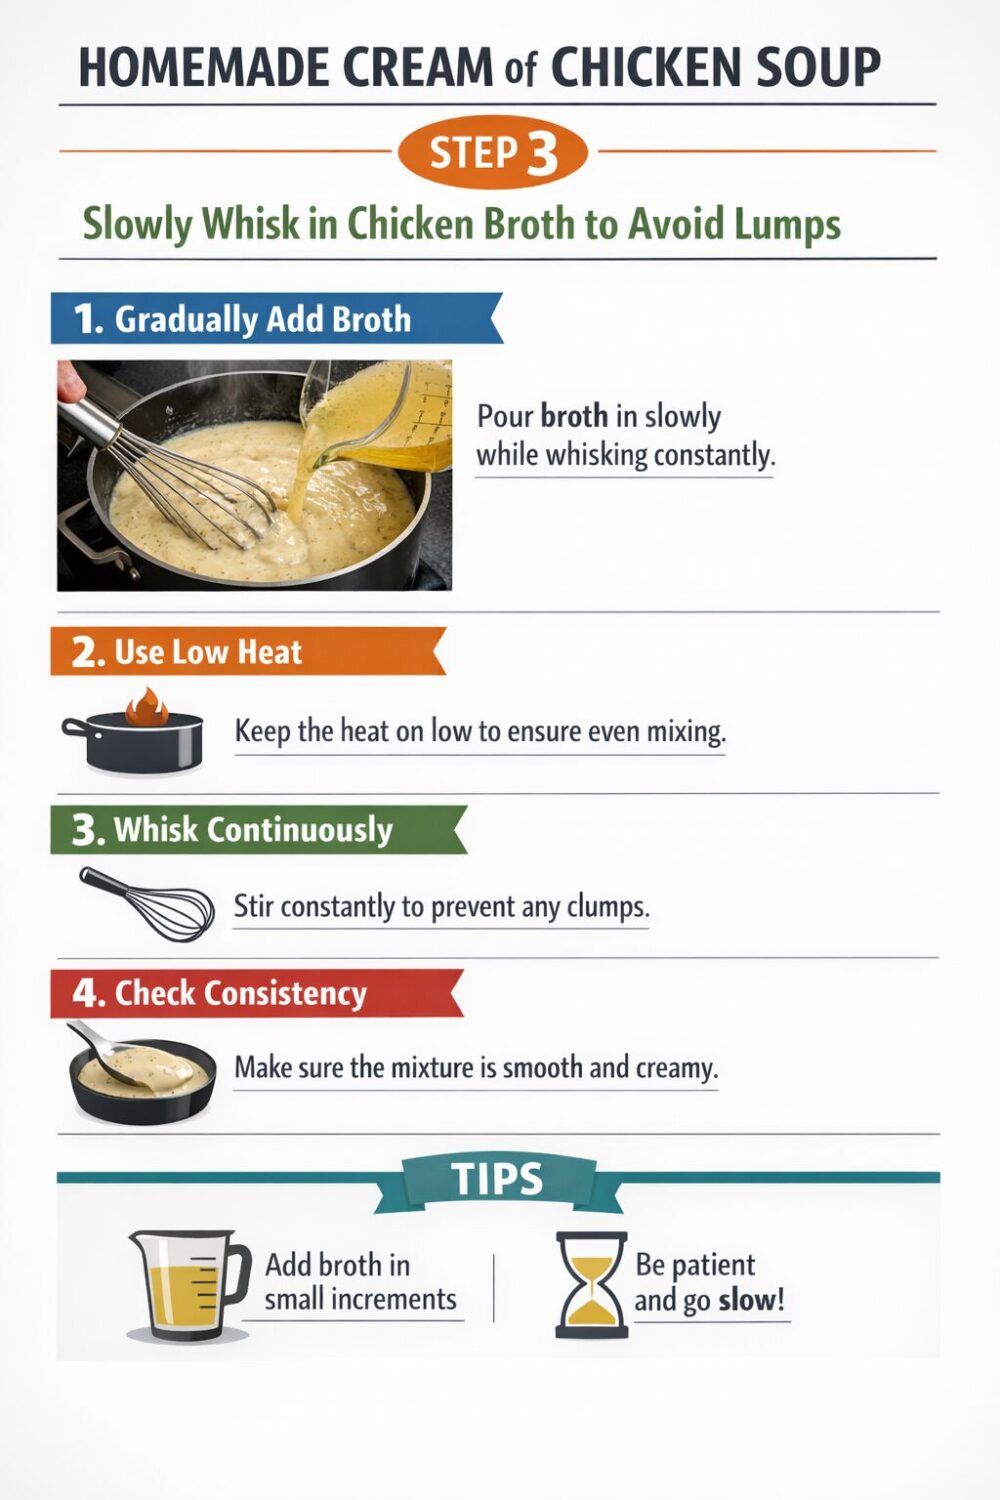
I turn the heat to medium-low and pour in chicken broth gradually while whisking. I do it slowly at first, so the flour blends in without lumps. Once all the broth is added, I bring it to a gentle simmer and let it cook for about 5–10 minutes, stirring occasionally. The soup should thicken as it simmers.
If you notice any lumps, don’t panic. I keep whisking, or—if needed—I use a spoon to press them against the side of the pot, or I blend briefly with an immersion blender.
Step 4: Add chicken, herbs, and simmer for flavor

After the base thickens, I stir in the shredded chicken. Then I add salt, black pepper, and thyme (or poultry seasoning). If I’m using a bay leaf, I drop it in now for extra depth.
I let the soup simmer gently for another 10 minutes. This helps the flavors blend and warms the chicken through if it’s already cooked.
Step 5: Stir in cream and adjust the thickness
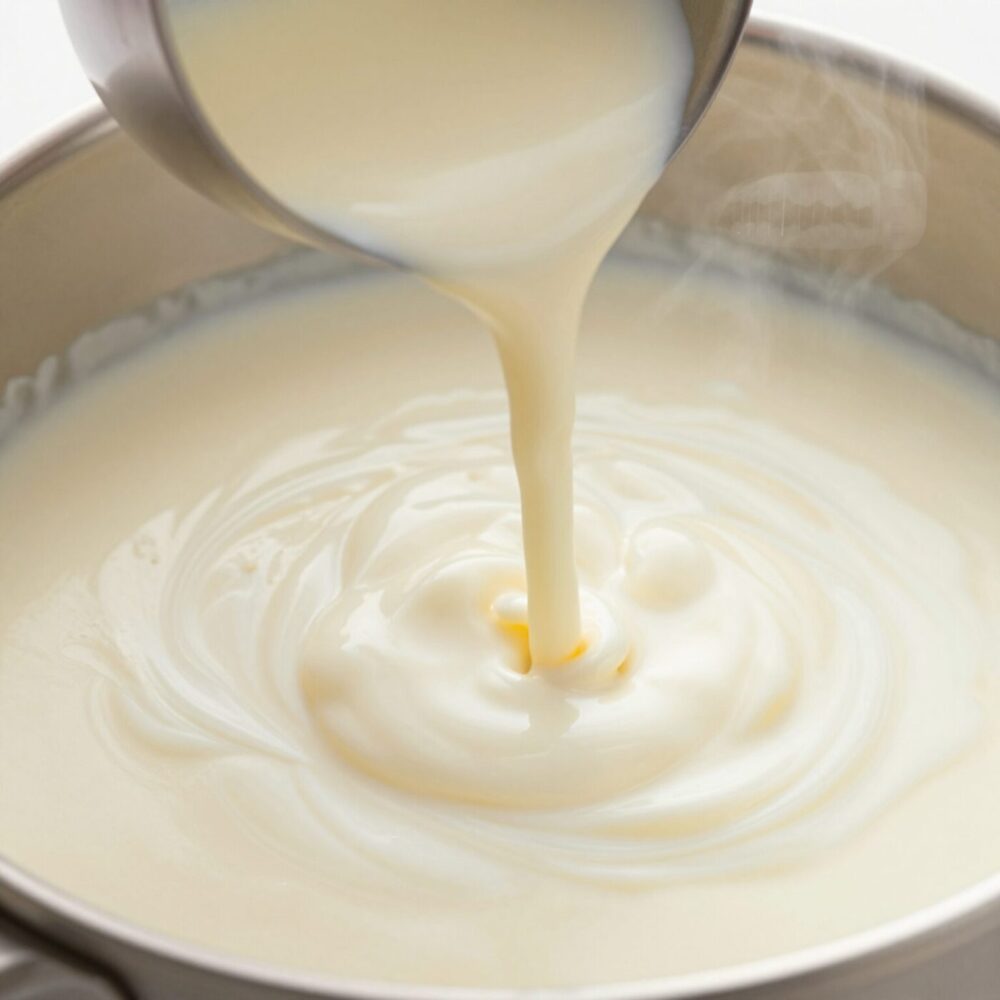
When the soup is ready, I lower the heat to low and stir in heavy cream or half-and-half. I taste first, then adjust salt and pepper. If the soup feels too thick, I add a splash more broth or milk. If it’s too thin, I simmer for a few more minutes to reduce and thicken.
This is the step where homemade tastes “luxury.” The cream turns the broth into a silky, comforting sauce.
Step 6: Taste, garnish, and serve (or plan your next meal)

I do a final taste test—because seasoning is everything. Then I turn off the heat and add chopped parsley if I’m using it. After that, I serve it right away.
If I’m using this as a casserole base, I might slightly thicken it by simmering 2–5 minutes longer before transferring it to a baking dish. That way, it won’t come out too loose after baking.
Step 7: Store leftovers the smart way
If we have leftovers (which we usually do), I cool the soup first, then store it in an airtight container. In the fridge, it keeps for about 3–4 days. For freezing, I place cooled soup in freezer-safe containers and leave some space at the top.
When reheating, I warm it gently on the stove or microwave in short bursts. If it thickens too much, I add a little broth or milk to loosen it up.
Tips
- Use rotisserie chicken to save time: It makes this recipe weeknight-friendly without sacrificing flavor.
- Whisk flour well: Cooking the flour for about a minute reduces any raw flour taste.
- Add broth slowly: This helps prevent lumps and gives you that smooth, creamy texture.
- Don’t boil after adding cream: Keep it at a gentle simmer or low heat to prevent separation.
- Customize the veggie factor: Add peas, mushrooms, or spinach if you want extra nutrition and texture.
- Make it gluten-free if needed: Use a 1:1 gluten-free flour blend and make sure your broth is gluten-free.
- For a thicker “cream of” texture: Reduce simmer time slightly earlier? Actually, if you want thicker soup, simmer longer once the roux has blended and you’ve added broth—then add cream at the end.
FAQ
Can I use canned cream of chicken soup instead?
You can, but the whole point here is flavor and ingredient control. Homemade tastes richer and fresher, and it’s easy to make in about the time it takes to heat up a can—especially if you use pre-cooked chicken.
What if my soup is too thick?
No problem. I add broth or milk a little at a time until it reaches the texture I want. Then I let it warm through gently.
What if it’s too thin?
I simmer it a bit longer on low, stirring often. If you still need extra thickening, I whisk a small amount of flour (or cornstarch) with cold water or milk and stir it in—then simmer until thick.
Can I make it dairy-free?
Yes. I can replace cream with a dairy-free cream alternative, or I can use full-fat coconut milk (it will taste slightly coconut-y). For the roux, dairy-free butter works as well. I still keep the heat gentle when adding the creamy ingredient.
Can I make it without chicken?
Absolutely. I can swap shredded chicken for cooked turkey, or make it vegetarian by using vegetable broth and adding extra mushrooms or white beans. The texture will still be creamy—just different in flavor.
How do I store it for casserole use?
I store it the same way, then reheat gently. If I’m baking it later, I might slightly thin it with broth so it bakes evenly and doesn’t get too thick in the oven.
Conclusion
Homemade cream of chicken soup is one of those recipes that feels fancy but is actually simple and super beginner-friendly. By building a quick roux, whisking in broth slowly, then finishing with tender chicken and cream, we get that thick, silky “cream of” texture that makes casseroles better and bowls feel extra comforting. Once you make this from scratch, you’ll realize how easy it is to beat canned soup—without sacrificing flavor or spending all day in the kitchen. Make a batch, enjoy it tonight, and save the rest for your next cozy meal.
Sarah Anderson . J
I’m the mom behind Wise Mom Blogger, where everyday creativity meets real-life motherhood. I share easy DIY crafts, cozy knitting and crochet projects, beginner-friendly sewing ideas, and family-tested recipes—plus quick baking hacks that make homemade feel doable on busy days.

