Key Takeaways
• Natural ingredients only: Use real fruit juice, gelatin, and natural sweeteners instead of artificial colors and corn syrup • Simple 4-ingredient base: Gelatin, fruit juice, honey (or maple syrup), and optional natural flavoring create the foundation • 15-minute prep time: Most healthy gummy bear recipes require just mixing, heating, and setting—no special equipment needed • Customizable nutrition: Add vitamins, probiotics, or collagen for extra health benefits • Kid-approved taste: Properly made healthy gummy bears taste just as good as store-bought versions
Quick Answer
Making healthy gummy bears requires just four basic ingredients: unflavored gelatin, 100% fruit juice, a natural sweetener like honey, and optional natural flavoring. Heat the juice, dissolve the gelatin and sweetener, pour into molds, and refrigerate for 2-3 hours until set.
What Makes a Gummy Bear Recipe Actually Healthy?
A truly healthy gummy bear recipe eliminates artificial ingredients found in commercial versions while maintaining the chewy texture and sweet taste kids (and adults) love. The key difference lies in using whole food ingredients instead of synthetic additives.
Healthy ingredients to include:
- Unflavored gelatin (provides protein and supports joint health)
- 100% fruit juice (natural vitamins and antioxidants)
- Raw honey or pure maple syrup (unprocessed natural sweeteners)
- Natural fruit extracts or purees (authentic flavoring)
Ingredients to avoid:
- High fructose corn syrup
- Artificial food coloring (Red 40, Yellow 6, etc.)
- Artificial flavors
- Preservatives like sodium benzoate
Choose organic ingredients when possible, especially for fruit juices, since conventional versions may contain pesticide residues that concentrate during processing.
Essential Ingredients for Your Healthy Gummy Bear Recipe
The foundation of any successful healthy gummy bear recipe starts with four core ingredients, each serving a specific purpose in creating the perfect texture and flavor.
Gelatin: The Structure Builder
Unflavored gelatin powder creates the signature chewy texture. Use 2-3 tablespoons per cup of liquid for firm gummies, or reduce to 1.5 tablespoons for softer versions.
Grass-fed gelatin offers superior quality and additional benefits like improved skin health and joint support. Popular brands include Great Lakes and Vital Proteins.
Fruit Juice: Natural Flavor and Color
100% fruit juice provides both flavor and natural coloring. Best options include:
- Cherry juice: Deep red color, rich antioxidants
- Orange juice: Bright color, vitamin C boost
- Grape juice: Purple hue, natural sweetness
- Cranberry juice: Tart flavor, urinary tract benefits
Avoid juice cocktails or drinks with added sugars—read labels carefully to ensure you’re getting pure fruit juice.
Natural Sweeteners
Raw honey adds sweetness while providing enzymes and antimicrobial properties. Use 2-4 tablespoons per cup of juice, depending on the juice’s natural sweetness.
Pure maple syrup works as a vegan-friendly alternative with a subtle caramel note. Stevia extract can reduce sugar content further—start with just a few drops since it’s extremely concentrated.
Optional Add-ins for Extra Nutrition
- Vitamin C powder: Immune system support
- Probiotic powder: Digestive health (add after cooling to preserve live cultures)
- Collagen peptides: Skin and hair benefits
- Natural fruit extracts: Concentrated flavor without added sugar
Step-by-Step Healthy Gummy Bear Recipe Instructions
This basic healthy gummy bear recipe takes about 15 minutes of active time plus 2-3 hours for setting. The process is straightforward but timing matters for the best results.
Ingredients (Makes about 50 small gummies):
- 1 cup 100% fruit juice
- 3 tablespoons unflavored gelatin powder
- 3 tablespoons raw honey
- 1/4 teaspoon natural fruit extract (optional)
Instructions:
Step 1: Prepare Your Workspace
Set out gummy bear molds and have a whisk ready. Work quickly once you start heating—gelatin sets fast as it cools.
Step 2:
Bloom the Gelatin Pour 1/4 cup of cold fruit juice into a small bowl. Sprinkle gelatin powder over the surface and let it sit for 5 minutes until it becomes thick and spongy.
Step 3: Heat the Remaining Juice
Warm the remaining 3/4 cup juice in a small saucepan over medium heat until steaming but not boiling. Boiling will break down the gelatin’s setting properties.
Step 4: Combine and Dissolve
Remove heated juice from heat. Add the bloomed gelatin mixture and whisk vigorously for 30-60 seconds until completely dissolved. Add honey and whisk until smooth.
Step 5: Add Flavoring and Pour
Stir in natural extract if using. Pour mixture into gummy molds, filling each cavity completely. Tap molds gently to release air bubbles.
Step 6: Set and Store
Refrigerate for 2-3 hours until firm. Remove from molds and store in an airtight container in the refrigerator for up to one week.
Common mistake to avoid: Don’t add honey to boiling liquid, as high heat destroys beneficial enzymes and can create a bitter taste.
Best Fruit Juice Combinations for Healthy Gummy Bears
Creating interesting flavor profiles in your healthy gummy bear recipe often comes down to smart juice combinations that balance sweetness, tartness, and natural color.
Classic combinations that work every time:
- Apple-cherry: Mild sweetness with rich color
- Orange-mango: Tropical flavor with bright orange hue
- Grape-blueberry: Deep purple color, antioxidant powerhouse
- Cranberry-pomegranate: Tart and tangy, beautiful red color
Balancing Sweet and Tart Flavors
For naturally sweet gummies, use apple, grape, or pear juice as your base (50-75% of total liquid) and add smaller amounts of tart juices like cranberry or lemon.
For tangy gummies, start with cranberry, cherry, or pomegranate juice and add apple or white grape juice to mellow the tartness.
Pro tip: Taste your juice mixture before adding gelatin. The final gummy will be slightly less sweet than the liquid, so adjust honey accordingly.
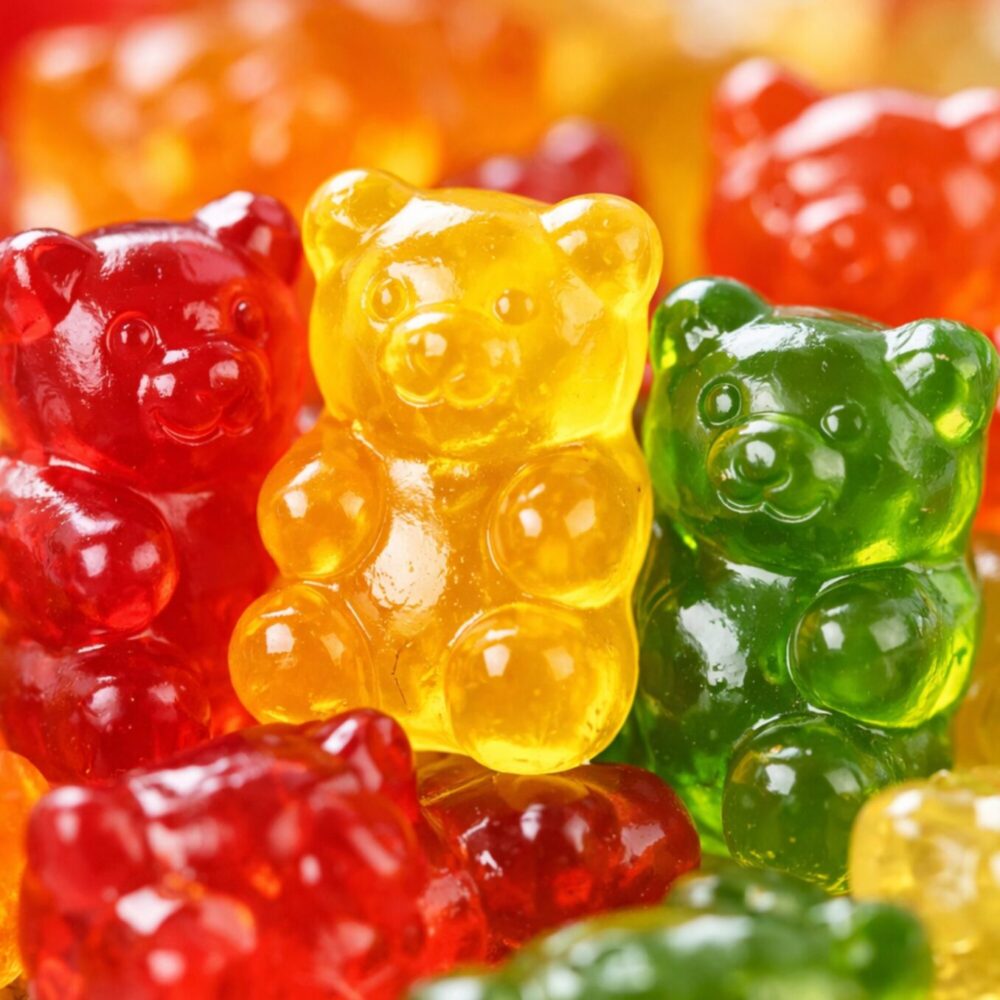
Getting Natural Colors Right
Red gummies: Cherry, cranberry, or pomegranate juice
Orange gummies: Orange, carrot, or mango juice
Purple gummies: Grape, blueberry, or blackberry juice
Yellow gummies: Pineapple, lemon, or turmeric-infused juice
Green gummies: Green apple juice with a drop of spirulina powder
Choose darker juices for more vibrant colors—pale juices create pastel gummies that may look less appealing to kids.
Troubleshooting Common Healthy Gummy Bear Recipe Problems
Even simple healthy gummy bear recipes can go wrong, but most issues have straightforward fixes that don’t require starting over.
Gummies Won’t Set Properly
Problem: Gummies remain soft or liquid after 3+ hours in the fridge.
Solutions:
- Insufficient gelatin: Add 1/2 tablespoon more gelatin next time
- Too much liquid: Reduce juice by 2-3 tablespoons
- Overheated mixture: Boiling breaks down gelatin—keep temperature below 180°F
- Acidic juice interference: Very acidic juices (pure lemon, lime) need extra gelatin
Quick fix: If gummies are too soft, gently reheat the mixture, add more bloomed gelatin, and re-mold.
Gummies Are Too Hard or Rubbery
Problem: Gummies are difficult to chew or have an unpleasant texture.
Solutions:
- Too much gelatin: Reduce by 1/2 tablespoon next batch
- Insufficient liquid: Add 2-3 tablespoons more juice
- Overcooking: Heat just until steaming, not boiling
Cloudy or Grainy Texture
Problem: Gummies look cloudy instead of clear, or feel gritty when eaten.
Solutions:
- Undissolved gelatin: Whisk longer and ensure complete dissolution
- Honey crystallization: Use liquid honey, not crystallized
- Temperature shock: Let heated mixture cool slightly before adding cold ingredients
Choose liquid honey over crystallized versions—crystallized honey won’t dissolve completely and creates a grainy texture.
Nutritional Benefits vs. Store-Bought Gummy Bears
Understanding the nutritional differences between homemade healthy gummy bears and commercial versions helps justify the extra effort and explains why this recipe matters for your family’s health.
Homemade Healthy Gummy Bears (per 10 pieces):
- Calories: 35-45
- Sugar: 6-8g (from natural fruit sources)
- Protein: 3-4g (from gelatin)
- Artificial additives: 0
- Added vitamins: Variable based on juice choice
Store-Bought Gummy Bears (per 10 pieces):
- Calories: 70-85
- Sugar: 15-18g (from corn syrup)
- Protein: 0-1g
- Artificial colors: 2-4 different dyes
- Preservatives: Multiple synthetic compounds
The protein advantage: Gelatin provides all nine essential amino acids, supporting skin, hair, nail, and joint health—benefits completely absent from commercial gummy bears.
Natural vs. artificial colors: Fruit juice colors provide antioxidants and phytonutrients, while artificial dyes offer no nutritional value and may cause hyperactivity in sensitive children.
Sugar quality matters: Natural fruit sugars come packaged with vitamins, minerals, and fiber (in whole fruit), while corn syrup provides empty calories with no nutritional benefits.
Storage Tips and Shelf Life for Homemade Gummy Bears
Proper storage extends the life of your healthy gummy bear recipe results and maintains optimal texture and flavor.
Refrigerator storage (recommended): Store in airtight containers for up to one week. Layer gummies between parchment paper to prevent sticking.
Room temperature storage: Possible for 2-3 days in cool, dry conditions, but gummies may become softer. Avoid temperatures above 75°F.
Freezer storage: Not recommended—freezing changes the texture and makes gummies tough when thawed.
Preventing Gummies from Sticking Together
Dust lightly with arrowroot powder or cornstarch before storing. This creates a barrier that prevents sticking without affecting taste.
Use parchment paper layers in storage containers, especially in humid climates where gummies tend to get sticky.
Silica gel packets (food-grade only) in storage containers help control moisture in humid environments.
Don’t store different flavors together for more than 24 hours—flavors will blend and create muddy tastes.
Advanced Variations for Your Healthy Gummy Bear Recipe
Once you master the basic healthy gummy bear recipe, these variations add nutritional benefits and interesting flavors that keep the treats exciting.
Probiotic Gummy Bears
Add 1/4 teaspoon probiotic powder after the mixture cools to below 100°F. Higher temperatures kill beneficial bacteria. These support digestive health and immune function.
Best probiotic strains for gummies:
- Lactobacillus acidophilus
- Bifidobacterium lactis
- Lactobacillus rhamnosus
Vitamin C Immune Boosters
Stir in 1/4 teaspoon vitamin C powder (ascorbic acid) with the honey. Each gummy provides about 25mg of vitamin C—roughly 30% of a child’s daily needs.
Timing matters: Add vitamin C after heating to preserve potency.
Collagen Beauty Gummies
Replace 1 tablespoon of gelatin with collagen peptides for skin, hair, and nail benefits. Collagen peptides dissolve more easily than regular gelatin and provide additional amino acids.
Green Superfood Gummies
Add 1/2 teaspoon spirulina or chlorella powder to apple or pineapple juice for a nutritional powerhouse. Start with less—these superfoods have strong flavors that can overwhelm delicate fruit tastes.
Mask the “green” taste by using stronger fruit flavors like pineapple or mango, and add an extra tablespoon of honey.
Frequently Asked Questions
Can I use agar instead of gelatin for vegan gummy bears? Yes, but use 1 tablespoon agar powder per cup of liquid instead of 3 tablespoons gelatin. Agar sets at room temperature and creates a firmer, less chewy texture.
How long do homemade gummy bears last? Refrigerated in airtight containers, they stay fresh for up to one week. They may soften slightly after day 3 but remain safe to eat.
Can I make these without any sweetener? Yes, if using naturally sweet juices like apple or grape. Taste the juice first—if it’s sweet enough on its own, skip added sweeteners entirely.
Why are my gummies cloudy instead of clear? Cloudy gummies usually result from undissolved gelatin or using honey that wasn’t fully incorporated. Whisk thoroughly and ensure complete dissolution.
Can kids help make these gummy bears? Absolutely! Kids can measure ingredients, help with mixing (after heating), and fill molds. Supervise the heating step and let them handle the fun parts.
What’s the best mold material for gummy bears? Silicone molds work best—they’re flexible for easy removal and don’t require greasing. Avoid hard plastic molds that can crack gummies during removal.
Can I double or triple the recipe? Yes, but work in batches. Large quantities cool and set too quickly for efficient mold filling, leading to uneven gummies.
Do I need special equipment? No special equipment required. You need a small saucepan, whisk, measuring cups, and gummy molds. Most kitchen basics work perfectly.
Can I use fresh fruit instead of juice? Fresh fruit needs to be pureed and strained first. Use 3/4 cup puree plus 1/4 cup water to replace 1 cup juice. The texture may be slightly different.
Why do some recipes call for cold water gelatin blooming? Blooming (soaking) gelatin in cold liquid before heating prevents clumping and ensures smooth dissolution. Skipping this step often creates lumpy gummies.
Are these safe for toddlers? Yes, but cut larger gummies into smaller pieces for children under 3 to prevent choking. The soft texture makes them safer than hard candies.
Can I add fresh herbs like mint? Yes, but steep herbs in the heated juice for 5 minutes, then strain before adding gelatin. Fresh herbs can introduce bacteria if not properly processed.
Conclusion
Creating your own healthy gummy bear recipe transforms a processed snack into a nutritious treat that kids actually want to eat. With just four basic ingredients—gelatin, fruit juice, natural sweetener, and optional flavoring—you can make gummies that taste amazing while providing protein, vitamins, and none of the artificial additives found in store-bought versions.
The process takes just 15 minutes of active time, and the basic recipe adapts easily to different flavors, colors, and nutritional add-ins. Whether you’re looking to boost your family’s vitamin C intake, add probiotics for digestive health, or simply avoid artificial food dyes, this recipe gives you complete control over what goes into your gummies.
Your next steps:
- Start simple with the basic recipe using your family’s favorite fruit juice
- Experiment with combinations once you master the basic technique
- Try nutritional add-ins like vitamin C or probiotics for extra health benefits
- Make it a family activity—kids love helping with the fun parts of gummy making
Remember that homemade gummies taste best within the first few days and need refrigeration for optimal texture. But with such a quick and easy process, you can easily make fresh batches whenever you want a healthy treat that doesn’t compromise on taste.
SEO Meta Information:
Sarah Anderson . J
I’m the mom behind Wise Mom Blogger, where everyday creativity meets real-life motherhood. I share easy DIY crafts, cozy knitting and crochet projects, beginner-friendly sewing ideas, and family-tested recipes—plus quick baking hacks that make homemade feel doable on busy days.
