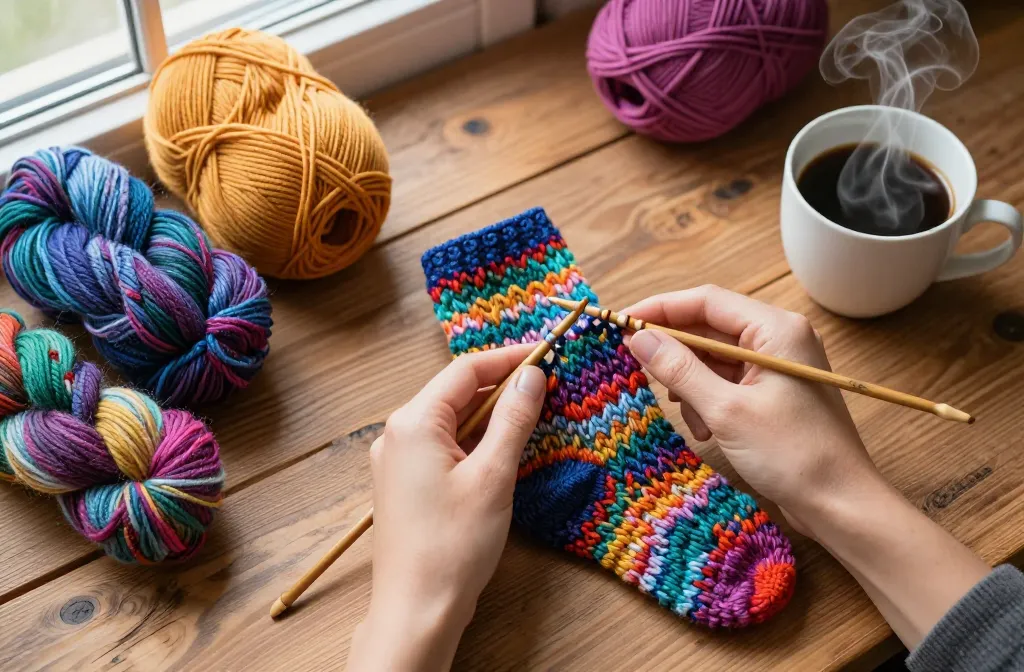
You know what’s cooler than buying expensive handmade socks on Etsy? Making them yourself. Sure, sock knitting might sound intimidating at first—like, how do you even knit a tube with a heel?—but I promise it’s way more approachable than you think. Let me walk you through everything you need to know to create your first pair of cozy, custom-fitted socks.
Why Bother Knitting Your Own Socks?

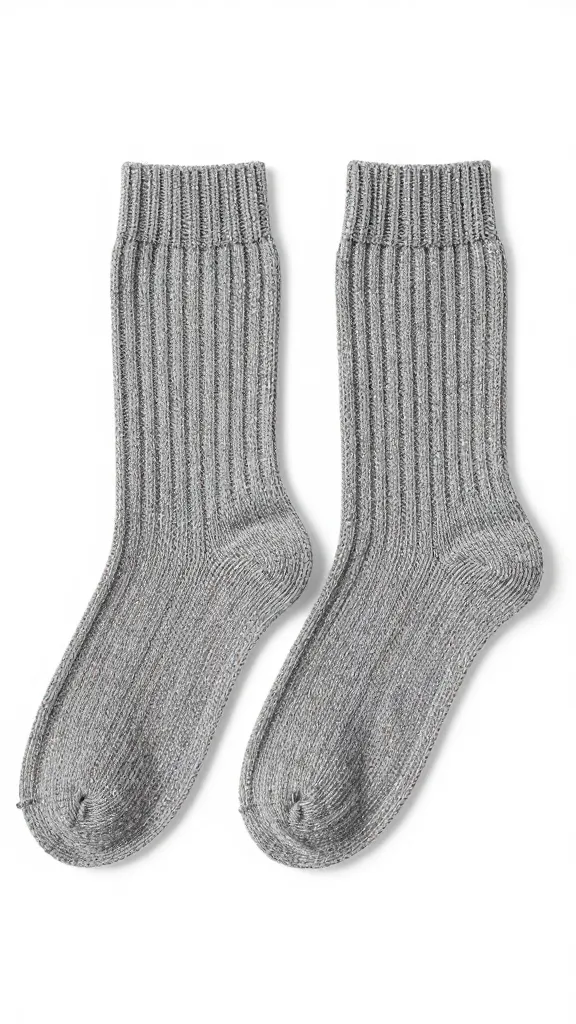
Before we dive into the how-to, let’s talk about why sock knitting is actually worth your time. First off, handknit socks fit like nothing you’ve ever worn. You control the length, the width, and even how tight they hug your ankles. No more saggy store-bought socks that bunch up in your shoes.
Plus, sock yarn is absolutely gorgeous. We’re talking hand-dyed colorways with names like “Enchanted Forest” and “Sunset Over the Mountains.” You’ll actually get excited about doing laundry just to see them again.
And here’s the kicker: socks are portable projects. Unlike knitting a giant blanket, you can stuff a sock-in-progress into your bag and work on it during your commute, at the coffee shop, or while binge-watching your latest Netflix obsession.
Gathering Your Supplies
Let’s get you set up with the right gear. Don’t worry—you don’t need to drop a fortune at the yarn store.
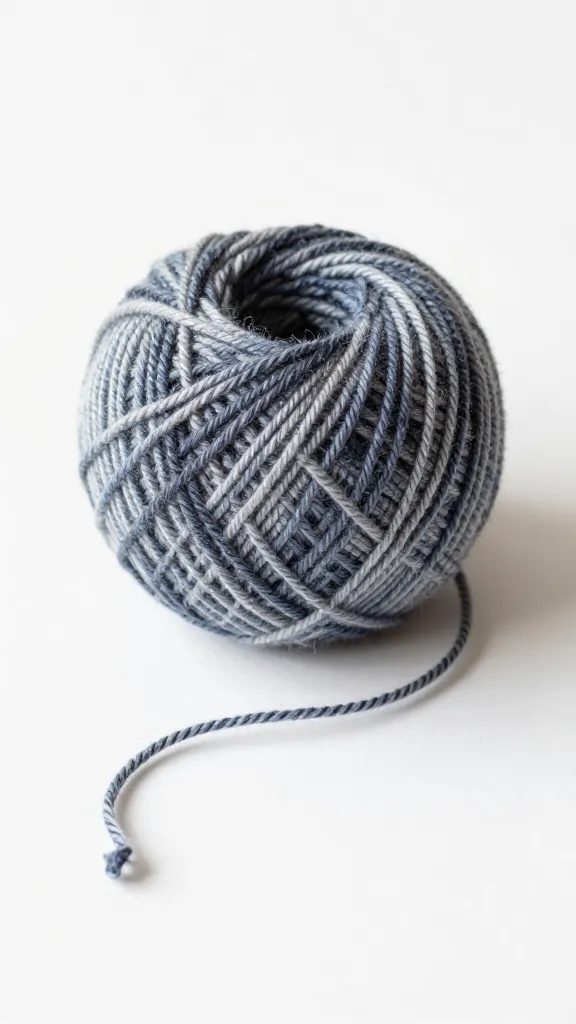
Yarn Selection
You’ll want fingering weight sock yarn (also called 4-ply). Look for yarn that contains at least 20-25% nylon blended with wool. The nylon gives your socks superpowers against wear and tear, especially in the heel and toe areas where friction happens.
How much do you need? Most adult socks require 350-400 yards for a pair. Buy a full skein (usually 400-450 yards) so you don’t run out mid-sock. That would be tragic.
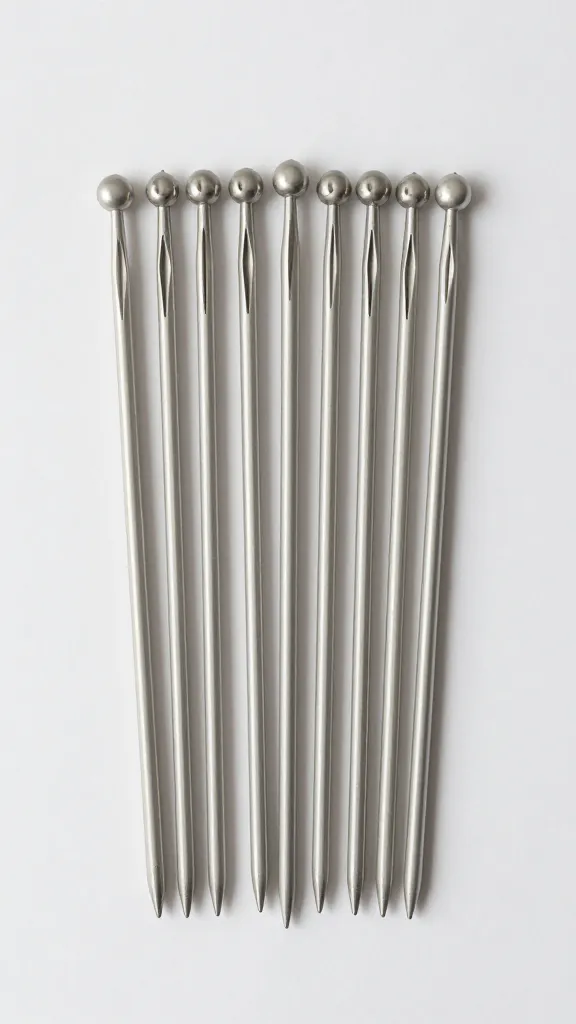
Needles and Notions
Here’s where people get opinionated, but I’ll give you the options:
- Double-pointed needles (DPNs): The traditional choice, usually in sets of 4 or 5
- Two circular needles: Some knitters swear by this method
- One long circular needle: For the “magic loop” technique
For beginners, I’d recommend starting with a set of size US 1 or 2 DPNs (2.25-2.75mm). They’re straightforward and you can find tons of tutorials using them.
You’ll also need stitch markers, a tapestry needle for weaving in ends, and scissors. That’s it!
Understanding Sock Anatomy
A sock might look complicated, but it’s really just five main parts knit in a specific order. Knowing what each part does helps the whole process make sense.
The cuff is that ribbed part at the top that keeps your sock from sliding down. Then comes the leg, which is usually just stockinette stitch in the round. The heel is where things get interesting—it’s basically a pocket that cups your heel perfectly.
After the heel, you knit the foot until you reach your toes, then you shape the toe with decreases and graft it closed. See? Not so scary when you break it down.
Casting On and Knitting the Cuff
Most sock patterns start from the cuff down, which is super beginner-friendly. You’ll typically cast on between 56-64 stitches, depending on your foot size and desired fit.
Divide these stitches evenly across your DPNs (if using 4 needles, put stitches on 3 needles and use the 4th to knit). Join in the round, being super careful not to twist your stitches. FYI, twisted joins are the worst and you won’t notice until you’ve knit several rounds.
Most socks start with K2, P2 ribbing (knit 2, purl 2) for about 1-2 inches. This creates that stretchy, professional-looking cuff. Just keep going round and round—no turning your work!
Tackling the Heel
Okay, deep breath. The heel intimidates a lot of beginners, but it’s honestly just following instructions step by step.
The Heel Flap
You’ll work back and forth (not in the round) on half your stitches to create a rectangular flap. Many patterns use a slip-stitch pattern here to make the heel extra durable. You’ll knit this flat piece for about 2-2.5 inches.
Turning the Heel
This is where the magic happens. Through a series of short rows with decreases, you’ll create that cup shape. It seems weird while you’re doing it—like, am I really making a heel right now?—but then suddenly it clicks and you’ve got this perfect little pocket.
The Gusset
After turning the heel, you’ll pick up stitches along the sides of your heel flap and decrease back down to your original stitch count. This creates those diagonal lines you see on handknit socks and ensures a snug fit around your arch.
Cruising to the Finish Line
Once you’ve conquered the heel, the rest is smooth sailing. You’ll knit around and around in stockinette until the sock reaches about 2 inches shorter than your total foot length.
Then you’ll shape the toe using decreases (usually every other round, then every round) until you have just a few stitches left. Most beginners use the Kitchener stitch to graft the toe closed seamlessly, though you can also use a simple three-needle bind-off if grafting makes your brain hurt.
Weave in your ends, try on your sock, and do a happy dance. You made a sock! Now you just need to summon the motivation to knit the second one. Second sock syndrome is real, people.
Common Beginner Mistakes to Avoid
Let me save you some frustration by highlighting the errors I see most often.
Knitting too tightly is mistake number one. Your socks need stretch, so relax your grip. If your hands hurt after knitting, you’re probably strangling your yarn.
Ignoring gauge is another biggie. Yeah, swatching is boring, but if your gauge is way off, you’ll end up with socks that fit a toddler or a giant. Take the ten minutes to check.
Don’t skip the reinforcement in heels and toes. Some knitters hold a thin thread alongside their yarn in these high-wear areas. It adds years to your socks’ lifespan.
Frequently Asked Questions
How long does it take to knit a pair of socks?
This totally depends on your knitting speed and how much time you dedicate to the project. A speedy knitter might finish a pair in a weekend binge session, while a more casual knitter might take 2-4 weeks. Your first pair will definitely take longer as you figure out the techniques, but subsequent pairs go much faster.
Can I use regular yarn instead of sock yarn?
You can, but I wouldn’t recommend it for your first pair. Sock yarn is specifically designed to be durable and stretchy. Regular wool yarn will felt and wear out quickly with the friction from walking. Save the experimentation for after you’ve mastered the basics with proper sock yarn.
What if my socks don’t match perfectly?
Welcome to handknitting! IMO, slightly mismatched socks have character. Tension can vary between socks, especially if you knit them weeks apart. As long as they’re close enough, nobody will notice once they’re on your feet. Seriously, you’re your own harshest critic.
Do I really need to knit a gauge swatch?
Yes, you really should, especially for your first pair. Socks need to fit properly to be comfortable, and gauge affects the final size significantly. Just knit a small swatch in the round (not flat—your gauge can differ), measure it, and adjust your needle size if needed. Future you will thank present you.
What’s the easiest sock pattern for absolute beginners?
Look for patterns labeled “basic” or “vanilla” socks. These stick to simple stockinette stitch with a traditional heel flap and gusset construction. The “Hermione’s Everyday Socks” pattern is super popular for beginners, as is the “Silver’s Sock Class” pattern. Both include detailed instructions and photos.
Help! I dropped a stitch several rounds back. What do I do?
Don’t panic and don’t rip out everything. You can use a crochet hook to ladder the stitch back up to your current row. There are tons of video tutorials showing exactly how to do this. It’s a crucial skill that’ll save you hours of re-knitting over your knitting lifetime.
Wrapping Up Your Sock Journey
Knitting your first pair of socks is genuinely one of the most satisfying accomplishments in the knitting world. Yeah, there’s a learning curve, and your first pair might look a little wonky, but they’ll still be warmer and more comfortable than anything you could buy.
Start with a simple pattern, give yourself permission to make mistakes, and remember that every expert sock knitter was once exactly where you are now—staring at those double-pointed needles wondering how this could possibly work. You’ve got this! Now grab some gorgeous yarn and get started on those custom-fitted, cozy, absolutely unique socks your feet deserve.
Sarah Anderson . J
I’m the mom behind Wise Mom Blogger, where everyday creativity meets real-life motherhood. I share easy DIY crafts, cozy knitting and crochet projects, beginner-friendly sewing ideas, and family-tested recipes—plus quick baking hacks that make homemade feel doable on busy days.
