Let me tell you something embarrassing. I have a serious stationery problem. Pens in every drawer, highlighters in three colors, mechanical pencils I don’t remember buying — and absolutely nothing to keep them organized. I’d been tossing everything into a beat-up zip-lock bag for months before I finally sat down and thought: I sew. Why am I living like this?
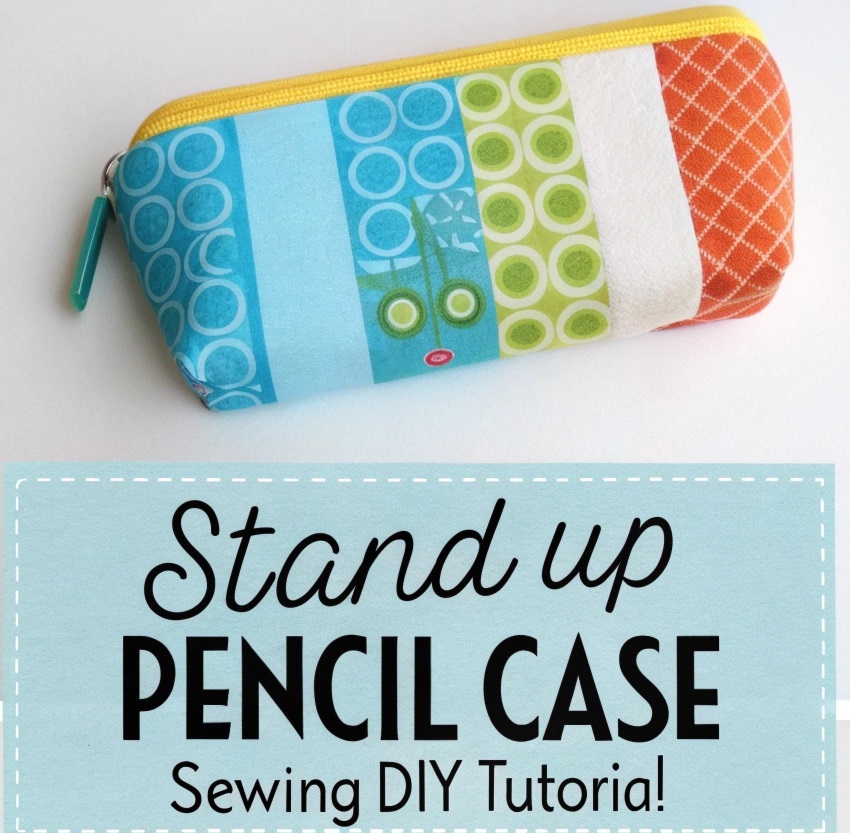
So I made a pencil case. And not just any pencil case — a proper, lined, zippered, hold-everything pencil case out of fabric I already had sitting in a basket. It took me less than an afternoon, and honestly? It might be my favorite thing I’ve ever sewn. It’s one of those projects that feels a little fancy but is secretly very, very beginner-friendly.
If you’ve never made one before, this guide is for you. I’m walking you through every single step, from cutting your first piece of fabric to zipping it up for the first time.
What You’ll Need
One of the best things about this project is how little it requires. Here’s exactly what I gathered before I started:
Fabric: You need two types — one for the outside (this is your chance to use that fun print you’ve been saving) and one for the lining. I cut my exterior piece to 8 inches by 9 inches and my two lining pieces to 4 inches by 9 inches each. Those lining pieces are cut smaller on purpose — more on that in a bit.
Zipper: I went with a 14-inch number 3 craft zipper, which is easy to find at any fabric store. The size sounds specific, but honestly, as long as your zipper is longer than your fabric is wide, you’re in good shape.
Fusible batting: This is optional but I strongly recommend it. A piece of light fusible batting (like Pellon 987F) ironed onto the wrong side of your exterior fabric gives the pencil case a little structure and makes it feel much more polished than a floppy fabric bag. Mid-weight interfacing (Pellon SF-101) also works if that’s what you have on hand. sewingtimes
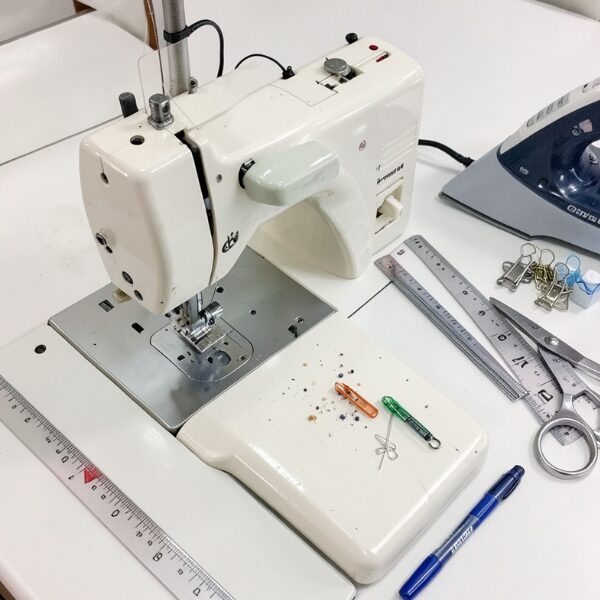
Everything else: Your sewing machine, a zipper foot, a regular presser foot, all-purpose polyester thread, an iron, clips or pins, scissors, a ruler, and a marking pen. One tip I picked up along the way — make yourself a simple 4-inch diameter circle template out of scrap paper. You’ll use it to trace the rounded ends of the case, and having a consistent template means both ends will match perfectly. TheCraftyGemini
Step 1: Cut Your Fabric and Fuse the Batting
Start by pressing all your fabric pieces completely flat. I can’t overstate how much this matters — wrinkled fabric leads to uneven cuts and uneven seams, and the whole project fights you from the start. Press everything smooth before you cut a single piece.
Once your exterior piece is cut to 8″ x 9″, iron the fusible batting onto the wrong side of it. Place the batting adhesive-side down onto the fabric’s wrong side and press firmly with your iron until the two layers bond together. Now your exterior has a little body to it and will keep its shape nicely once the pencil case is done.
Step 2: Sandwich the Zipper (First Side)
Switch your presser foot to the zipper foot — this is the narrow foot that lets you sew right up close to the zipper teeth. You’ll use this for most of the next few steps.
Take your exterior fabric piece and lay it right-side up. Place your zipper face down on top of it, aligning the zipper edge with the long 9-inch top edge of the fabric. Make sure you leave a little bit of zipper tape hanging off at each end — you’ll trim this later, but you want that wiggle room now. TheCraftyGemini
Now take one of your lining rectangles and lay it right-side down on top of the zipper. You now have a three-layer sandwich: exterior right-side up, zipper in the middle, lining right-side down. Clip the layers together to hold everything in place.
Using a basting stitch (stitch length around 3mm), sew along the top edge with about a 1/4-inch seam allowance. This first line of stitching is just to hold things in position, so don’t stress if it’s not perfect.
Step 3: Press, Then Topstitch
Open up the sandwich and press everything flat — push the lining fabric up and away from the zipper, and press the exterior fabric down away from the zipper teeth. Use the heat of your iron to really set those seams.
Then topstitch. Set your stitch length to 3mm (a little longer than usual so the topstitching really shows up as a clean design detail), and run a line of stitching close to the zipper fold on the exterior side. Position your zipper foot so the right edge of the foot lines up with the left edge of the zipper teeth — this gives you a perfectly consistent stitching line without any guesswork.
Step 4: Attach the Second Side
Fold the bottom edge of your exterior piece up to meet the top of the zipper, so the exterior is now folded in half with the zipper sitting along the fold. Clip it in place. Now take your second lining piece, place it right-side down on top of this new assembly, and clip that too.
Shorten your stitch length to 2mm (this is now a construction seam, so you want it secure), and sew along the edge using the full zipper foot seam allowance. Press and topstitch this side exactly as you did the first.
Step 5: Sew the Lining Seam (And Leave the Opening!)
Here’s a step I almost messed up the first time, and it’s an important one. Close your zipper about three-quarters of the way, then place your two lining pieces right sides together. Pin along that 9-inch edge — but leave a 4 to 4.5-inch gap in the center unstitched. This is your turning opening, and you absolutely need it to flip the whole pouch right-side-out at the end.
Sew from the top edge down to the start of your marked gap, backstitch, then skip the gap, backstitch again, and sew from the end of the gap to the bottom edge. Use a 3/8-inch seam allowance and always backstitch at those starting and stopping points. It’s very important you don’t skip the backstitching here — that’s what keeps your seams from unraveling during turning.
Step 6: Trim, Round the Corners, and Sew the Short Ends
Press the lining seam open, then check that your zipper is centered down the middle of your pouch. Trim away any excess zipper tape hanging off the short ends — but before you cut, make absolutely sure the zipper pull is tucked inside the pouch. If you cut the tape while the pull is outside, you’ll lose your zipper. (Yes, I’m speaking from experience.)
Now use your paper circle template to trace and cut a gentle curve onto both short ends, cutting through all layers at once. This rounded pencil-pod shape is what makes this case so cute and practical — it fits pens perfectly and avoids those sharp corners that tend to fray over time.
Switch your needle position slightly inward and sew a scant 1/4-inch seam (really closer to 1/8-inch) around each short curved end. The slower and more consistently you sew these curves, the smoother they’ll look from the outside. Take your time here.
Step 7: Turn, Press, and Close
Reach into that opening in the lining and pull the entire pouch right-side-out. Use your fingers, a pencil, or a blunt turning stick to push out the curves fully. Give the whole thing a really thorough press — don’t rush this part. Pressing is what transforms a “homemade-looking” project into something that looks genuinely polished and store-bought.
The only thing left to do is close that little opening in the lining. Pinch the raw edges together, then sew a straight line very close to the edge with a 3mm stitch length, backstitching at both ends to secure it. Push the lining all the way inside the pencil case, coax the curves into shape with your fingers, and give it one last press.
Zip it up. You’re done.
A Few Extra Things I Learned Along the Way
Using a tailor’s clapper after pressing makes a huge difference if you have one — it’s a wooden block you press against the seam right after ironing, and it really locks in a flat, crisp finish. Not essential, but lovely.
If you’re wondering about fabric choices: cotton quilting fabric is the easiest to work with for both the exterior and lining. For the outside, canvas or home décor fabric adds even more structure. Avoid slippery fabrics like satin for your first attempt — they’ll just make you cry.
And here’s my favorite realization: this project is a fantastic scrap buster. Both the exterior and lining pieces are small enough to come from leftover fabric you’d otherwise throw away. I’ve now made three of these cases — one for pens, one for makeup brushes, and one I gave as a gift — and every single one came from scraps I already had.
Sarah Anderson . J
I’m the mom behind Wise Mom Blogger, where everyday creativity meets real-life motherhood. I share easy DIY crafts, cozy knitting and crochet projects, beginner-friendly sewing ideas, and family-tested recipes—plus quick baking hacks that make homemade feel doable on busy days.