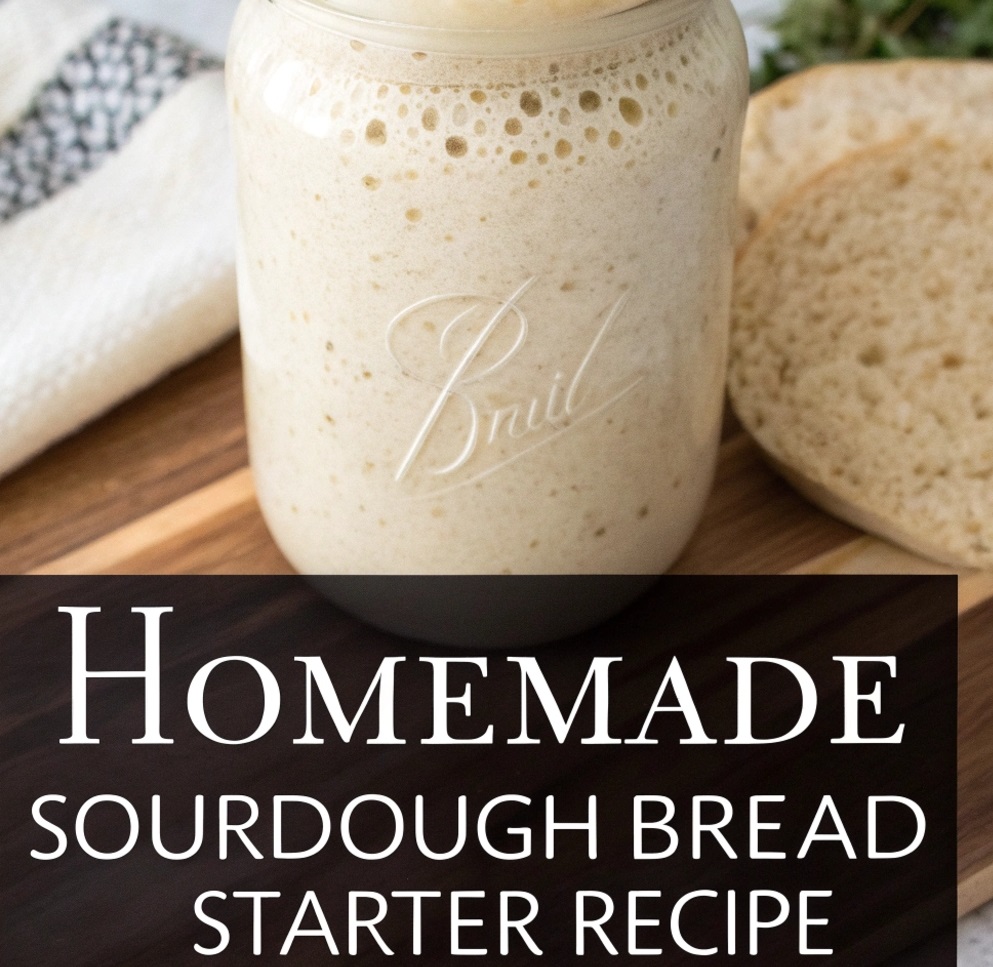
Easy and simple sourdough starter recipe you can try today. we have taken our time to guide you through the process.
I used to think sourdough starter was a “pro baker” thing. Then I learned it’s basically a tiny jar of flour and water that you keep alive. The wild yeast and good bacteria in the flour and air slowly grow, and that’s what makes bread rise and taste tangy. It feels like a science project you can eat.
This is the easy starter method I would tell a friend in 7th grade. It uses simple steps you repeat each day. If you can stir pancake batter, you can do this.
If you want a quick visual of what “right texture” looks like and how it should bubble, this short beginner video can help, but you don’t need it to succeed:
What you’ll need (keep it simple)
- A jar (glass is nice, but any clean container works)
- A spoon or fork for mixing
- A loose lid (or plastic wrap + rubber band). I don’t seal it tight.
- Flour
- Easiest: unbleached all-purpose flour
- Helpful boost (optional): a little whole wheat or rye flour
- Water
- I use room-temperature water.
- If your tap water smells like chlorine, use filtered or let it sit out for a while.
My “starter rules” (so it doesn’t get confusing)
- I feed at the same time every day (or close).
- I keep it warm-ish (not hot): a kitchen counter is fine.
- I label the jar with a rubber band so I can see if it rises.
- I don’t panic if it smells weird on day 2–4. That can happen.
Step-by-step: Make the starter (7-day plan)
Step 1 (Day 1): Mix flour + water
Do this:
- Put 2 tablespoons flour in your jar.
- Add 2 tablespoons water.
- Stir until it looks like thick pancake batter.
- Scrape down the sides.
- Cover loosely and leave it at room temperature for 24 hours.
What I look for: It may look totally quiet. That’s normal.
Step 2 (Day 2): Check it, then feed it
Do this:
- Look for bubbles or a smell change.
- Add 2 tablespoons flour + 2 tablespoons water.
- Stir, cover loosely, wait 24 hours.
What I look for: Sometimes it smells like wet flour. Sometimes it already smells a little sour.
Step 3 (Day 3): Start “discard + feed”
This is the step most beginners skip, and then the jar gets huge.
Do this:
- Stir your starter.
- Scoop out and throw away about half (discard).
- Add 2 tablespoons flour + 2 tablespoons water.
- Stir, cover loosely, wait 24 hours.
Why I discard: If I never remove any, I would need more and more flour every day to feed it. Discard keeps it a manageable size.
If you want a day-by-day view of how a starter changes (bubbles, smells, activity), a progression
Step 4 (Day 4): Repeat discard + feed (and notice the smell)
Do this:
- Discard about half.
- Feed: 2 tablespoons flour + 2 tablespoons water.
- Stir, cover loosely.
What I look for: Many starters smell kind of strong around now. Mine once smelled like gym socks. It got better.
Step 5 (Day 5): Feed and watch for rising
Do this:
- Discard about half.
- Feed the same way.
- Mark the jar level with a rubber band (optional, but helpful).
What I look for: More bubbles. Sometimes it rises a little, then falls.
Step 6 (Day 6): Keep going (consistency matters)
Do this:
- Discard about half.
- Feed again.
Tip I use: If it seems very watery, I add a bit more flour next time. If it’s too thick to stir, I add a tiny splash more water.
Step 7 (Day 7): Test if it’s “active”
A starter is usually ready when it:
- doubles in size after a feeding (often within 4–8 hours in a warm room),
- has lots of bubbles,
- smells pleasantly sour (not rotten),
- looks airy inside.
Simple test I do:
- Feed it.
- Watch it for the next several hours.
- If it rises well and looks fluffy, it’s getting strong.
If it’s not ready on day 7, that does not mean you failed. Some kitchens are cool, and starters need more time. Just keep feeding daily for a few more days.
A quick table: My 7-day starter schedule
| Day | What I do | What I expect to see |
|---|---|---|
| 1 | Mix flour + water | Mostly quiet |
| 2 | Feed (no discard yet) | Maybe smell change |
| 3 | Discard half, then feed | Small bubbles begin |
| 4 | Discard half, then feed | Smell can be strong |
| 5 | Discard half, then feed | More bubbles, some rise |
| 6 | Discard half, then feed | More active, airy look |
| 7 | Feed + watch rise | Should rise and fall |
Common problems (and what I do)
“It rose a lot on day 2, then stopped!”
That can be normal. Early on, you can get a big burst of activity from different bacteria. Real sourdough strength usually comes later. I keep feeding daily.
“There’s liquid on top”
That’s often called “hooch.” It can mean it’s hungry. I stir it in or pour it off, then feed.
“It smells awful”
A strong smell can happen mid-week. What I worry about is mold (fuzzy patches) or a truly rotten smell that never improves. If I see mold, I throw it away and start over.
“I see pink or orange”
That’s a danger sign. I toss it and clean everything well.
When can I bake with it?
When it reliably rises after feeding, you can use it for sourdough recipes. Early bread might be less fluffy, but it improves as the starter gets stronger.
FAQ: Easy Sourdough Starter Recipe
1) Do I have to use a kitchen scale?
No. I used spoons at first. A scale is more exact, but spoons can still work for beginners.
2) What flour is best for a brand-new starter?
Unbleached all-purpose works. If I want to speed things up, I replace a little with whole wheat or rye.
3) Should I use warm water?
Room temp is fine. Very hot water can hurt the yeast.
4) Why do I need to discard? Isn’t that wasteful?
Discard is how I keep the jar from growing and how I keep the food supply balanced. You can save discard later for pancakes or crackers once your starter is stable.
5) How do I know it’s truly ready?
For me, the biggest sign is: feed it, and it doubles in a predictable time.
6) Can I close the lid tight?
I don’t. The starter makes gas. A tight lid can build pressure. I keep it loosely covered.
7) What if my kitchen is cold?
It may take longer. I keep it in a slightly warmer spot (like near, not on, the oven).
8) Is sourdough starter safe?
It should smell sour/yeasty. If I see mold or weird colors (pink/orange), I throw it out.
Video resources (only if you need them)
- For a fast beginner overview and visuals: Easy Sourdough Starter Guide: Just Flour & Water!
- For day-by-day changes and what “active” looks like: How to Make a Sourdough Starter From Scratch + Day by Day Progression!
Sarah Anderson . J
I’m the mom behind Wise Mom Blogger, where everyday creativity meets real-life motherhood. I share easy DIY crafts, cozy knitting and crochet projects, beginner-friendly sewing ideas, and family-tested recipes—plus quick baking hacks that make homemade feel doable on busy days.

