You know what’s awesome? Making your own tote bags. Seriously, I never thought I’d be the kind of person who gets excited about sewing, but here we are. Tote bags are everywhere these days – at the grocery store, the beach, school, everywhere! And the best part? They’re actually super easy to make at home, even if you’re a total beginner like I was.
I spent a bunch of time watching YouTube videos and learning different patterns, and I’ve got to tell you, once you make your first tote bag, you’ll want to make like ten more. They’re practical, they’re cute, and they make amazing gifts. Plus, you’ll feel like a crafting superstar when people ask you where you got your bag and you can say, “Oh, I made it!”
Let me share the coolest patterns I’ve discovered that you can totally make at home.
1. The Super Simple Basic Tote
Let’s start with the easiest one because I don’t want to scare you away. This pattern is literally just two rectangles of fabric sewn together with handles. That’s it! You can make one in about 20 minutes once you get the hang of it.
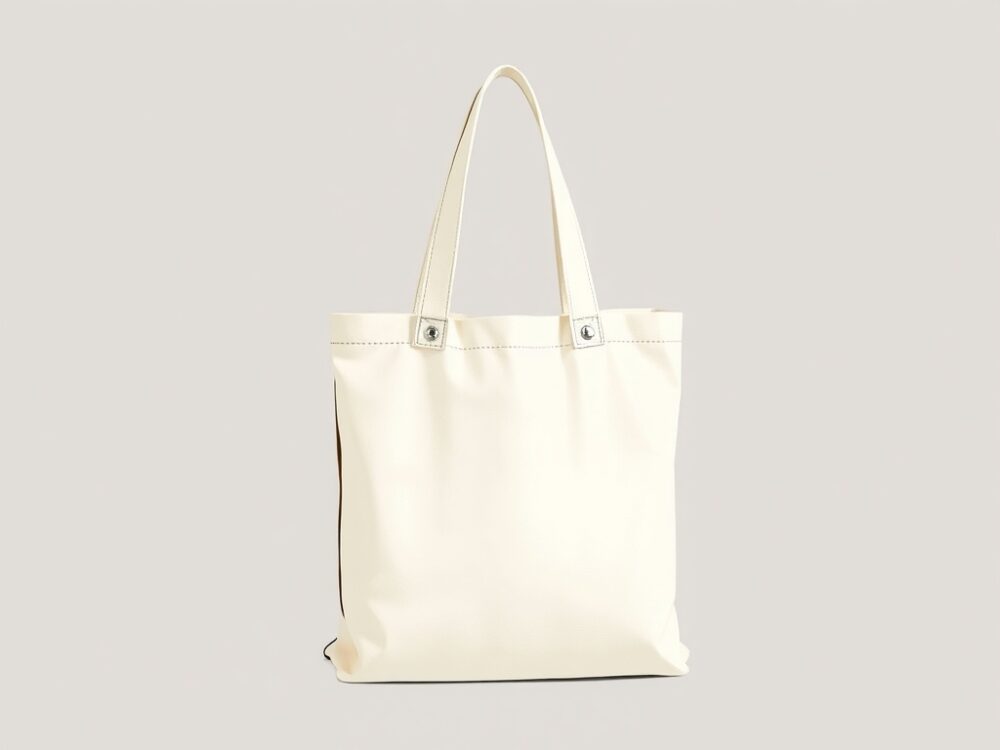
All you need is some fabric (canvas works great), a sewing machine, and thread. You cut two rectangles the same size, sew up the sides and bottom, fold the top edge, add some straps, and boom – you’ve got yourself a tote bag. I made my first one using an old pillowcase, and it actually turned out pretty decent!
The thing I love about this pattern is that you can customize it however you want. Add pockets, make it bigger or smaller, use fun fabrics – whatever makes you happy.
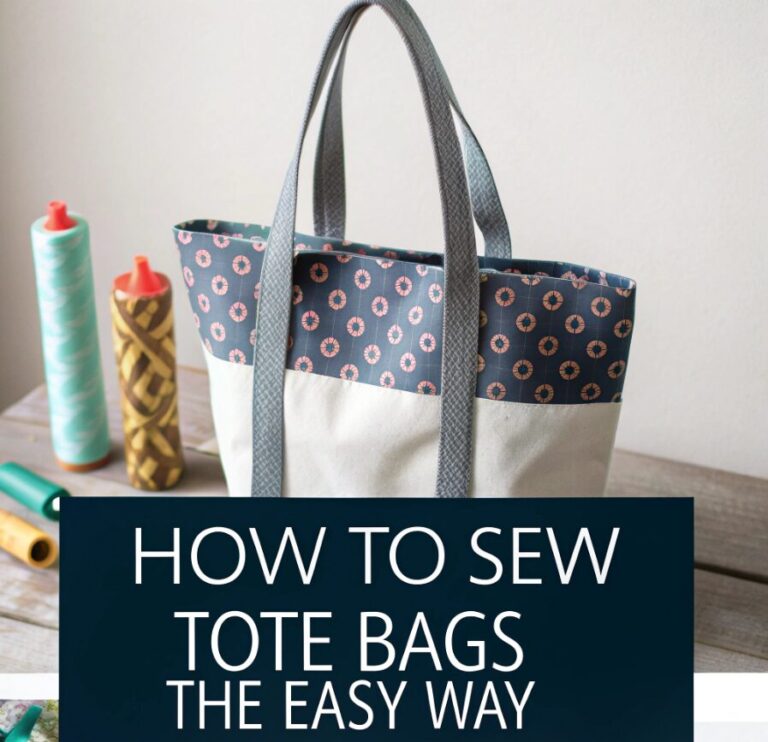
2. The Lined Tote Bag
Once you’ve mastered the basic tote, it’s time to level up with a lined version. This one looks way fancier, but honestly, it’s not that much harder. The lining just means you’re basically making two bags and putting one inside the other.
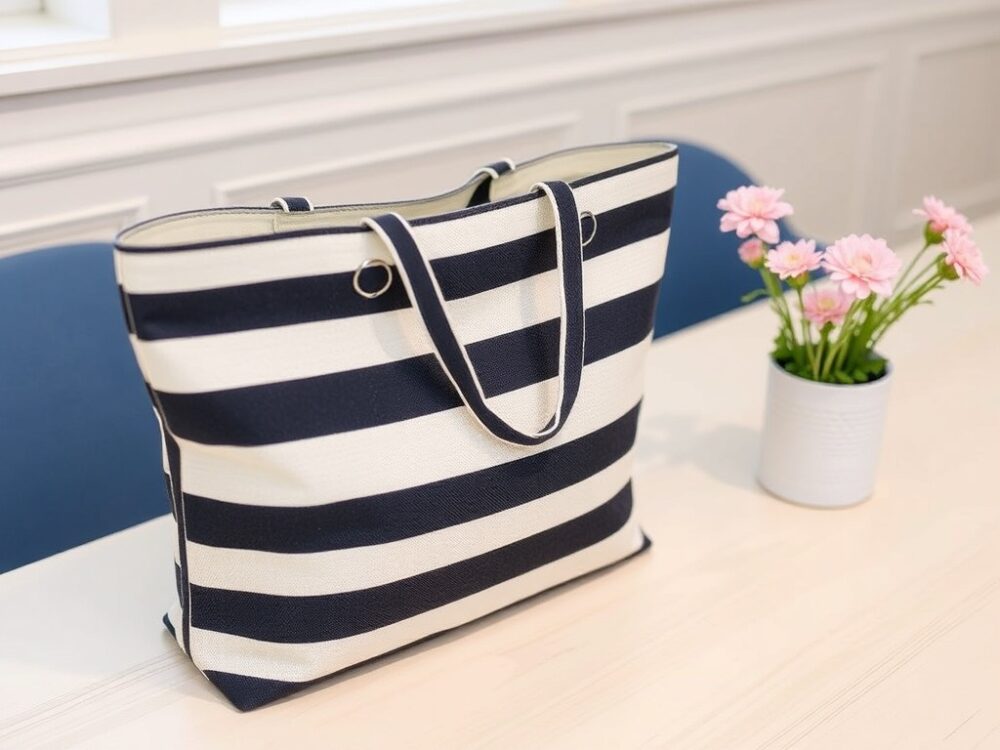
Why would you want a lining? Well, it makes your bag stronger, hides all the messy seams on the inside, and lets you get creative with different fabric combinations. I made one with a plain navy outside and a fun polka dot lining, and people always peek inside and say “Ooh, I love the surprise pattern!”
The trick with lined bags is to remember to leave a turning hole so you can flip everything right-side-out. I forgot that step once and had to unpick a whole seam. Learn from my mistakes, friends.
3. The Quilted Tote
Okay, this one sounds fancy, but stay with me. Quilted tote bags have that puffy, cushioned look that makes them feel really professional. They’re also great for protecting stuff – I use mine to carry my laptop sometimes.

To make a quilted tote, you layer your fabric with something called batting in the middle. Batting is like thin stuffing that makes the quilted look. Then you sew lines across it in whatever pattern you want – straight lines, diagonal lines, squares, whatever. This is called quilting (duh).
The quilting part is actually kind of relaxing once you get into a rhythm. Just make sure your sewing machine can handle the extra thickness. I recommend starting with thinner batting until you’re comfortable with it.
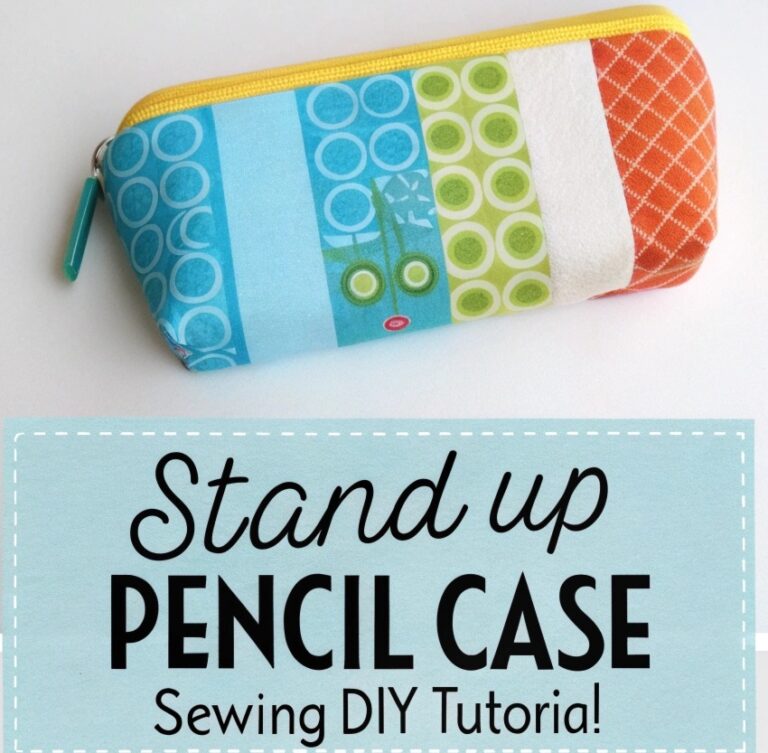
4. The Market Tote (Giant Version)
Have you ever gone grocery shopping and come out with way more stuff than you expected? Yeah, me too. That’s why giant market totes are a lifesaver. These bags are huge – like, you can fit a week’s worth of groceries in there.

The pattern is similar to the basic tote, just supersized. The important thing is to use strong fabric like canvas or denim because you’ll be loading this baby up. I also learned that reinforcing the handles is super important. Nothing worse than your groceries crashing to the ground because your handles gave out!
Some people add a flat bottom to these bags so they stand up on their own, which is pretty smart. You just sew little squares in the corners before you flip it right-side-out.
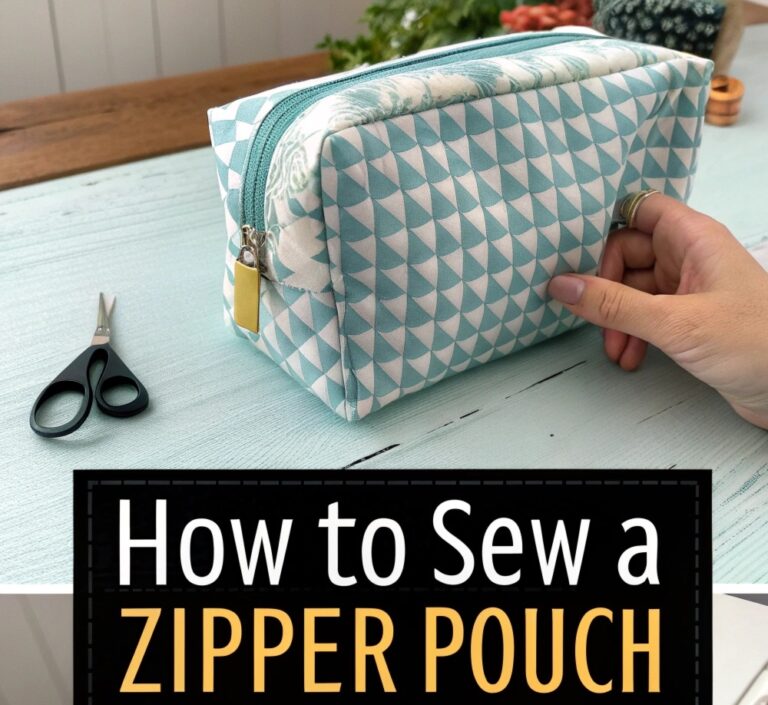
5. The Zippered Tote
Now we’re getting into the fun stuff. Adding a zipper to your tote bag makes it way more practical because your stuff won’t fall out. I was nervous about sewing zippers at first – they seemed really complicated – but it’s actually not bad once you try it.
There are a couple of ways to add a zipper. You can put it at the very top of the bag, or you can add it a little ways down from the top edge. I prefer the second method because it gives you more flexibility with how you finish the top of the bag.
Pro tip: Use zipper feet on your sewing machine. They make sewing zippers SO much easier. I struggled for way too long before someone told me this trick.
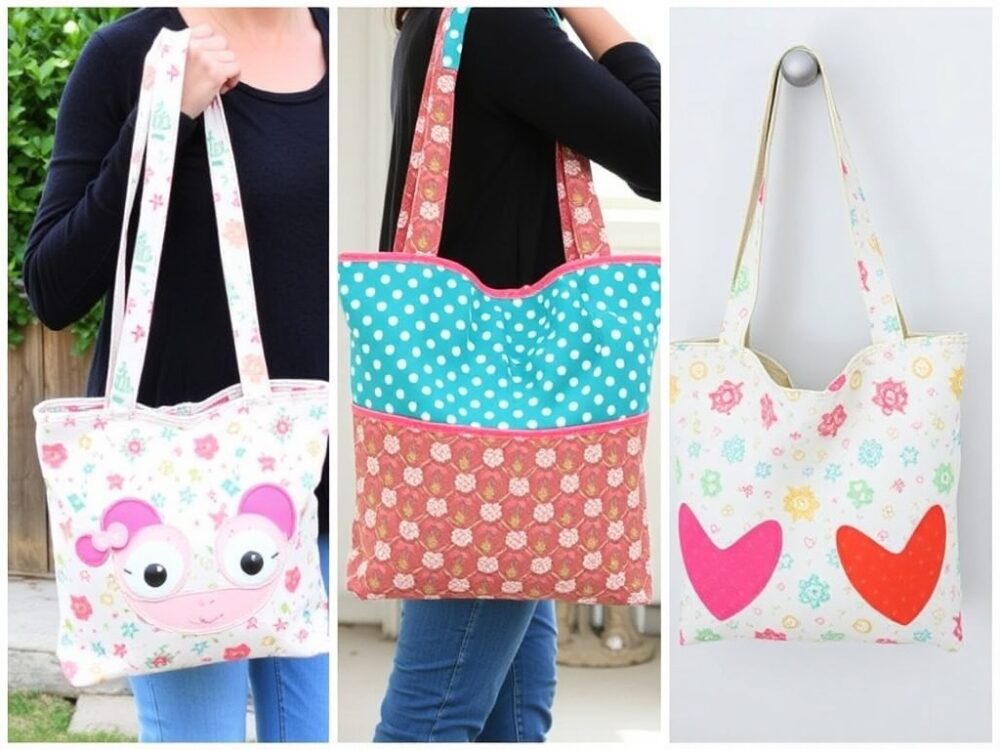
6. The Tote with Outer Pockets
Pockets! Everyone loves pockets, right? Adding outside pockets to your tote is a game-changer. You can stash your phone, keys, water bottle – all the stuff you need to grab quickly without digging through your entire bag.
The key to good pockets is making sure they’re the right size for what you want to put in them. I made a bag once where the pockets were too shallow and my phone kept falling out. Lesson learned – make them a bit deeper than you think you need.
You can add pockets to the front, back, or sides of your tote. Some people even add pockets on the inside. Once you start adding pockets, it’s hard to stop. Your bag basically becomes like a wearable organizer.
7. The Denim Tote (Upcycled Jeans)
Here’s where things get really cool. You know those old jeans sitting in your closet that don’t fit anymore? Turn them into a tote bag! Denim is perfect for bags because it’s tough, it looks good, and you’re recycling instead of throwing stuff away.
The simplest version is to cut off the legs, sew the bottom shut, and use the waistband as the top of your bag. The belt loops can even become little attachment points. Some people get really creative and use the pockets from the jeans as pockets on the bag.
I’ve also seen people cut up multiple pairs of jeans and make patchwork denim bags, which look super cool and vintage. Each one is totally unique.
8. The Drawstring Top Tote
This is kind of a hybrid between a tote bag and a drawstring backpack. You make a regular tote but add a drawstring closure at the top instead of leaving it open. It’s perfect for carrying stuff to the gym or pool because you can cinch it closed.
The tricky part is creating the channel for the drawstring to go through. You basically fold over the top edge of the bag and sew it down, leaving gaps where the drawstring comes out. Then you thread your cord or ribbon through using a safety pin.
These bags are really popular right now, and they’re actually pretty easy to make once you understand how the drawstring channel works.
9. The French Seam Tote
French seams are this fancy sewing technique that makes your seams look clean on both the inside and outside of the bag. Basically, you sew the seam twice – once with the fabric wrong-sides together, then again with the right-sides together. This traps all the raw edges inside.
Why would you bother? Well, French seams make your bag look really professional and prevent fraying. They’re especially good if you’re using lighter fabrics that tend to unravel. Plus, it sounds impressive when you tell people your bag has French seams.
It takes a little longer than regular seams, but I think it’s worth it for bags you want to last a long time or give as gifts.
10. The Reversible Tote
Save the best for last, right? Reversible totes are exactly what they sound like – you can flip them inside-out and have two different bags in one. It’s like magic!
To make a reversible tote, you basically make two complete bags and attach them at the top. The key is making sure both sides look good because, well, both sides will be visible at some point. I like to use contrasting fabrics so each side has a totally different vibe.
These take a bit longer to make because you’re essentially making two bags, but they’re so worth it. You can switch up your look depending on your mood or outfit. It’s like getting two bags for the price of one (or I guess the time of two, but who’s counting?).
Getting Started: What You Actually Need
Before you dive in, let me tell you what supplies you need. Good news – it’s not a huge list:
- A sewing machine (you can sew by hand, but it takes forever)
- Fabric (canvas, cotton, denim, whatever you like)
- Thread that matches your fabric
- Scissors or a rotary cutter
- Pins or clips to hold fabric together
- A ruler or measuring tape
- An iron (seriously, ironing makes everything easier)
You can find fabric at craft stores, or you can upcycle old clothes, curtains, sheets – whatever you’ve got lying around. Some of my favorite bags are made from thrifted materials.
Final Thoughts
Making tote bags at home is honestly one of the most satisfying crafts I’ve picked up. They’re practical, they’re creative, and they’re not as hard as they look. Start with the simple patterns and work your way up to the fancier ones. Before you know it, you’ll have tote bags for every occasion and people will be asking you to make them one.
The best part? Every time you use a bag you made yourself, you’ll feel a little burst of pride. Plus, you’re helping the environment by using reusable bags instead of plastic ones. It’s a win-win!
So grab some fabric, fire up that sewing machine, and get started. Your first tote bag is waiting to be made. Trust me, once you start, you won’t want to stop. I’ve got like fifteen tote bags now, and I’m still making more.
Sarah Anderson . J
I’m the mom behind Wise Mom Blogger, where everyday creativity meets real-life motherhood. I share easy DIY crafts, cozy knitting and crochet projects, beginner-friendly sewing ideas, and family-tested recipes—plus quick baking hacks that make homemade feel doable on busy days.